Why Are Tesla Cars Banned In Some States?

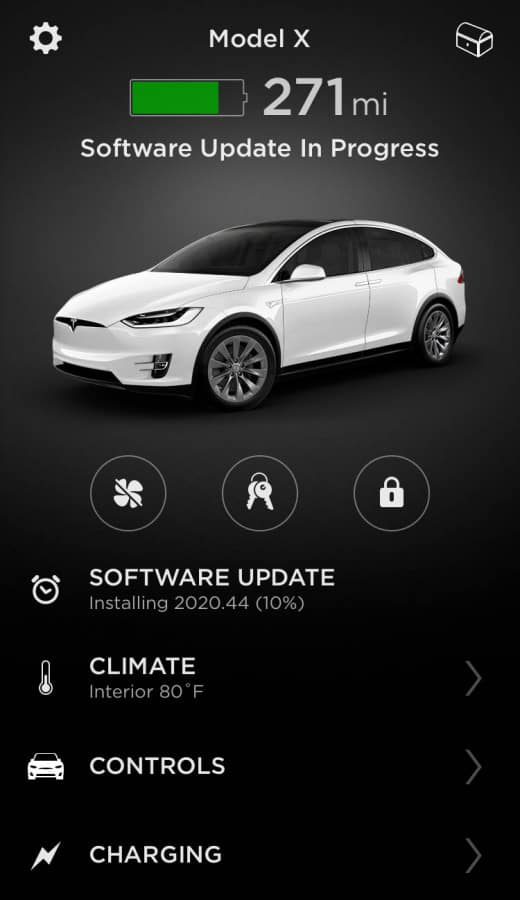
If you have been keeping track of the news and seen Tesla cars, you might have been considering purchasing one. Right up until the time that you read that some states have banned the sale of Tesla cars. But, why wouldn’t a state want to sell Tesla cars? What happened to cause the ban? Tesla is a car manufacturer that will only let its cars be sold from its car dealerships. Some states have laws prohibiting car manufacturers from owning dealerships. Although there are no laws stopping someone from purchasing a Tesla car and then collecting their vehicle in a state that allows Tesla to function as both a manufacturer and car dealership owner, you might be interested in the particulars behind the laws. Read on to find out more about why Tesla cars cannot be sold in some states. Why Are Tesla Cars Banned In Some States? It may surprise you to learn that some states have banned the selling of Tesla cars, considering it is such a renowned company. Elon Musk is one of the richest men globally, due in no small part to his creative design of the electric car. Tesla is a famous and prosperous company, so you are probably wondering how they managed to get banned in some states. As it turns out, Tesla did not commit any crime to be banned. It merely comes down to a few laws passed nearly a century ago when car manufacturers first began their operations. Back then, it was the custom for car manufacturers to focus on making cars only since the workforce required was enormous. Franchises were smaller companies who bought cars from the manufacturers and spare parts for routine repairs and then turned around and sold them. They worried that car manufacturers would eventually stop selling their cars to the franchises and instead, sell them directly to the populace. Franchises mustered a great many lobbyists to convince lawmakers to pass laws outlawing the practice of car manufacturers opening up their dealerships. If car manufacturers were allowed to own dealerships, too, there would be no place for franchise dealerships. To protect their livelihoods, they persuaded lawmakers to enact franchise laws. Franchise Laws One of the main reasons why Tesla cars are banned in some states is because of certain state-by-state franchise laws. Most car manufacturers sell their cars to automotive dealerships, who then turn around and sell the actual cars. Tesla refuses to participate in this franchise system and insists on owning their own dealerships to cut out the middleman. Early in America’s history, car manufacturers established a relationship with dealerships to spread out the work and the payment. However, as manufacturing technology advanced, dealerships worried that they would be cut out and persuaded lawmakers to pass laws that would protect their livelihood and forbid manufacturers from also being dealerships. Tesla justifies its position in three ways: Tesla pays its salespeople a salary, unlike most companies who pay the salespeople by the commission. A commission-based income gives salespeople a huge incentive to hurry the sale along, possibly through unethical means or by not giving the person enough time to consider the purchase. Car dealerships that sell a combination of gas-fueled cars and electric cars would have a conflict of interest since most companies who sell their cars to the dealerships are oil-based. Tesla believes that this conflict of interest could spark unwanted conflict and that Tesla’s cars might not be given a fair shake. Their engines’ proprietary nature is supposedly complex enough that only Tesla employees can properly explain their advantages to potential customers. Other sellers would not know enough to replace a Tesla employee. Conflict Of Interest In the case of Tesla wanting to own their own car dealerships to sell their cars, existing dealerships are lobbying to stop them. Although car dealerships do not make much profit from the sale of cars, they do make a fair amount of money from car repairs. Unlike traditional cars, electric cars do not need the same types of routine maintenance. They do not need their oil changed, tuneups are not necessary, and even brake pads last a lot longer thanks to regenerative braking technology. Car dealerships see that electric cars will end up costing them a pretty penny in the future with the lack of regular repairs needed. Since their profit often comes from those repairs, car dealerships are wary about selling electric cars. Thus, they are not keen on allowing Tesla to open up their own dealerships or sell Tesla’s cars. If car dealerships had their way, electric cars would go out with the baby in the bathwater, and they would not have to worry about them taking over the market. Tesla, however, appears to be here to stay. To Stop A Growing Trend Franchises are not just worried about the effect electric cars will have on their bottom line. They also worry that if Tesla is successful in their venture that other car companies will decide to withdraw from their current agreements with franchise car dealerships and sell their gasoline cars from their own dealerships and take on the repair responsibilities. If gasoline car companies see that Tesla successfully sells their own cars after making them, they might try their hand at it. Franchise car dealerships would no longer be needed. We might see a future where the same company manufactures and sells their cars. That future would be more profitable for car manufacturers, which worries car dealership owners. The loss of those companies would spell the end of franchise car dealerships entirely, so they do not want to encourage any other types of car manufacturers to follow in Tesla’s footsteps. If electric car manufacturers withhold their cars for their own dealerships, it wouldn’t be any significant loss, but gas cars certainly would be. What States Have Banned Tesla? Sixteen states have laws that explicitly prohibit Tesla’s ability to open a car dealership because of their status as a manufacturer. A further nine states have
Why Are Tesla Cars Banned In Some States? Read More »