What are the Best 110v Welders?
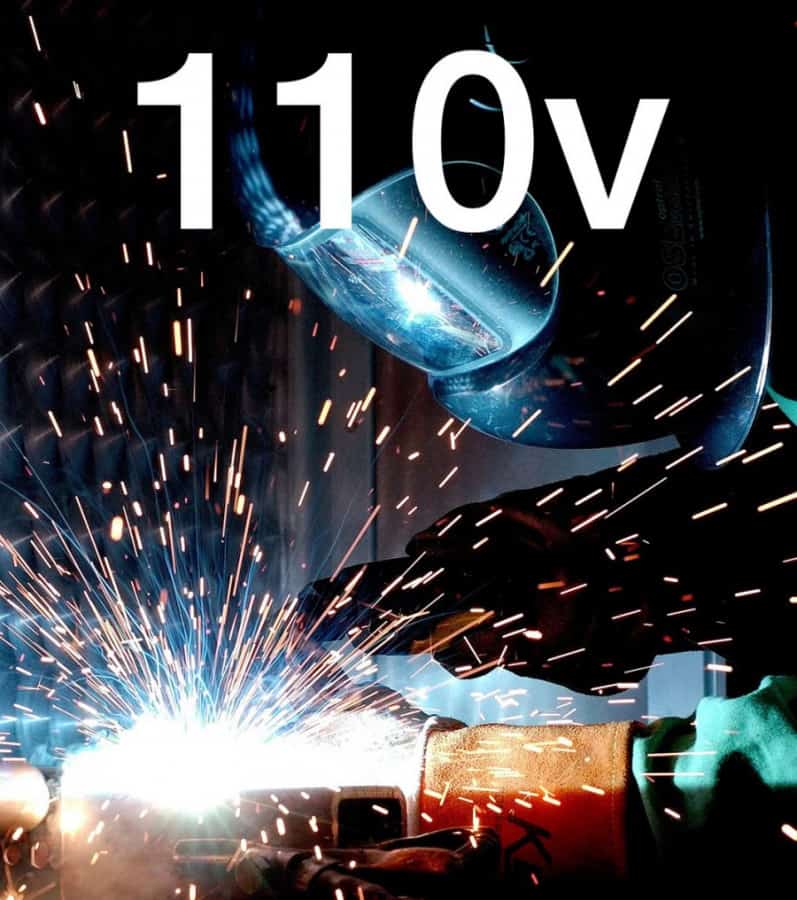
Welding is a process that has been around for centuries, and over the years, it has evolved to become an important aspect of various industries. Welding is the process of joining two or more pieces of metal together using heat and pressure. While there are several welding techniques, the most popular is electric arc welding, which uses an electric arc to melt the metal pieces and join them together. In electric arc welding, a welding machine is used to create an electrical circuit between the welding machine and the metal pieces. The welding machine generates an electric arc, which creates intense heat that melts the metal pieces. The molten metal cools and solidifies, joining the two pieces of metal together. When it comes to welding machines, there are several options available in the market. However, if you are looking for a welder that can run on a standard 110v power outlet, your options may be limited. In this article, we will take a look at the best 110v welders available in the market. The Lincoln Electric K2185-1 Handy MIG Welder is a compact and lightweight welding machine that is perfect for beginners. It is designed for use with 110v power outlets, which makes it easy to use in any home garage or workshop. The Handy MIG Welder comes with a wide range of features, including a 20% duty cycle at 70 amps, adjustable wire feed speed, and four voltage settings. The welder also comes with a gun and cable assembly, gas nozzle, gas regulator and hose, spool of solid wire, contact tips, and a hand shield with filter plate and lens. The Forney Easy Weld 261, 140 FC-i MIG Welder is a compact and portable welding machine that is perfect for DIY projects, repair and maintenance, and light fabrication. It is designed for use with 110v power outlets and can weld up to 1/4 inch of mild steel. The Easy Weld 261, 140 FC-i MIG Welder comes with a wide range of features, including a 30% duty cycle at 90 amps, adjustable wire feed speed, and four voltage settings. The welder also comes with a welding gun and cable assembly, grounding clamp and cable, and a spool of flux-core wire. The Hobart Handler 140 MIG Welder is a versatile welding machine that is perfect for welding a wide range of materials, including mild steel, aluminum, and stainless steel. It is designed for use with 110v power outlets and can weld up to 1/4 inch of mild steel. The Handler 140 MIG Welder comes with a wide range of features, including a 20% duty cycle at 90 amps, adjustable wire feed speed, and five voltage settings. The welder also comes with a welding gun and cable assembly, gas regulator and hose, spool of solid wire, contact tips, and a hand shield with filter plate and lens. The Lotos MIG140 140 Amp MIG Welder is a powerful welding machine that is perfect for welding a wide range of materials, including mild steel, stainless steel, and aluminum. It is designed for use with 110v power outlets and can weld up to 3/16 inch of mild steel. The MIG140 140 Amp MIG Welder comes with a wide range of features, including a 20% duty cycle at 90 amps, adjustable wire feed speed, and four voltage settings. The welder also comes with a welding gun and cable assembly, gas regulator and hose, spool of solid wire, contact tips, and a hand shield with filter plate and lens. The Everlast PowerMIG 140E MIG Welder is a powerful and versatile welding machine that is perfect for welding a wide range of materials, including mild steel, stainless steel, and aluminum. It is designed for use with 110v power outlets and can weld up to 3/16 inch of mild steel. The PowerMIG 140E MIG Welder comes with a wide range of features, including a 25% duty cycle at 90 amps, adjustable wire feed speed, and four voltage settings. The welder also comes with a welding gun and cable assembly, gas regulator and hose, spool of solid wire, contact tips, and a hand shield with filter plate and lens. The Miller Electric 120/240VAC, 1 Phase MIG Welder is a powerful and versatile welding machine that can run on both 110v and 240v power outlets. It is perfect for welding a wide range of materials, including mild steel, stainless steel, and aluminum. The Miller Electric MIG Welder comes with a wide range of features, including a 20% duty cycle at 90 amps, adjustable wire feed speed, and six voltage settings. The welder also comes with a welding gun and cable assembly, gas regulator and hose, spool of solid wire, contact tips, and a hand shield with filter plate and lens. The AHP AlphaTIG 200X TIG Welder is a high-quality welding machine that is perfect for welding a wide range of materials, including stainless steel, aluminum, and copper. It is designed for use with 110v power outlets and can weld up to 1/4 inch of mild steel. The AlphaTIG 200X TIG Welder comes with a wide range of features, including a 60% duty cycle at 200 amps, adjustable amperage control, and a pulse function. The welder also comes with a TIG torch, foot pedal, ground clamp, and a hand shield with filter plate and lens. The Eastwood MIG 135 Welder is a compact and powerful welding machine that is perfect for welding a wide range of materials, including mild steel, stainless steel, and aluminum. It is designed for use with 110v power outlets and can weld up to 3/16 inch of mild steel. The MIG 135 Welder comes with a wide range of features, including a 20% duty cycle at 90 amps, adjustable wire feed speed, and four voltage settings. The welder also comes with a welding gun and cable assembly, gas regulator and hose, spool of solid wire, contact tips, and a hand shield with filter plate and lens. The Klutch MIG 140SI Inverter-Powered Wire-Feed MIG Welder is a powerful
What are the Best 110v Welders? Read More »