NewAge Products manufactures various items from outdoor kitchen sets to garage storage solutions. In this article, I’ll cover their Pro 3.0 Series 10-Piece Storage Cabinet. From deliver to installation.
Damage Upon Arrival
Things definitely didn’t start out well. Unfortunately, multiple cabinets had sustained some damage. I promptly contacted NewAge, and they did send replacement doors and some touchup paint. The outer boxes didn’t appear to be too concerning, but once I got things opened up their were certainly some concerns.
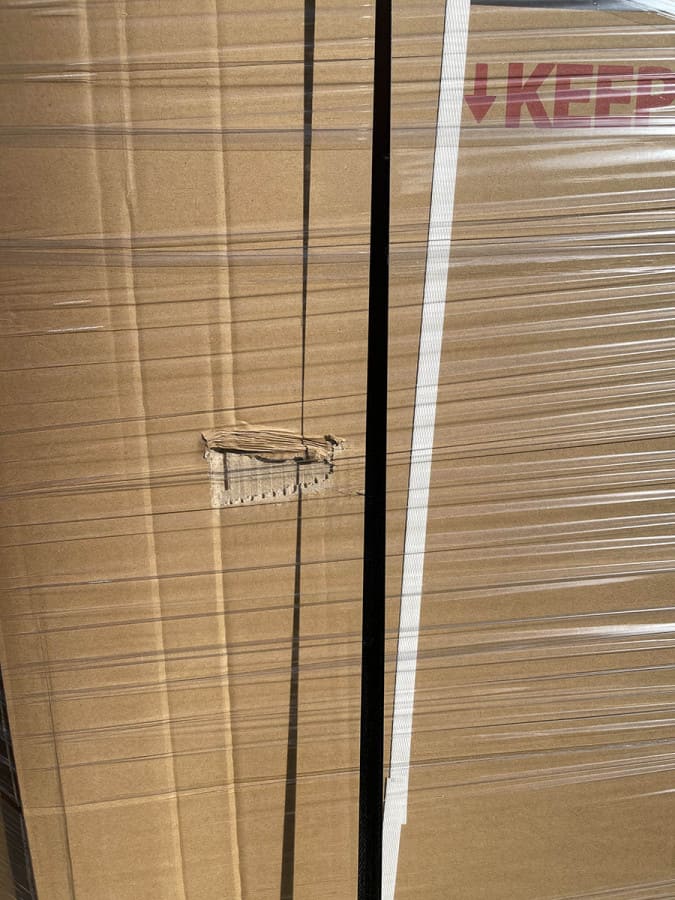
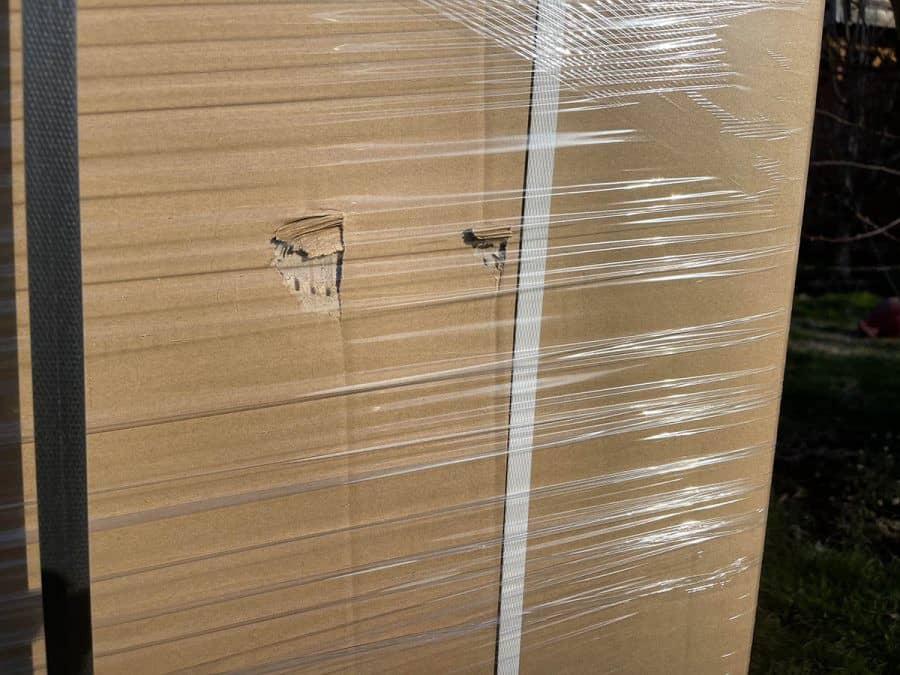
Cabinet Damage
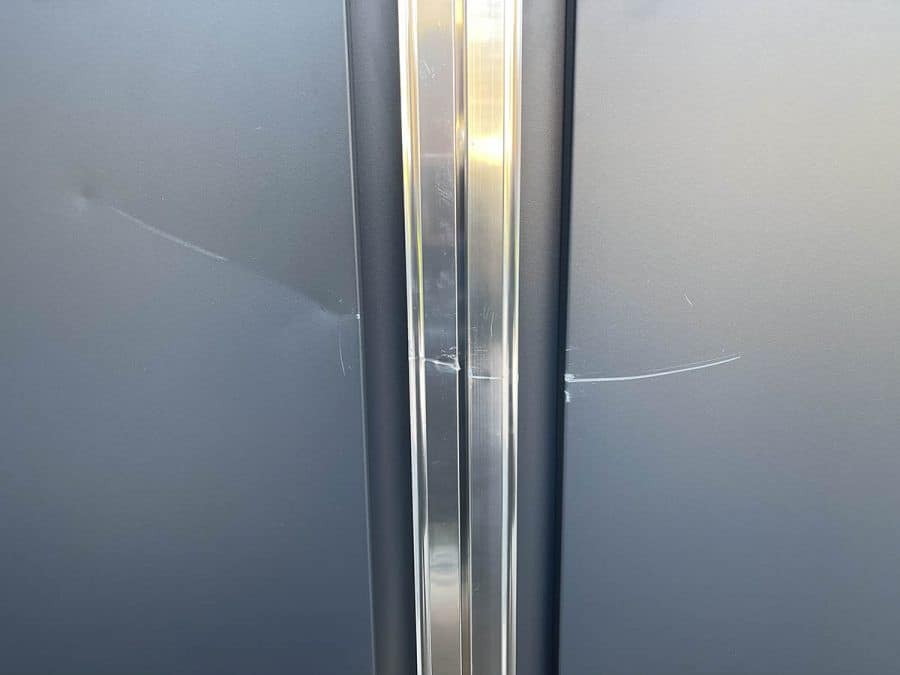
This was the most concerning damage, one of the “locker cabinets” had a large scratch and was dented.
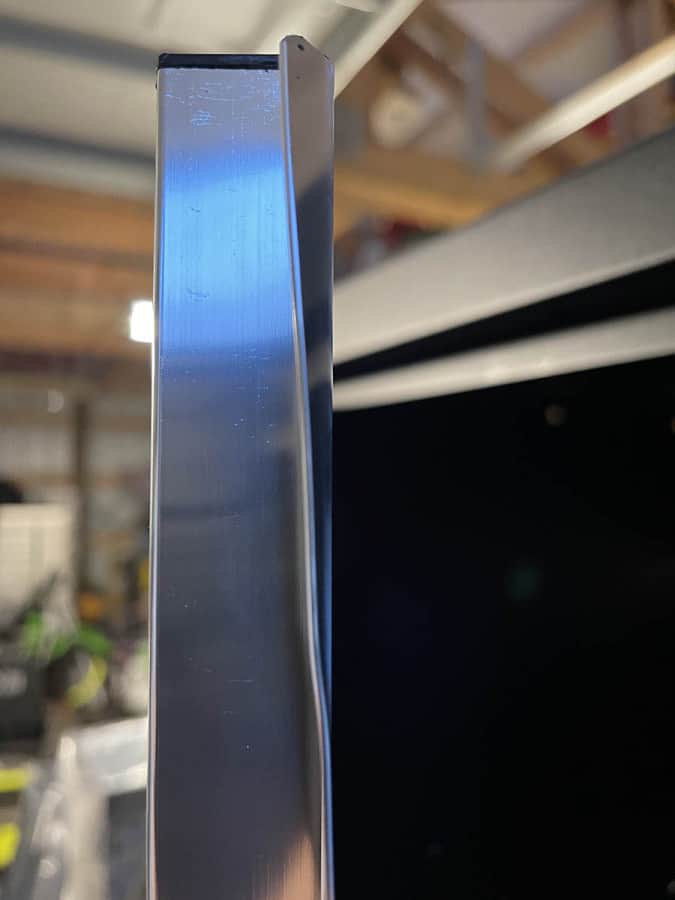
An overhead cabinet door had badly bent aluminum trim, but I was able to easily bend this back into position.
Several Scuffed Pieces
There was quite a bit of scuff marks inside the cabinets, one worse than the others. Styrofoam packaging was broken on this one and the inner contents were fairly loose inside because of it. For the most part, the scuff marks were able to be wiped off.
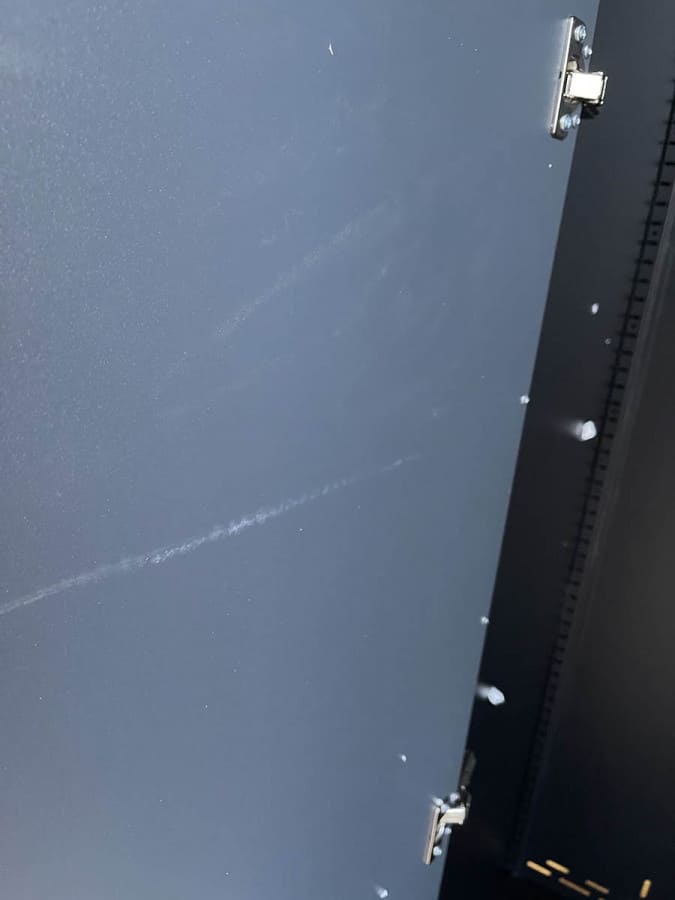
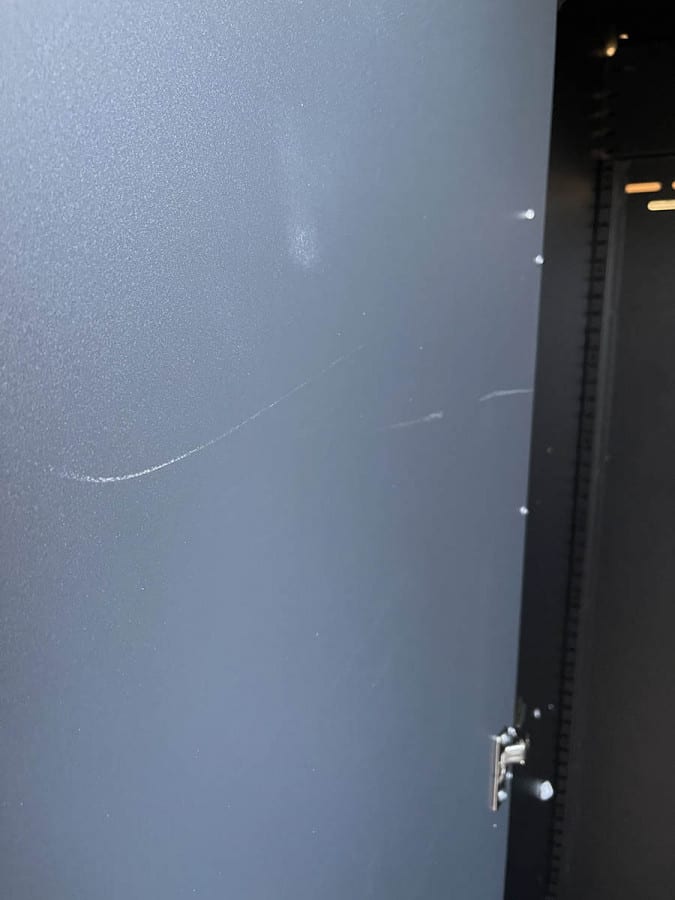
It didn’t look like anything to worry about, but there was visible damage once opened in various areas.
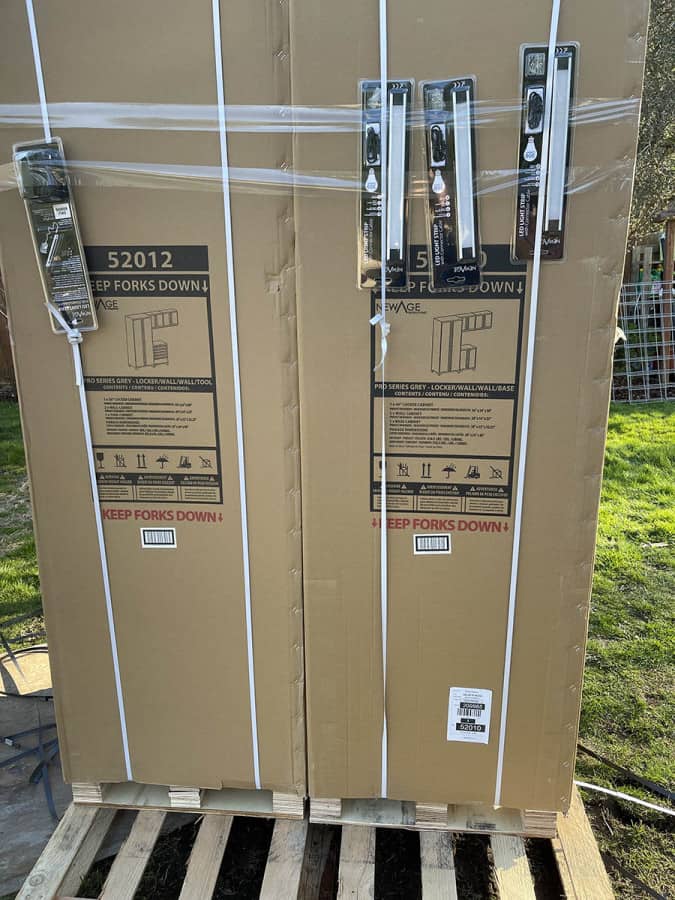
I thought this was an odd choice for shipping the lighting that is used for under the overhead storage shelves. At least they made it in one piece. They were fully shrinked wrap (which I removed before this photo) after being taped to the boxes.
Assembly and Install
The main cabinets are extremely heavy. It will definitely help to have at least 2 adults to moves these into position.
Installing NewAge Storage Cabinets in a Pole Building
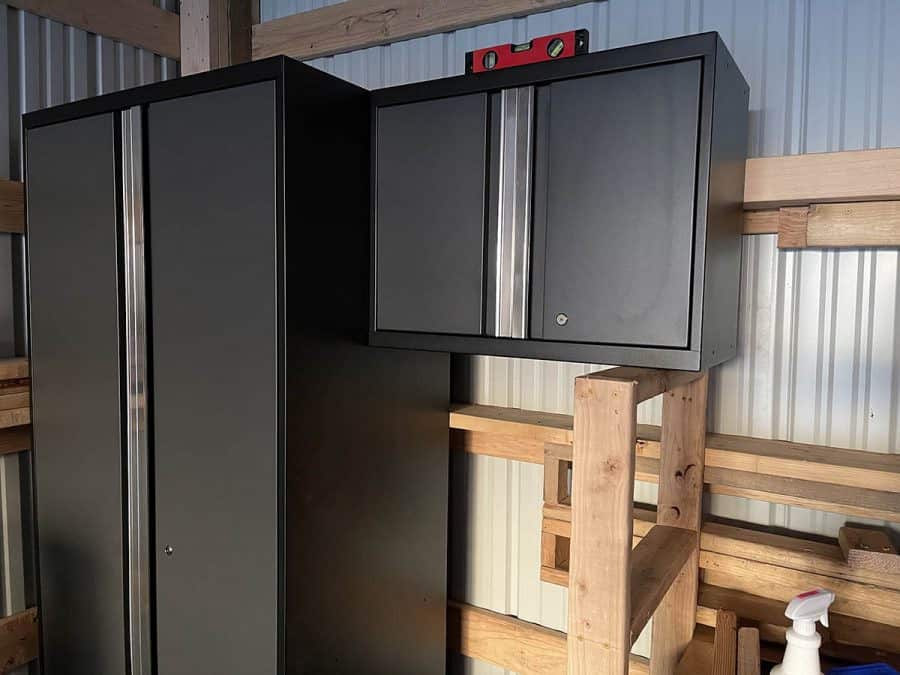
Since I was installing my cabinets in my shop that’s a pole building, there aren’t many vertical support beams. The builders installed a 2×6 about halfway up the wall which provides additional support. It also established how far back I could install the walls. For mounting surface of the overhead cabinets, I installed a 4×6 beam (see photo below).
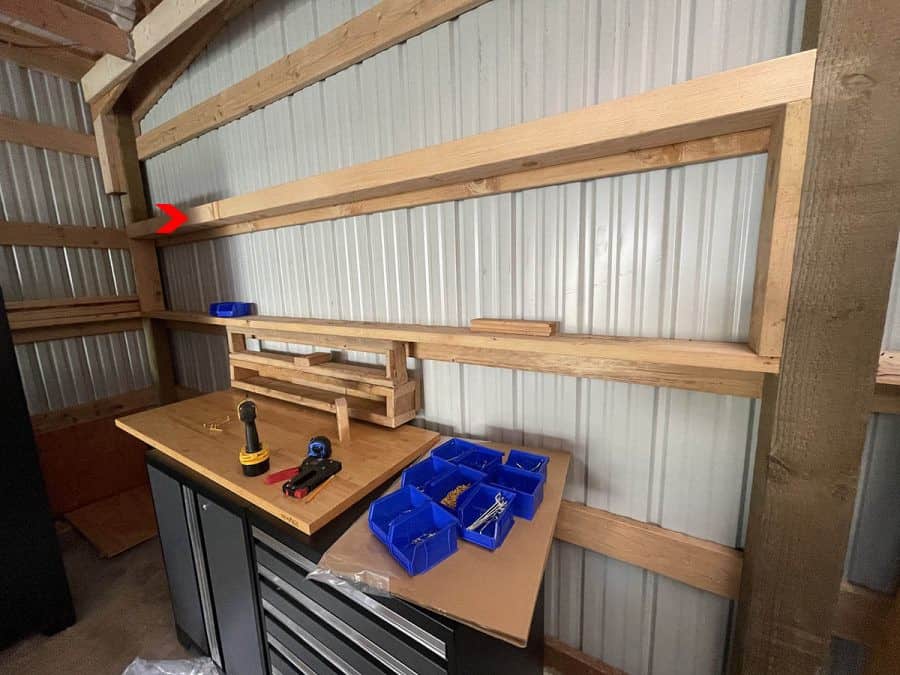
Once installation location was determined, I placed the first cabinet. From there, I began installing the first overhead cabinet. This can be done with one person if you have something to support the cabinet (see 2×4’s below). However, a second set of hands would make things go eaiser.
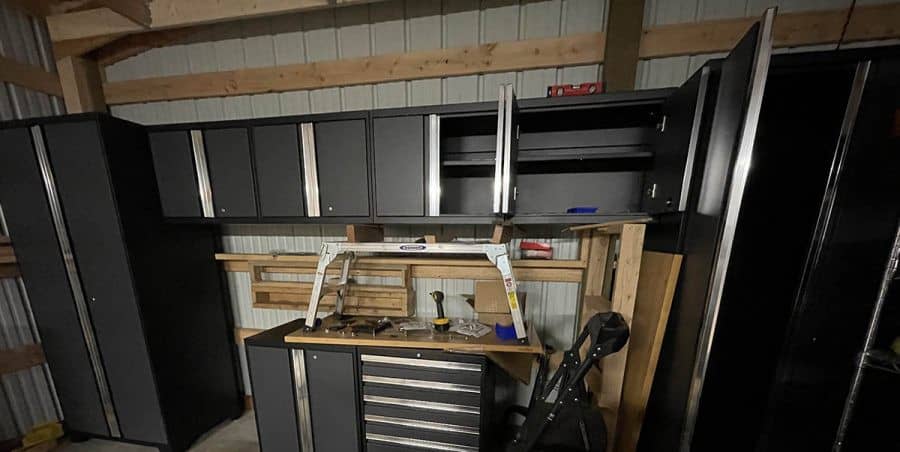
Continuing along installing the remaining overhead cabinets and using a step platform (and cabinets) for temporary support while installing.
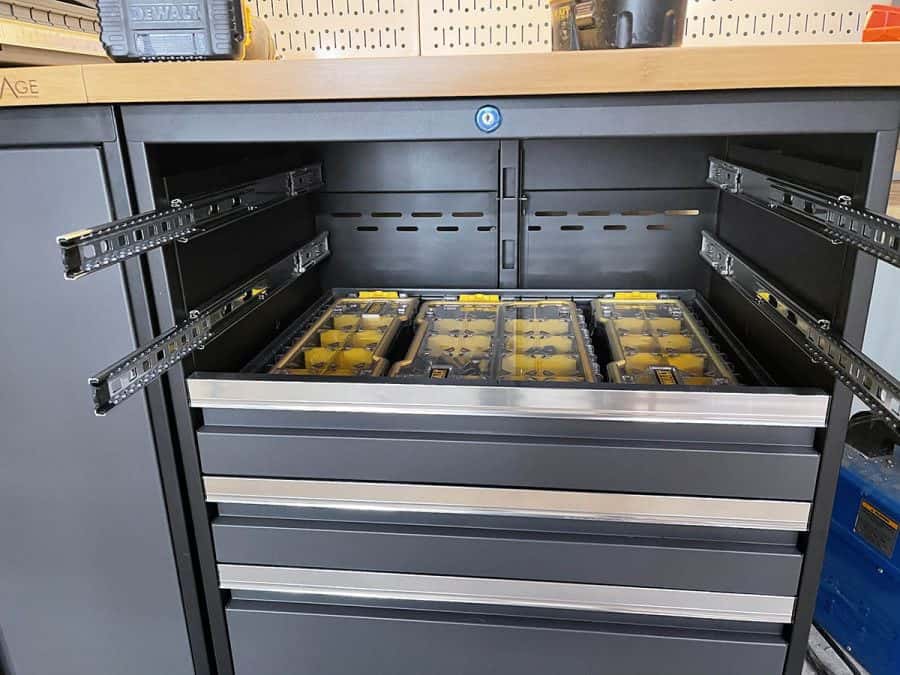
Installing the Benchtop Surface
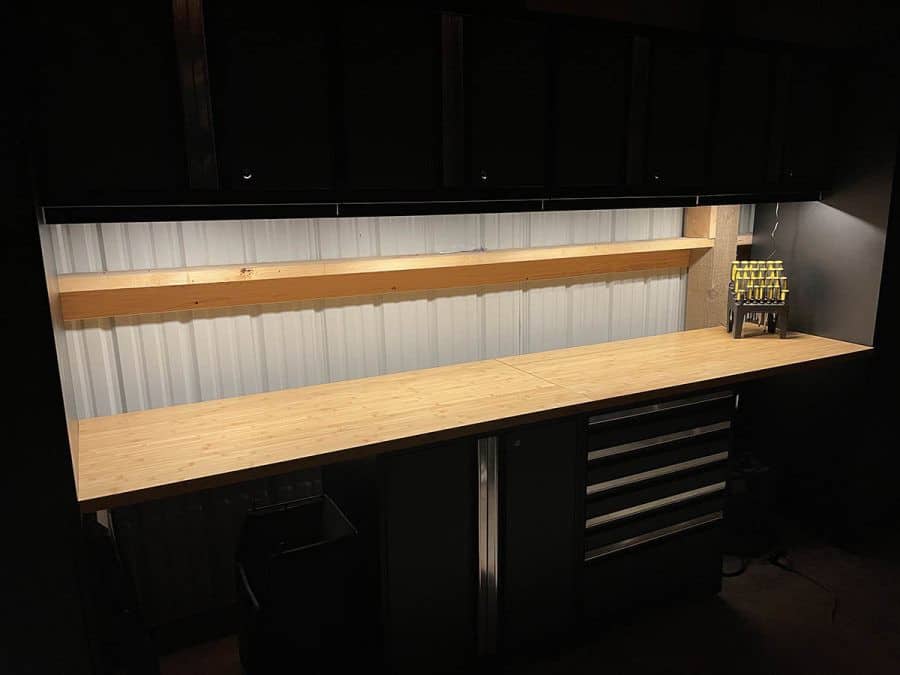
Installing the Lighting
The included lighting uses adhesive magnets to install below the overhead cabinets. The light is quite warm, I prefer a cool white for lighting and have since replaced this lighting.
Pegboard Installation
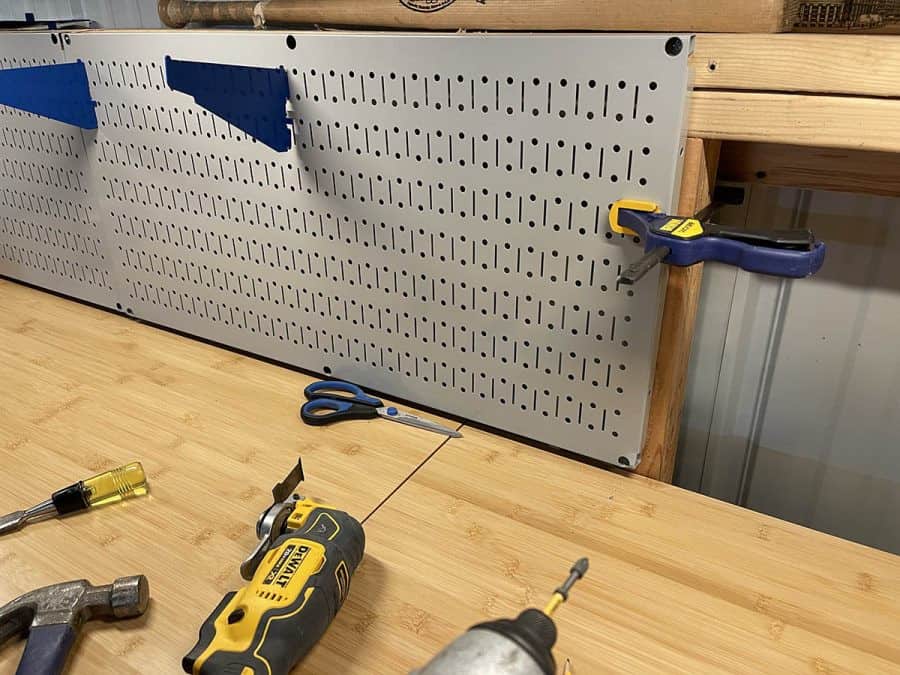
NewAge does offer a pegboard that fits into the opening below the overhead storage and above the benchtop surface. However, I prefer the the steel pegboards from Wall Control.
Overall Perception
Other than the damage, a very solid product. A few packaging improvements, possibly QA before boxing, and also additional care by the courier will substantially improve the customer experience. It’s very frustrating to receive a product with this amount of damage.

