
In this post we’ll go through the steps to install a bi-fold door. The installation time took me around 20 minutes. Everything is fairly straight forward, however this is the first bi-fold door I’ve ever installed and it did have to figure out a couple things along the way. I’ll provide some of these lessons learned that weren’t included in the instructions. Particularly with the pivots and hinges.
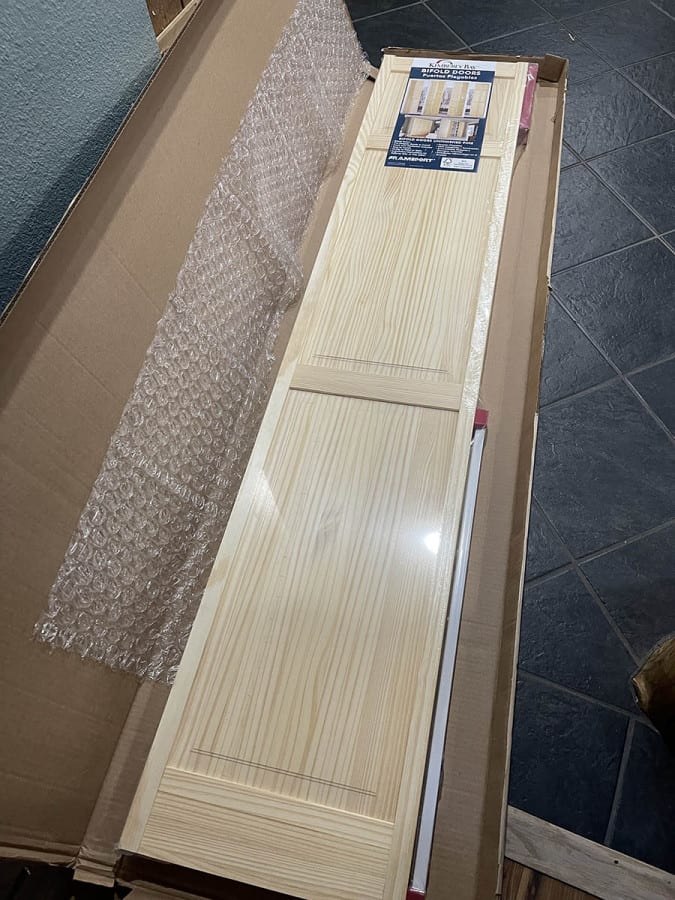
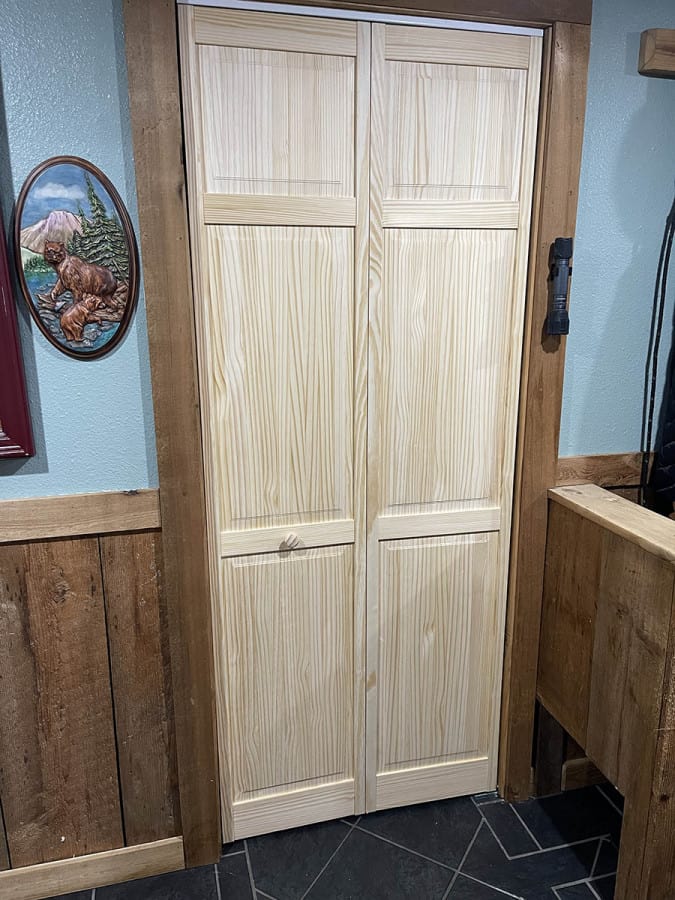
This particular door is by Frameport, and unlike some other designs, this one has several size options, 13 to be exact. I opted for the 6-Panel style. However, louvered designs as well as others are also available. Follow along as we go through the installation process.
Required Tools for Installing a Bi-Fold Door
The tools for installation were fairly basic and minimal, here’s what I used:
- Impact driver (drill would work fine too)
- Drill
- 3/16″ drill bit
- Hammer or mallet
- Tape Measure
- Pencil
- Screwdriver

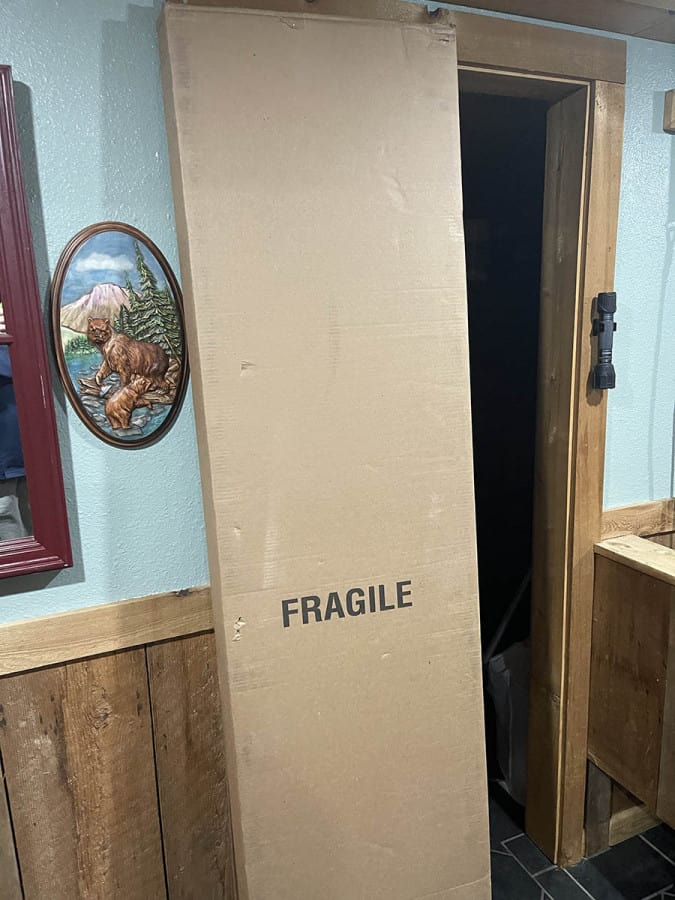
Unboxing the Bi-Fold Door
After a string of wet or damaged deliveries of larger items recently, I was pleasantly surprised to find this door was delivered free of damage.
Bi-Fold Door Hardware
Here’s the included hardware:
- Track Guide
- Top Track
- Round Top Screws (x4)
- Bottom Bracket
- Flat-Top Screws (x3)
- Knurled Hinge Pin with Plastic Sleeve
- Plastic Pivot (x2)
- Pull Handle
- Long Screws for Pull Handle and Bracket (x2)
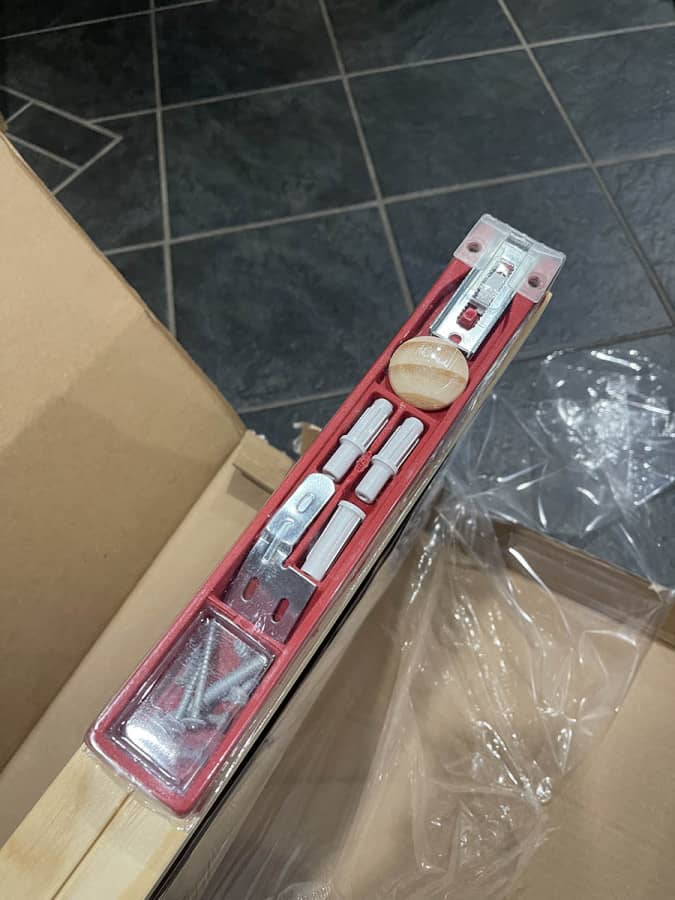
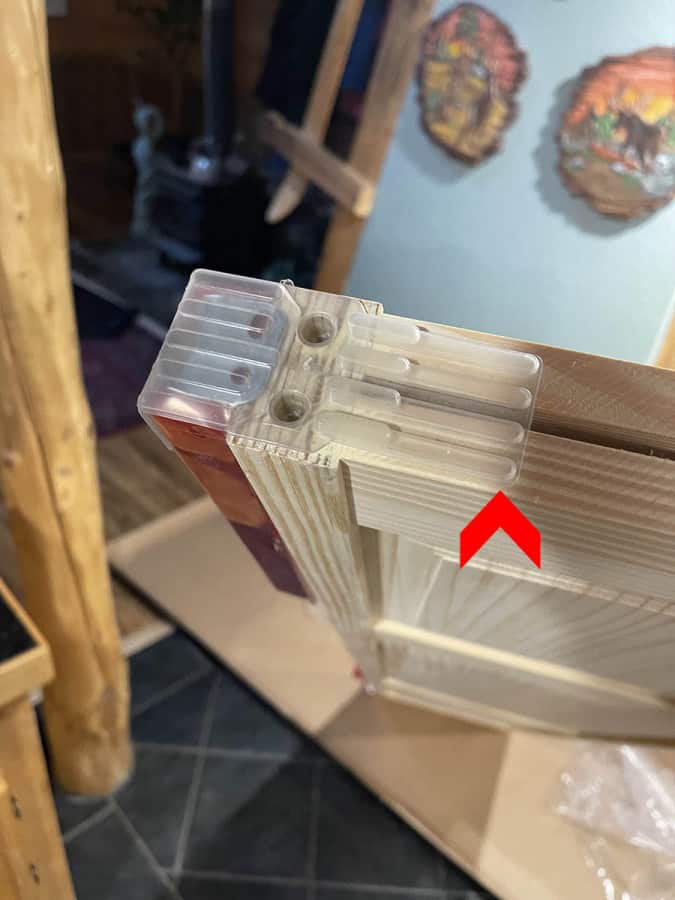
The hardware packs are attached quite secure to the doors, just pull up on the plastic near the arrow to remove.
Step 1 Mark Position of Track
The instructions that came with the door mention marking the center of your top jamb on each side of the opening and center point. I had mine offset, as I didn’t want the doors recessed that far into the jamb. So, for my particular install, the track was only about an inch from the outer walkway.
Step 2 Insert Plastic Guide
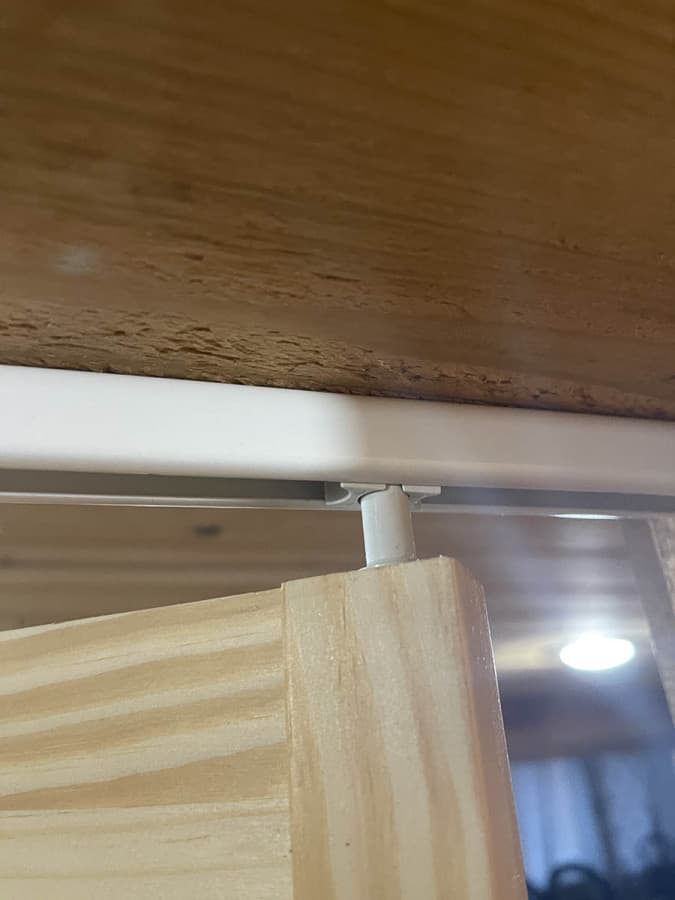
For the second step, you’ll insert the plastic guide into the track. Note, this guide will be positioned on the side of the doorway that is NOT hinged. As stated in the instructions, make sure the scooped surface of the guide is facing up towards the solid, flat side of the track before mounting.
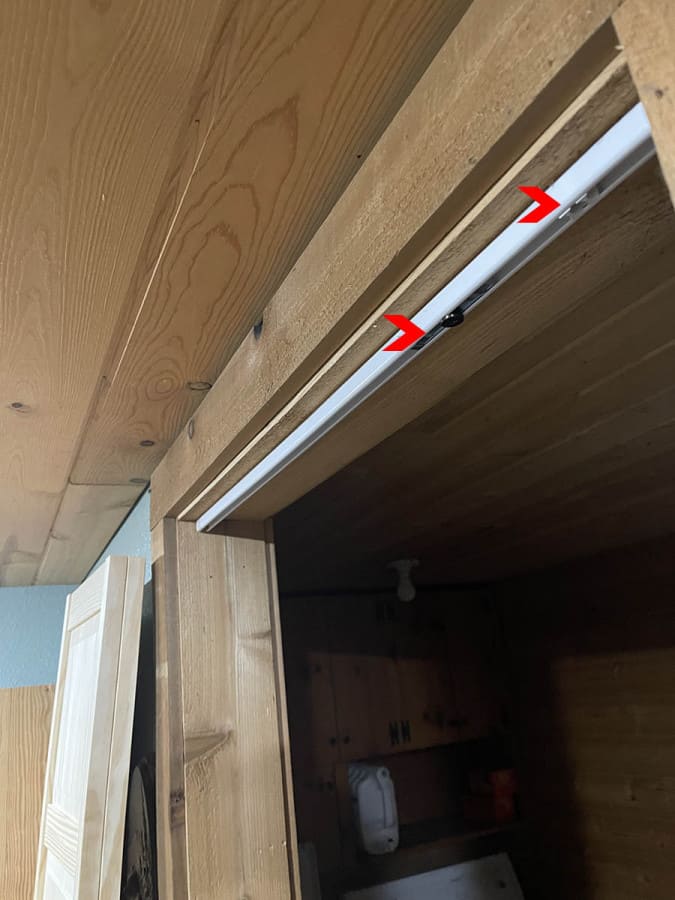
Step 3 Mount the Track
Using the previous marked lines in Step 1, you’ll now mount the track using the three flat-top screws.
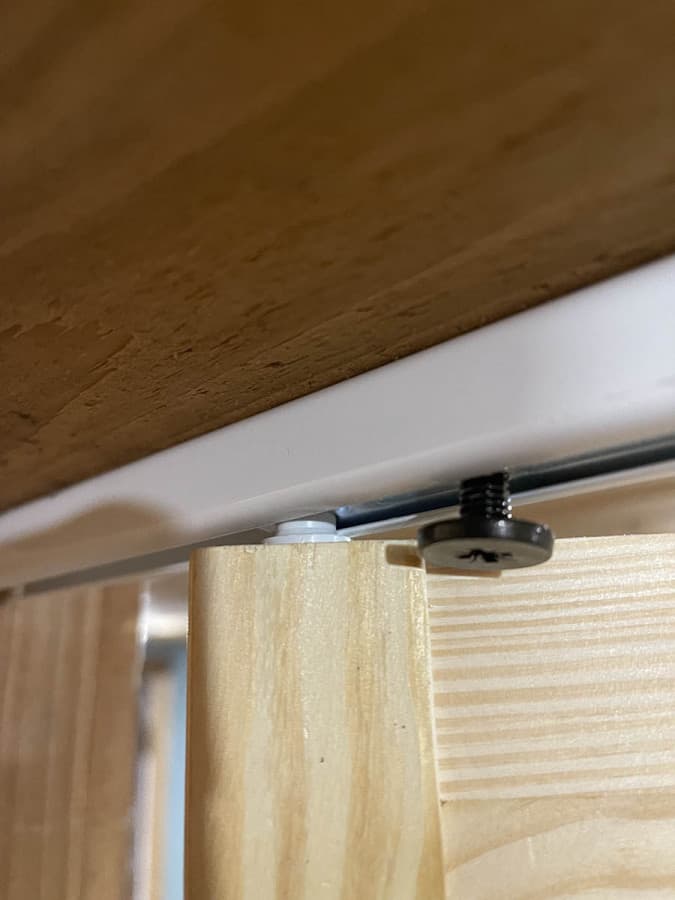
Note: You’ll use position the upper hinge slide bracket (the one with the black set screw) to the side you plan to have the outside of the door hinge. The plastic glide is for the non-hinged door edge.
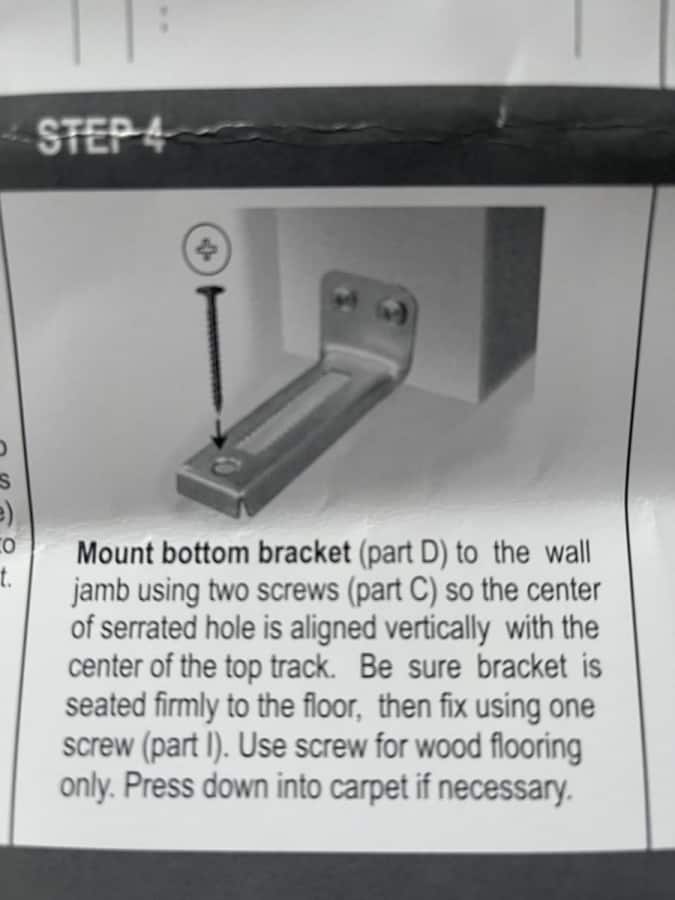
Step 4 Mounting the Bottom Bracket
Next step is to install the bottom bracket. I had tile in this area, but if you have carpet you may need to push the bracket down into the carpet so it doesn’t sit too high. I also opted not to drill into the tile to get a screw at the end. The two screws into the door jamb seem to be enough so far.
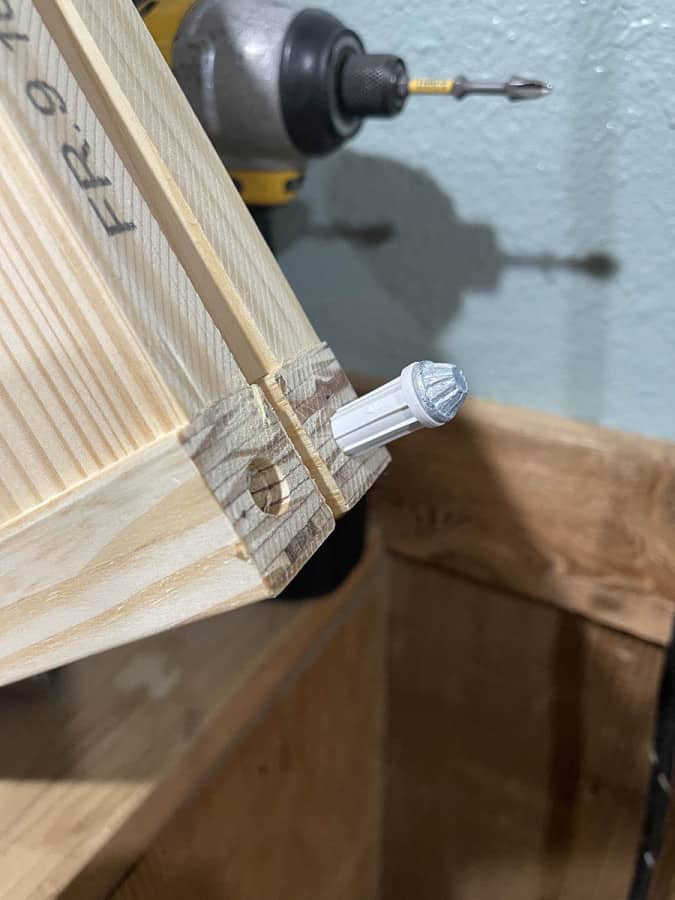
Step 5 Knurled Hinge Pin
For this step, you need to thread the knurled hinge pivot all the way into the plastic sleeve. Once you’ve done that, you’ll tap it into place with a mallet (or hammer). The directions called for hammer, I opted to use a mallet.
Note: Be sure to thread the knurled pivot all the way in, otherwise when you go to hammer it into the door the plastic sleeve could become damaged.
After installing the knurled hinge pivot, the instructions mention back the metal pin out from the sleeve approximately 1/4″. My door opening must be a bit tighter (possibly from the tile). I ended up having keep mine fully threaded. Your results may vary.
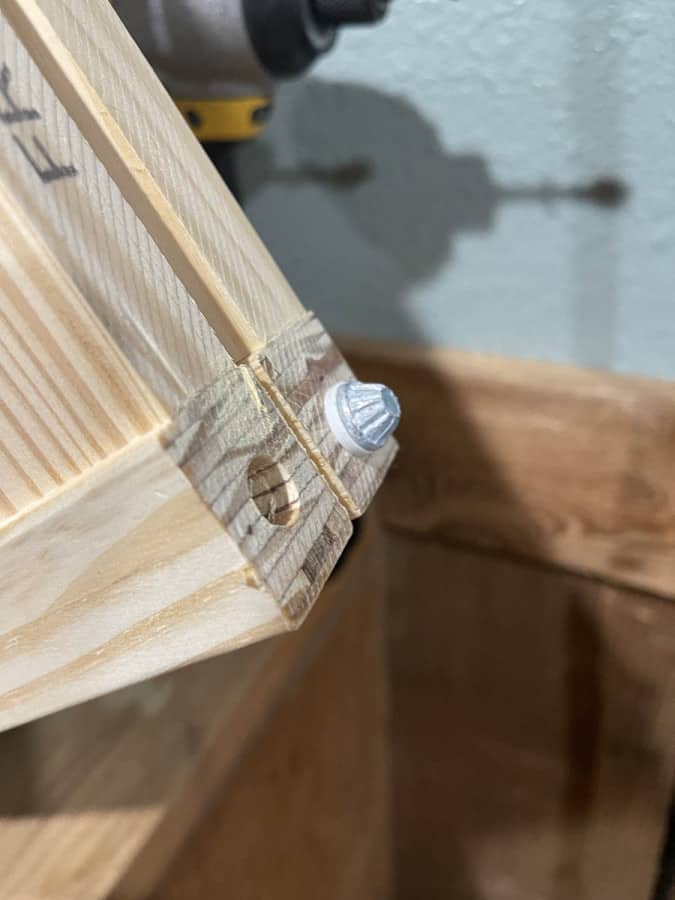
Then, insert the top two plastic pivots and lightly tap them into position to fully seat.

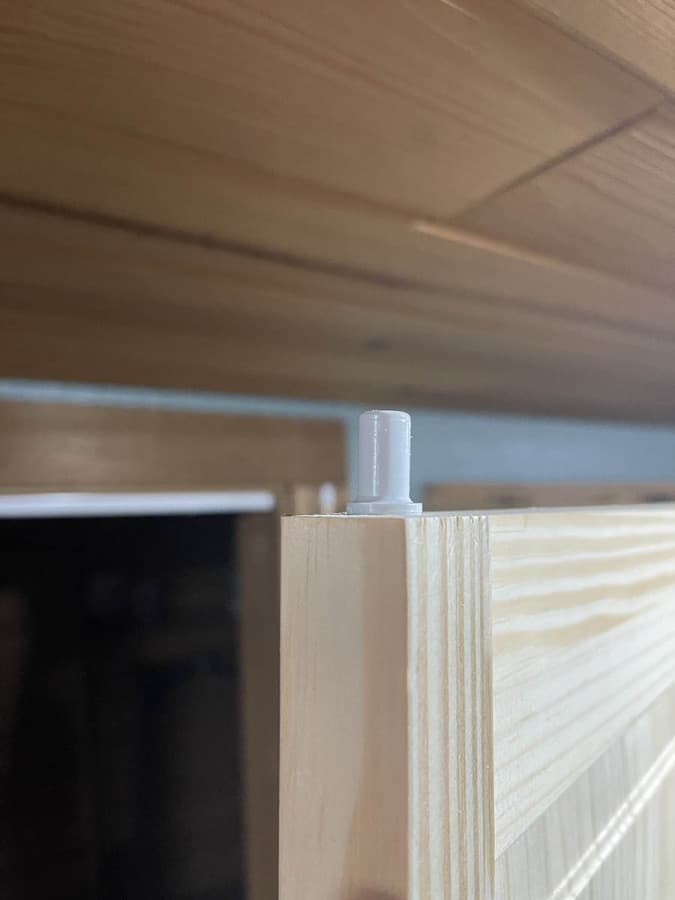
Step 6 Install the Door
You’ll now push upright to align and insert upper the plastic pivots into the sliding hinge guide and track guide in the top track. More than likely you’ll have to angle the door to get them into position, then seat the bottom knurled pivot into the serrated slot of the bottom bracket.
Step 7 Square Up the Door
Now, it’s time square up the door and make final adjustments. Be sure to loosen the set screw on the upper sliding hinge bracket and move it to the necessary position within the track. Once in position, re-tighten the set screw. Test opening and closing the doors to make sure everything operates smoothly. The doors should have equal spacing on all sides.
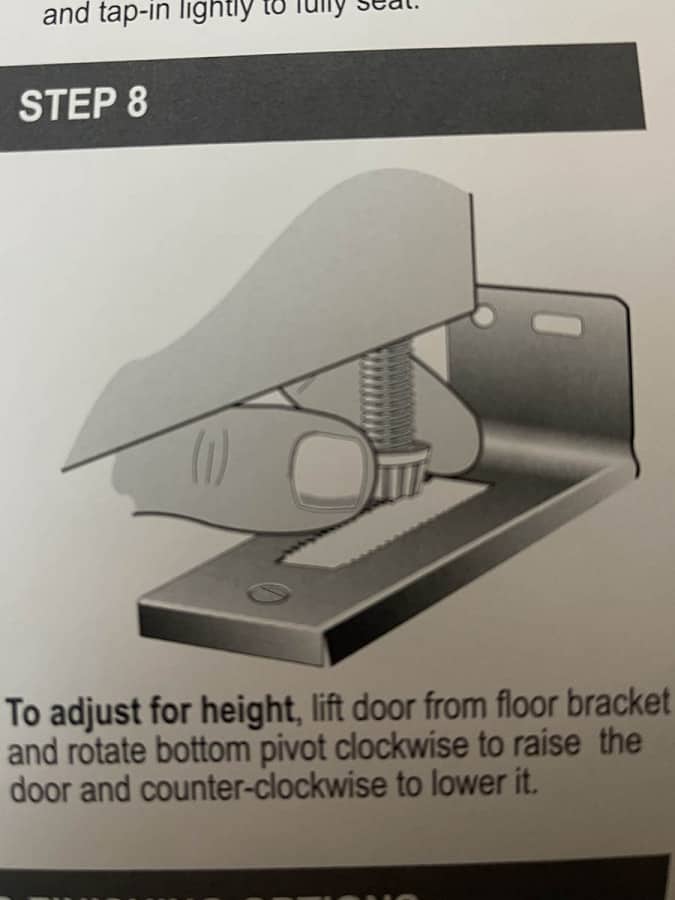
Step 8 Adjust for Height
If you need to adjust the height of your bi-fold doors, lift the door from the floor bracket. You’ll rotate the bottom pivot clockwise to raise, or counter-clockwise to lower it.
Step 9 Install the Pull Handle
For this step, you need to drill a 3/16″ hole in the center of the guide door. Use the long screw from the backside to attach the knob.
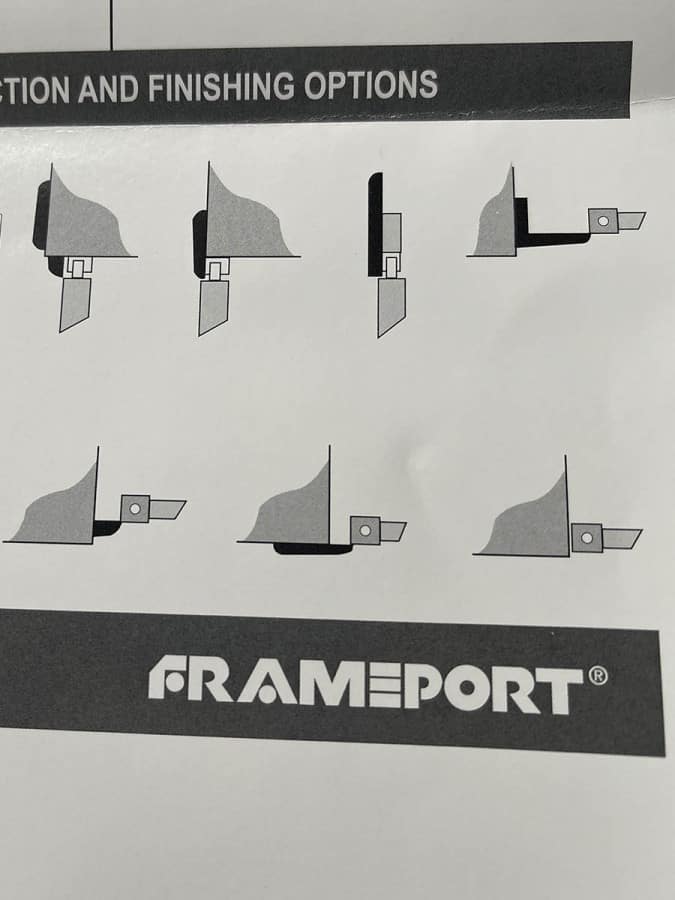
Finishing Options
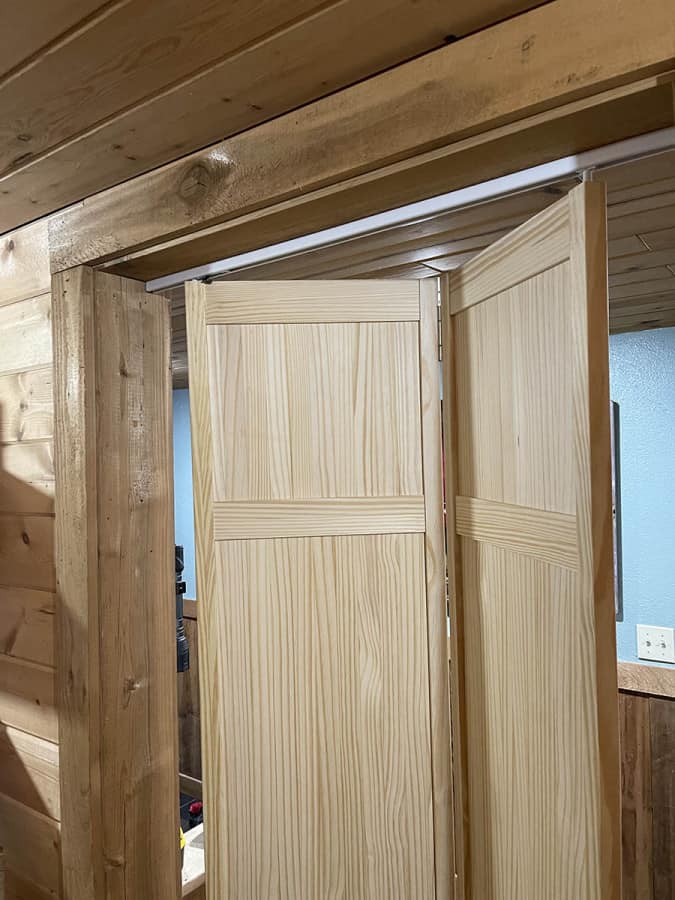
The instructions do show a few finishing options to hide the metal upper track. I’ll likely add a piece of cedar wood later, but for now, it’s functional.
Staining the Bi-Fold Doors
I don’t plan to stain our door, but that could change. The majority of the walls in our cabin are a knotty pine that have darkened over the years from UV exposure from the sun. If anyone is considering this same brand of door, there are specific instructions that come with it regarding painting or staining. Notably, the top and bottom edge surfaces are factory-sealed with two coats of UV cured protection. This means they’ll likely needed to sanded if you plan to paint them. They also will not absorb stain. So, if you plan on painting or staining, just be sure to read the instruction that come with your door.
Summary
All in all quite pleased with this bi-fold door. The lines don’t match up with the trim along the wall, so I’ll see if that bothers me over time. Definitely going to have to wait for the door to darken from UV exposure, as it certainly stands out right now. Otherwise, I may have to consider staining it, possibly a similar color as our exterior doors. The installation was fairly straight forward and easy, so big plus there! It does feel as though you have to use two hands and guide the door a bit as it seems to start to binder without.
Finally, no one has to see our dirty laundry (literally) as they walk in. We now have the laundry closed off and the bi-fold door takes up literally, half the space a non-fold door would when opened.