
This is a project I had been looking into for a few months. New sit-down racing arcade cabinets such as Mario Kart DX can be quite pricey, coming in around $13K USD for a single cabinet. You’re also typically limited to just one game. I wanted to setup a 2 player racing arcade cabinet at our cabin for the game loft, and started exploring various options. We had temporarily setup an OpenWheeler racing wheel cockpit, but it just didn’t seem to delivery the experience I was looking for. I then started looking at building my own cabinet or possibly converting an old cabinet. In case you hadn’t figured it out, I opted to convert an old cabinet.
Sega Rally Arcade Cabinets
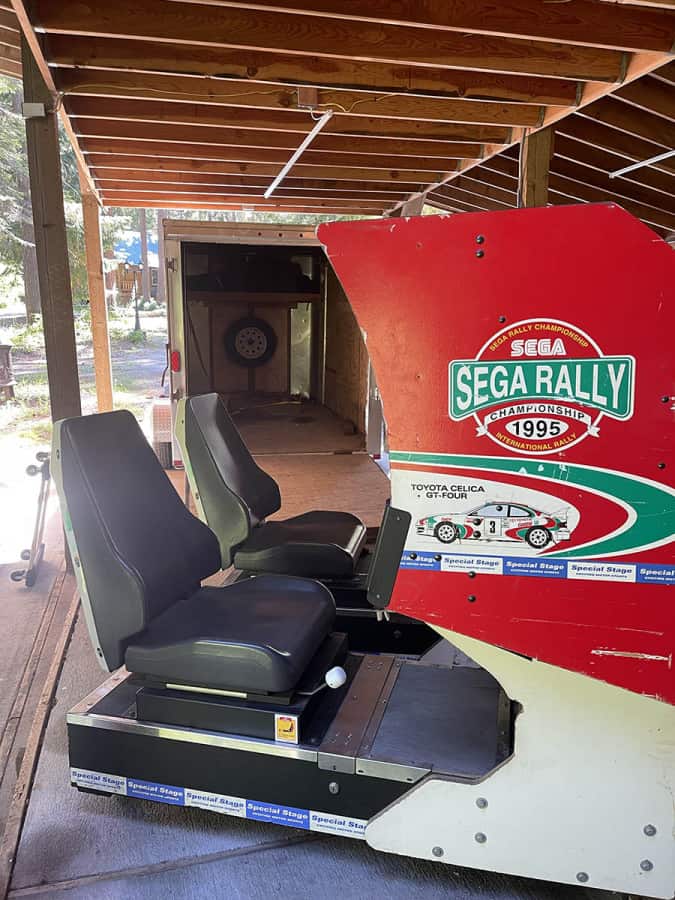
For this project, I started with an old Sega Rally racing game which was made in 1995. I found it for sale on my local Craigslist for $600. Being over 25 years old, it had certainly seen better days, but felt it would give me a solid starting point.
Other Cabinet Considerations
Ridge Racer and Rush 2049 have some intriguing design qualities to their cabinets. I was trying to find a pair of these, but did not have any luck.
I looked into buying another pair of cabinets out of state, but with shipping wasn’t cheap. One seller advised I go through uShip.com, I was receiving quotes for over $2600. That wasn’t going to happen. I’ve seen pinball machines shipped last year across country for around $500. Even with 2 cabinets, the prices I was receiving seemed extremely high so I continued to see if I could find anything locally. Shipping these doesn’t seem like the most budget-friendly approach. I would certainly recommended trying to find something local.
In all honestly, I think you typically need to be flexible, these games aren’t readily available.
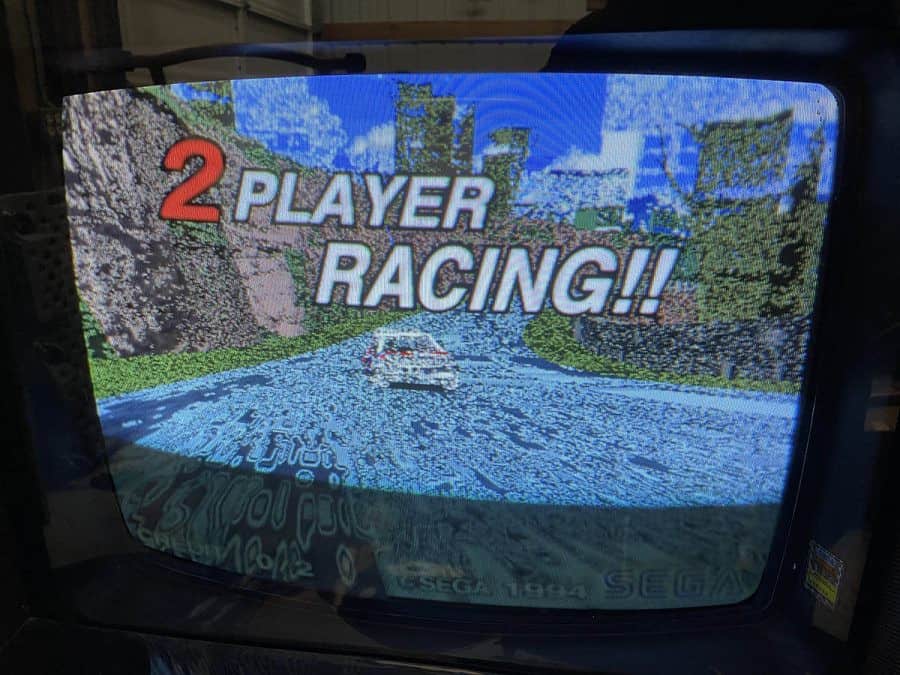
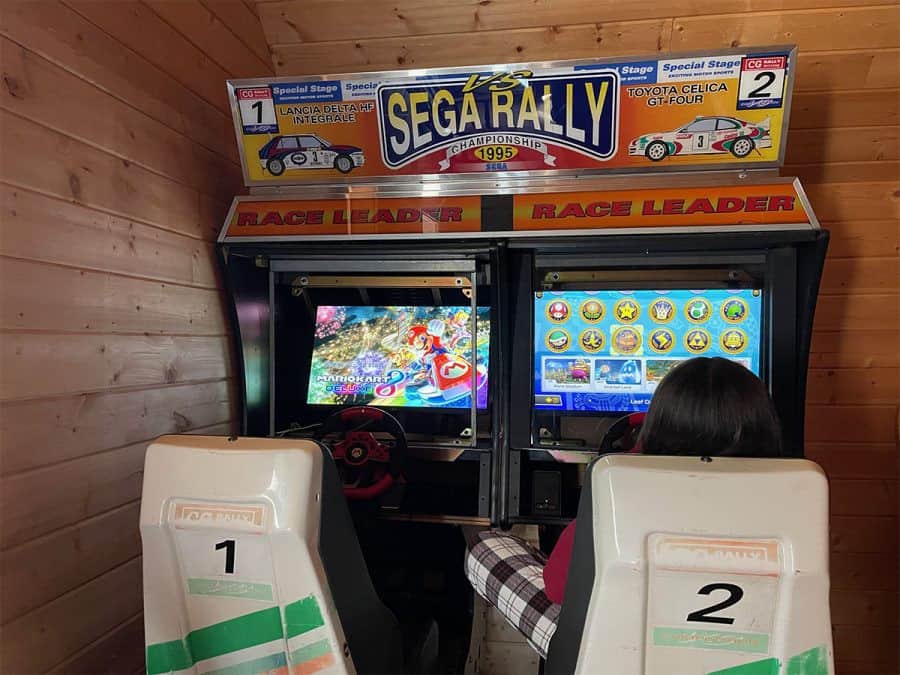
The Original Sega Rally Racing Cabinets
I ended up picking these up just under an hour away from our house. The seller was able to confirm dimensions for me and I quickly realized I wasn’t going to fit two of these in the SylvanSport trailer. My neighbor was actually borrowing our 6’x12′ enclosed cargo trailer and so I was without it for about a week. Fortunately, the seller was willing to hold them for me.
To Keep Original or Modernize
I’m sure this build will not sit well with some who may feel cabinets such as these should be restored to their original condition. Others may be against a Nintendo system in a Sega cabinet.
This cabinet had multiple issues. The screen for player 1 had a distorted image and the accelerator did not work. The previous owner thought it could be a ROM or board issue for the screen and a potentiometer with the pedal. Cabinet 2 had audio issues. Both screens had significant “burn in”.
The kids got a chance to play them, but seemed to agree they would prefer to have the option of playing multiple, modern games. The decision was then made to do a full conversion.

Sega Rally Billboard / Topper
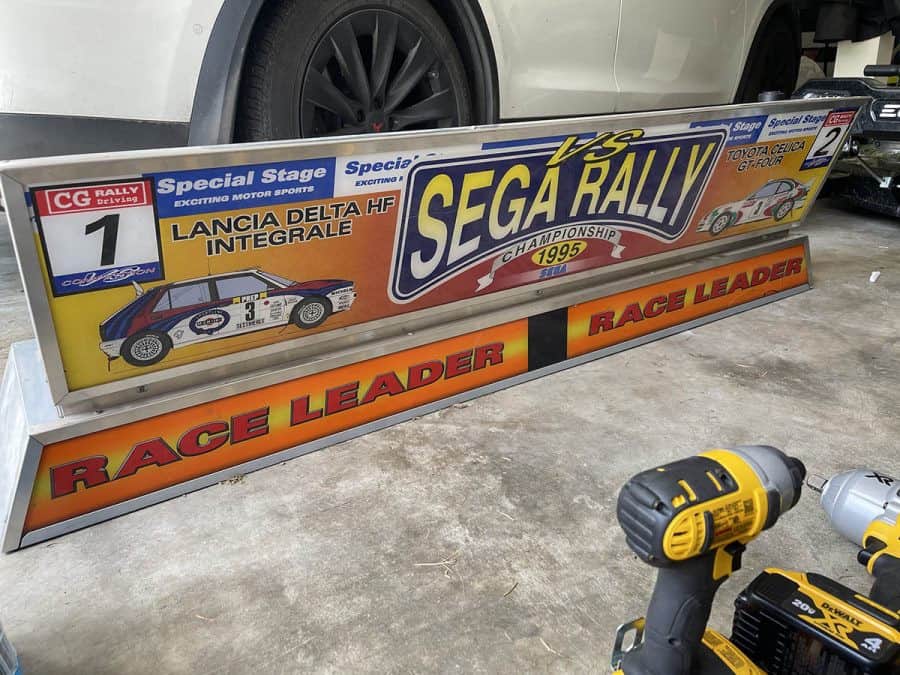
The Race Leader section of plexi did have a crack, this might help convince me to have custom graphics printed sooner than later. If I do go with new graphics, I’ll think of something else to use than “Race Leader” since it won’t be functional. With the original Sega Rally game, it did show which player was leading, so this is functionality I will lose in my Nintendo Switch conversion.
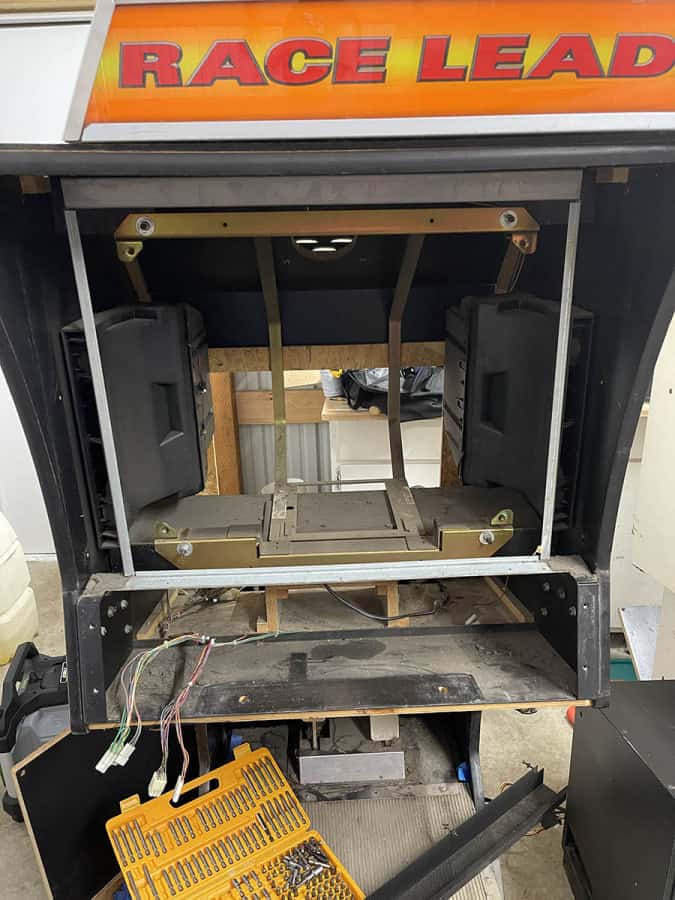
Gutting and Cleaning
After getting the cabinets home, I unloaded them into the shop. I connected everything and powered them to see the original functionality. It was also quite dirty.
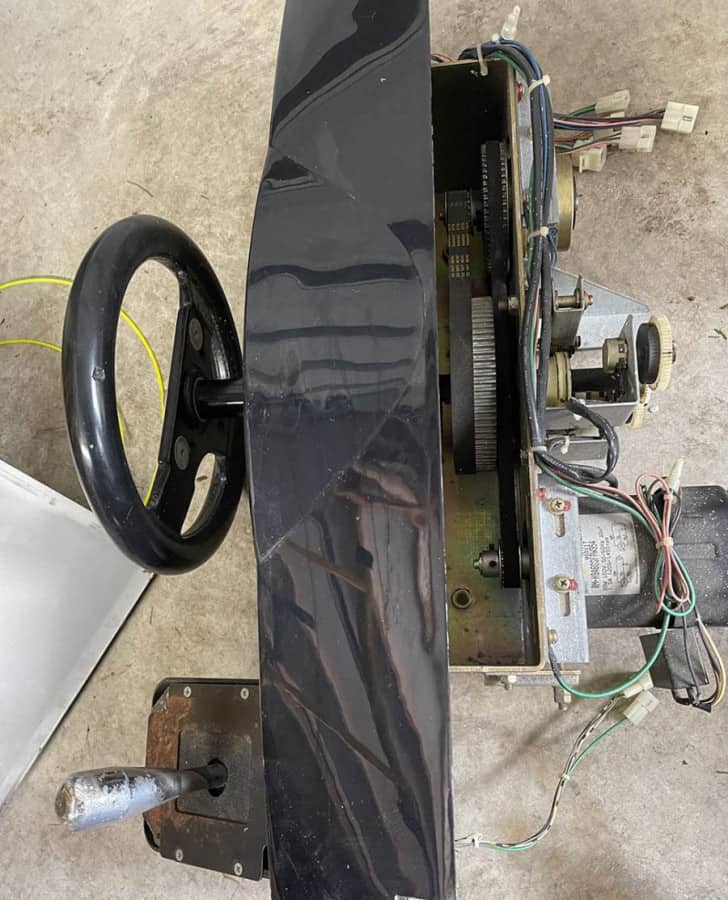
Steering Wheels
The original wheel is quite a bit heavier and robust then PC-based racing wheels. Unfortunately, from what I’ve ready, they are extremely difficult to try and get re-wired, especially if being using for multiple games. A lot of times controls need to be remapped for each individual game.
To keep things simple and easy, I went the plug-and-play route. I purchased a pair of the Hori Racing Wheel Mario Kart Pro Deluxe. These racing wheels are USB and simply plug into the Nintendo Switch docking station. Unfortunately, they do not include haptic feedback.
Transporting (again) and Setting Up in the Cabin Loft
I’m not sure the total of weight of these cabinets, but they’re certainly not light. After getting them hauled over to our cabin, I decided to remove the seat, and unbolt the main cabinet from the base. These made it much more doable for getting up to the loft with the help of my brother-in-law and nephew.
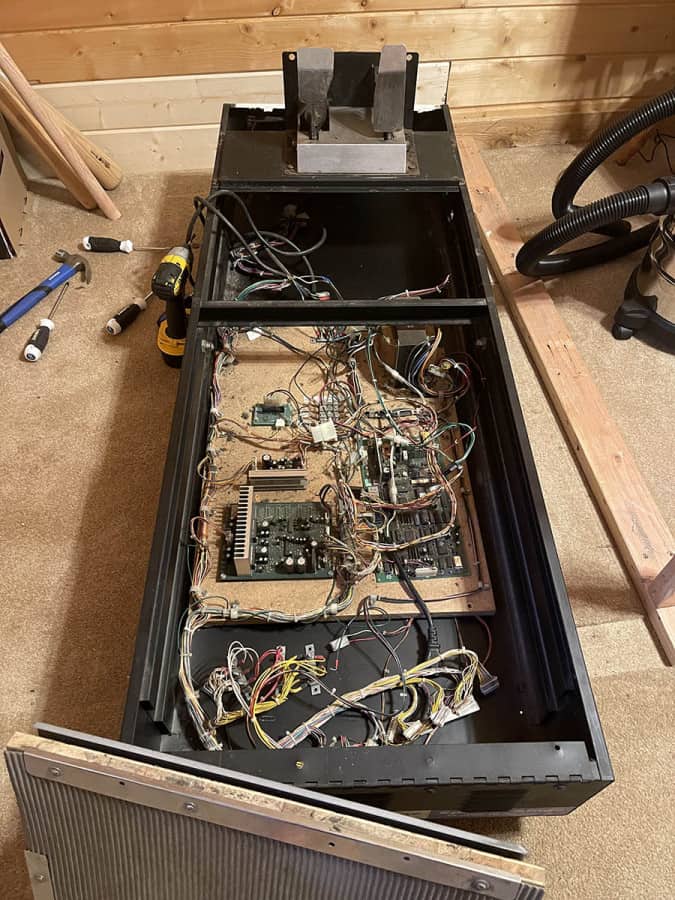
Modernizing and Simplifying
This was a big factor in the decision to update to a newer system. Trying to troubleshoot and get 25 year old hardware working again for an older, single game didn’t seem like the approach I wanted to take.
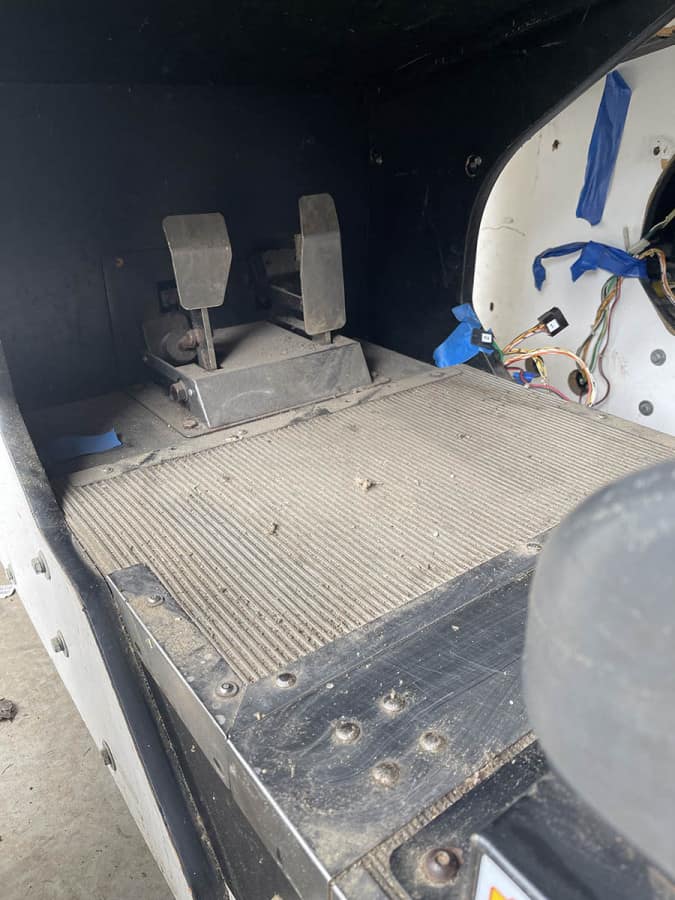
Here’s a look at the under seat hardware:
Gameplay – 2 Player Action Without the Split Screen
Going back even to the original Mario Kart on the Super Nintendo I found it annoying having a split screen for two players. Back then, I don’t believe it was possible to setup two separate screens. Today, however, WiFi makes it a lot easier! While you do have the option of using the Online Play mode, we’ve been using the Wireless Play. In this mode, one player will create a lobby, then others can join. I’ll add some images for this later.
Having to go in and setup the Wireless Play is a few more steps than just sitting down to a Mario Kart DX (or other racing game) and inserting some tokens, but I feel the tradeoff going to modern technology was well worth it. We’ve had extended family who have thoroughly enjoyed it, even though things were only temporarily setup.
Requirements
With this type of configuration, you do need to have a Nintendo Switch and game for each setup. For two cabinets, you need two Nintendo Switch Game Systems and two copies of which ever game you plan to play. You also need to have two docking stations.
Next Steps
Everything is currently functional, but in a temporary setup. I need to get permanent mounting for the LCD screens and will likely be re-using the original glass. Wiring needs to be cleaned up, I need to order at least one surge protector and possible add a new electric outlet closer to the racing arcade location.
Dashboard
Rather than hack up the original dashboard, I may look at using it to make a fiberglass mold for a new one. As a temporary solution, I’ll probably use some mdf or plywood to fill the gap. I’m also going to void my warranty on the Hori Steering Wheel by opening up the plastic base just behind the wheel and see if it makes sense to keep it removed be a one-piece dash panel. At least I assume there’s a warranty sticker there.
Future Upgrades
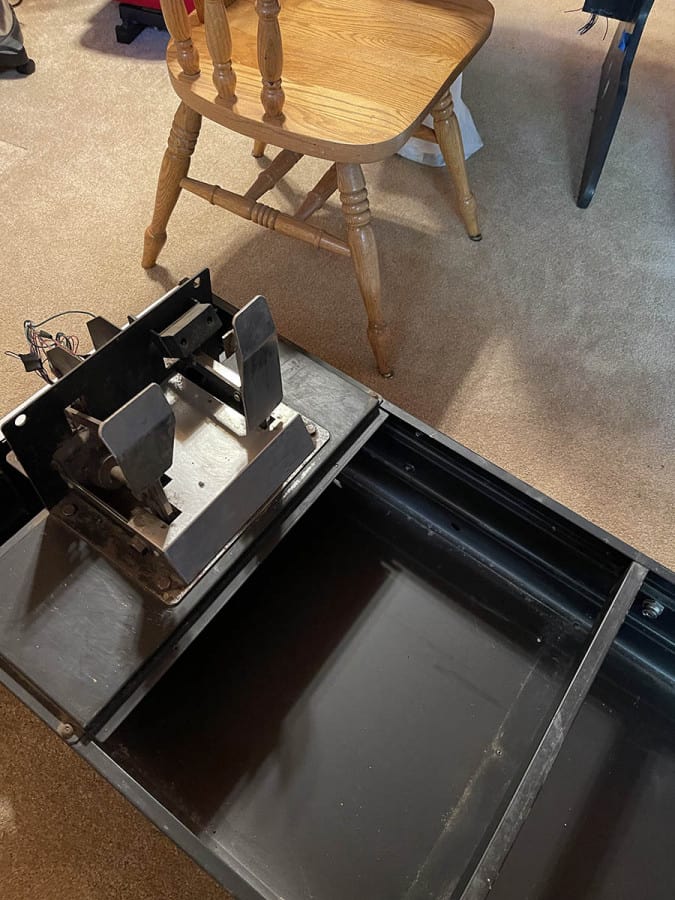
At some point I may look to re-wrap the arcade with custom new graphics and a new billboard insert. I also want to look into trying to re-use the original pedals, I’ve read where this can be fairly easy compared to trying to retain the original steering wheel.
One section of the cabinet was missing the t-molding. I may look to upgrade to LED t-molding that is used on many modern arcade cabinets.
A 3rd Cabinet?
I may build a 3rd cabinet that will also double as a pedestal arcade setup for MAME. Stay tuned.