Finding Used SylvanSport Go Trailers For Sale Near Me: Adventure on a Budget!

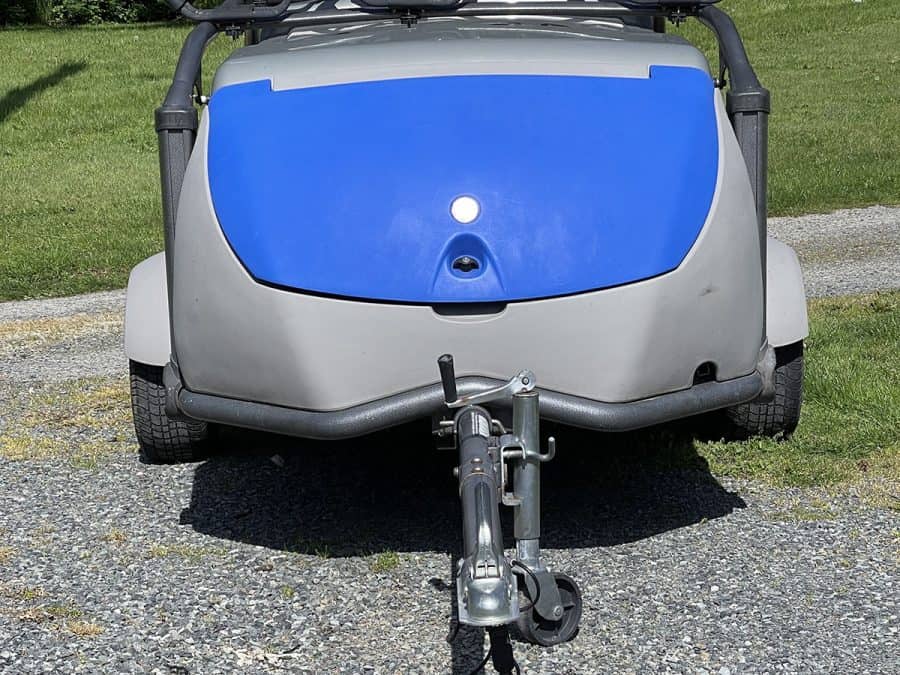
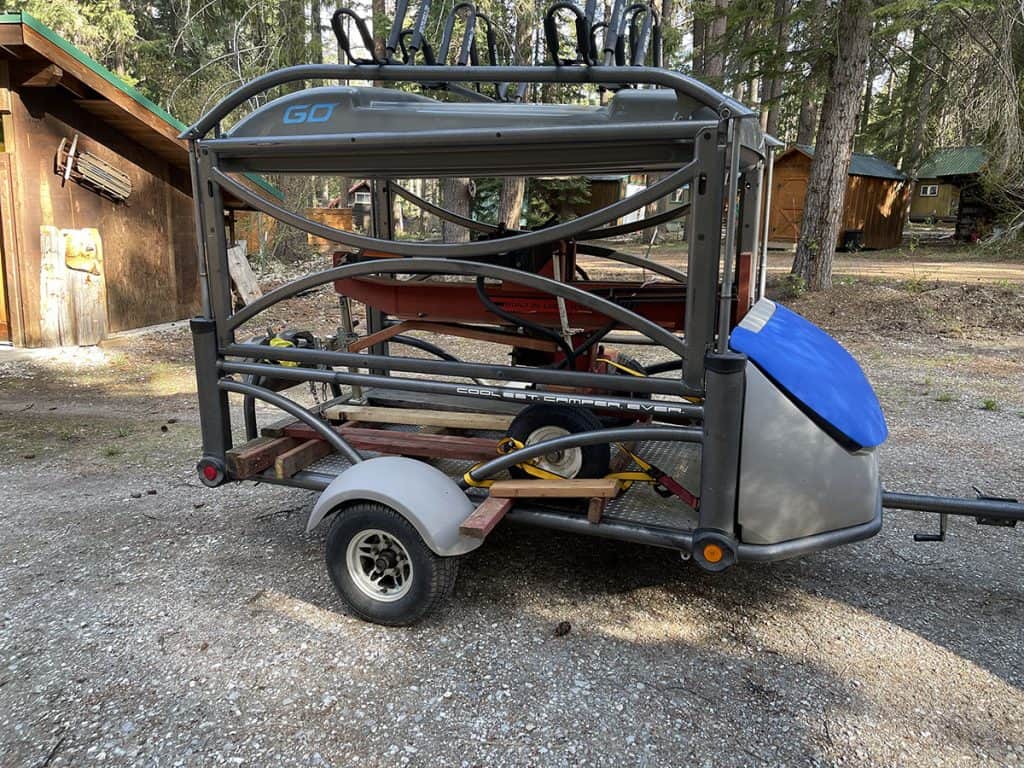
Embarking on outdoor adventures is a thrilling way to explore the world around us. For those seeking versatility, durability, and innovation in their camping experience, the SylvanSport Go trailer is a remarkable choice. Designed to blend the convenience of a camper and the utility of a gear-hauling trailer, the SylvanSport Go offers a unique camping experience. However, buying a brand-new trailer isn’t always feasible for everyone. Used options can be far more budget friendly. Fortunately, there are platforms like Listhopper and other online classifieds to find used SylvanSport Go trailers, ensuring you can still fulfill your wanderlust without breaking the bank. In this article, we’ll explore how you can utilize these platforms to find the perfect used SylvanSport Go trailer for your adventures. We’ll also cover what you can expect to pay when buying a used SylvanSpoprt Go trailer. Where to Find Used SylvanSport GO Trailers Listhopper The used SylvanSport GO we purchased was on Craigslist for a city in Oregon, but I wasn’t searching on Craigslist when we found it. I used Listhopper which is similar to Indeed.com which pulls job listings from several different websites, but for classifieds. How to Use Listhopper Listhopper is free and you simply need to enter what you’re searching for. By default however, the search is set to “Craiglist”, so be sure to select the “Search All” option all the way to the right, or which ever classifieds you want to search. You can also use the “Filter Cities” to refine the search to your area. RV Trader The next site I’ve found the most SylvanSport GO’s listed is RV Trader. IRV Trader: RV Trader specializes in connecting buyers and sellers of new and used RVs, making it a valuable resource for finding pre-owned SylvanSport Go trailers. Its advanced search options allow you to narrow down listings based on various criteria. More SylvanSport for Sale Online Attend RV shows and dealer auctions: In addition to online platforms, attending RV shows and dealer auctions can provide an opportunity to find used SylvanSport Go trailers. These events often showcase a variety of recreational vehicles, including pre-owned models. Participating in such events allows you to physically inspect the trailers, ask questions, and potentially negotiate the price directly with sellers. SylvanSport In-Person RV Events Occassionally SylvanSport GO trailers might be featured at RV events. Attending RV shows can be an excellent opportunity to find great deals on a wide range of recreational vehicles, including the SylvanSport Go trailers. These shows bring together multiple dealers and sellers in one location, creating a competitive environment that can lead to attractive pricing and special offers. How Much Are Used SylvanSport GO Camping Trailers? We bought our SylvanSport GO used for $3800, I’ve seen one slightly lower at $3500 once. However, on average, I’ve seen many for sale between $5000-7500. New ones with several accessories are often listed for $10K or higher. A few factors will go into the value of SylvanSport GO: Here’s a couple posts I came across at the time of publishing: Conclusion Embarking on adventures with a SylvanSport Go trailer opens up a world of possibilities for outdoor enthusiasts. While purchasing a brand-new trailer may not always fit within your budget, platforms like Listhopper and other online marketplaces offer a practical and convenient way to find used SylvanSport Go trailers. By utilizing these platforms and exploring local events, you can discover the perfect trailer that meets your needs, allowing you to embark on thrilling adventures while making the most of your resources. So, go ahead and unleash your wanderlust – the open road awaits! Looking for more information on the SylvanSport GO trailer? Be sure check out our SylvanSport GO Review.
Finding Used SylvanSport Go Trailers For Sale Near Me: Adventure on a Budget! Read More »