A Simple Bolt-On Way to Lower Your M1101 Trailer Tongue
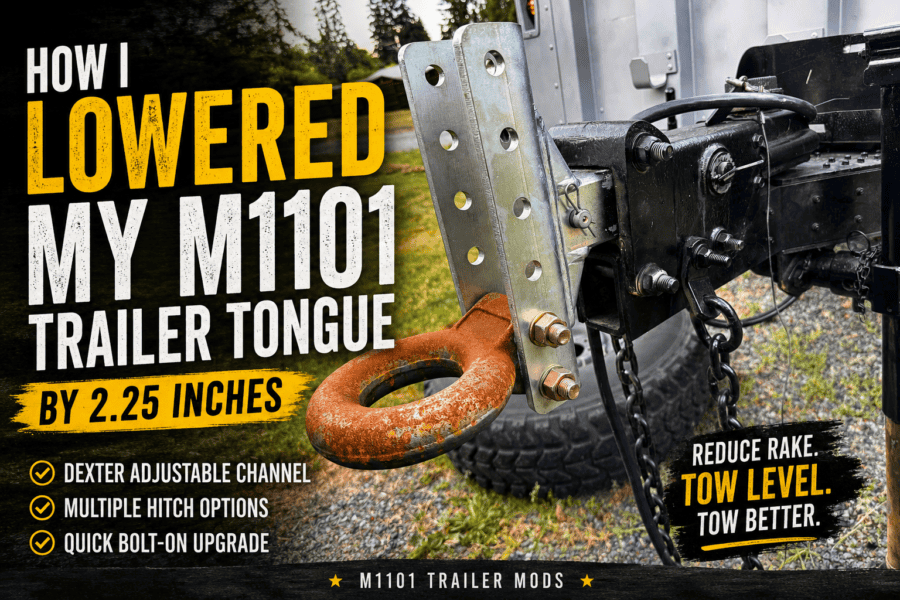
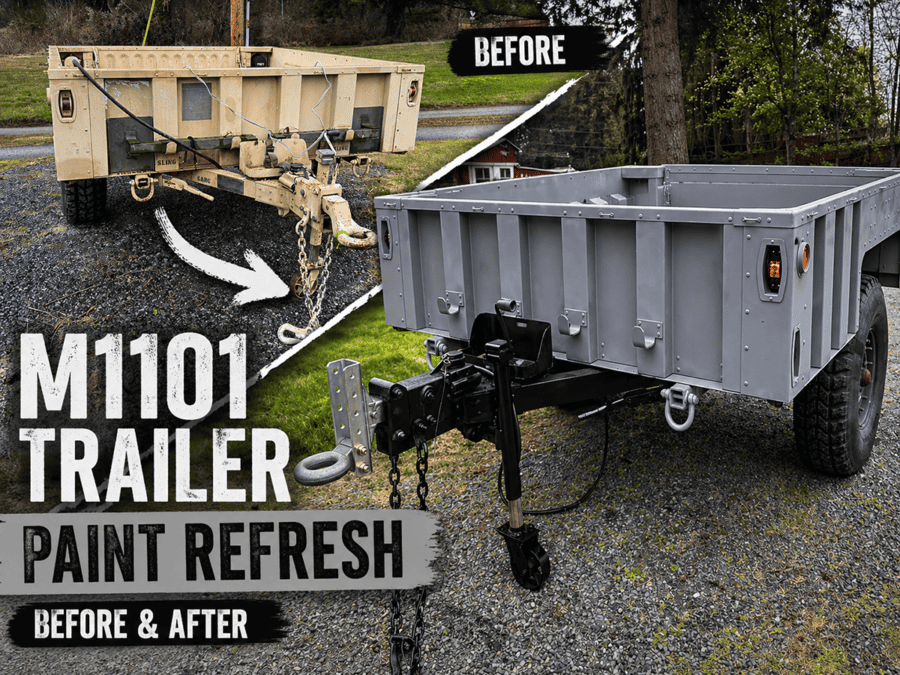
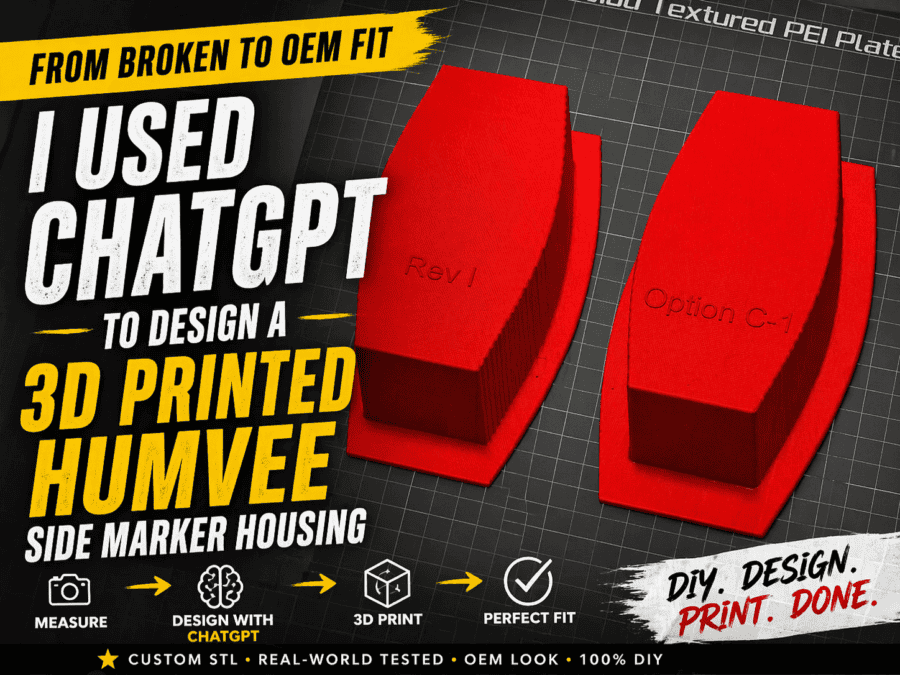
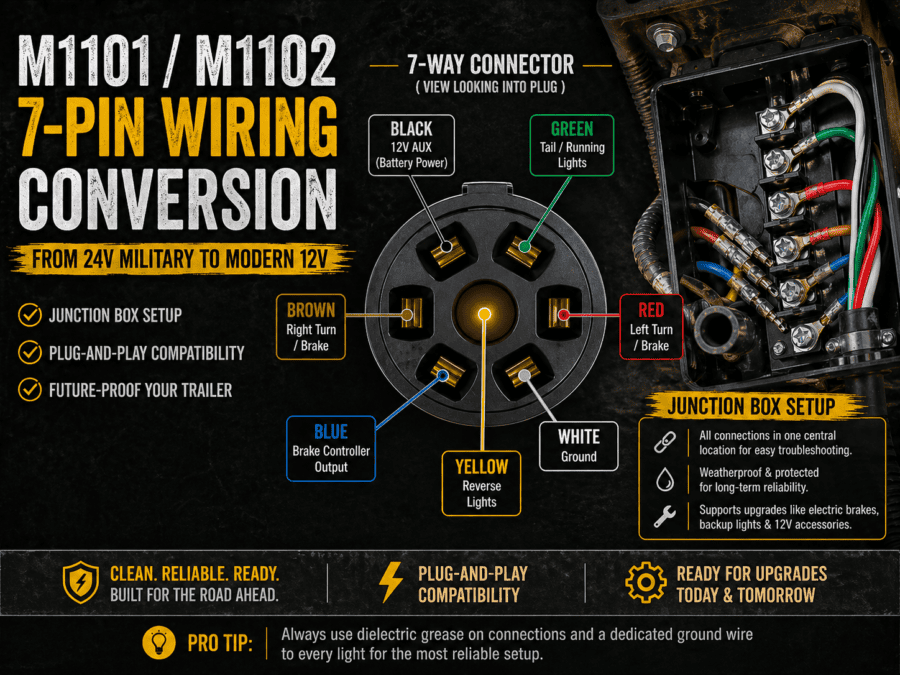
One of the biggest issues for just about anyone who has an M1101/2 military trailer is the tongue is simply too tall for their tow vehicle and will create substantial rake. The trailer angles down significantly and is nowhere near level. The trailer sat noticeably rear-high. Like many M1101 owners, I started searching for ways to lower the tongue height without cutting apart the trailer or fabricating an entirely new tongue assembly. I had some upcoming work around the cabin I wanted to use it for, and didn’t have time for downtime working on a custom fabrication at the moment. After digging through forums and trailer parts catalogs, I came across the Dexter Model 6 Adjustable Channel Inner Slide on eTrailer. After installing it on my M1101, it lowered the tongue approximately 2.25 inches and made a noticeable improvement in the tow angle the trailer sits behind my truck. Why I Was Looking for a Tongue Drop Solution Military trailers like the M1101 and M1102 were designed to be used with the Humvee military vehicle that sist much higher than modern pickup trucks. Several people will go with different wheels and frequently shorter tires, often 33″ tread. This will lower you down 2″ from the OEM 37″ tires that come with the trailer. I’m planning on running 35″ tires on my trailer, which will only give a 1″ drop. In my case, the trailer always carried a noticeable forward rake when connected to my tow vehicle. I considered several options: The problem is that none of those options are particularly quick. What I really wanted was something I could bolt on in an afternoon and test before committing to major fabrication work when my schedule better allowed. I also don’t trust my welding skills at this point to have a trailer in-tow to be tested by my welds. I’ll definitely be have a friend of mine help out on that one when the time comes. The Dexter Adjustable Channel The Dexter channel provides multiple mounting positions that allow you to move the coupler higher or lower depending on your setup. One feature I particularly liked is the flexibility it offers for different hitch styles. The channel can be configured to use: For M1101 owners who are still deciding which hitch setup they want long-term, that flexibility is a nice bonus. Installation and Results Installation was straightforward and required no permanent modifications to the trailer. I mounted the coupler in the lowest available position, which dropped the tongue approximately 2.25 inches. The trailer now sits much closer to level behind my truck than it did before. If you’re dealing with an M1101 that has excessive rake, this is probably one of the quickest improvements you can make. The Downside (At Least for Me) While the Dexter channel solved my height issue, it created a new problem. Because the bracket is designed to provide both upward and downward adjustment, there is a large section of the channel that extends above the tongue. On my setup, that upper section prevents the tailgate from fully opening. It’s not a dealbreaker, but it is something I noticed immediately after installation. I suspect many M1101 owners will run into the same issue depending on their tow vehicle and hitch setup. Why I’ll Probably Build My Own Version Later As useful as this bracket has been, I don’t think it will be my permanent solution. My long-term plan is to fabricate a custom drop bracket, likely as part of an extended tongue project. If I build one, it will: A dedicated drop-only version would be more useful for most military trailer owners than the current raise-and-lower design. Perhaps eTrailer or other manufactures will offer one in the future. Let me know if you’ve found any off-the-shelf options that are a drop-down only. Unless you’re towing behind something with an extreme lift kit or a military vehicle, it’s difficult to imagine needing the higher mounting positions. Final Verdict If you’re looking for an easy way to lower an M1101 or M1102 trailer tongue without fabricating custom parts, the Dexter adjustable channel is one of the few off-the-shelf solutions available. It’s easy to install, compatible with multiple hitch styles, and lowered my trailer approximately 2.25 inches. The raised portion of the bracket can interfere with tailgate operation, and I still plan to build a custom solution eventually. However, for a quick bolt-on upgrade that noticeably improves trailer stance, it’s hard to argue with the results. Sometimes the best modification isn’t the perfect one—it’s the one that gets the job done while you figure out the next phase of the build. p.s. After a few relatively short months, the lunette ring I went with certainly isn’t resistant to the elements. Rather than sticking with the patina, I’ll be sanding it down and painting it sooner than later. More of Our M1101 Content M1101 Paint Refresh ChatGPT Designed, 3d Printed M1101 Replacement Marker Light Housings M1101/2 12 Volt Conversion Purchasing an M1101 Trailer
A Simple Bolt-On Way to Lower Your M1101 Trailer Tongue Read More »