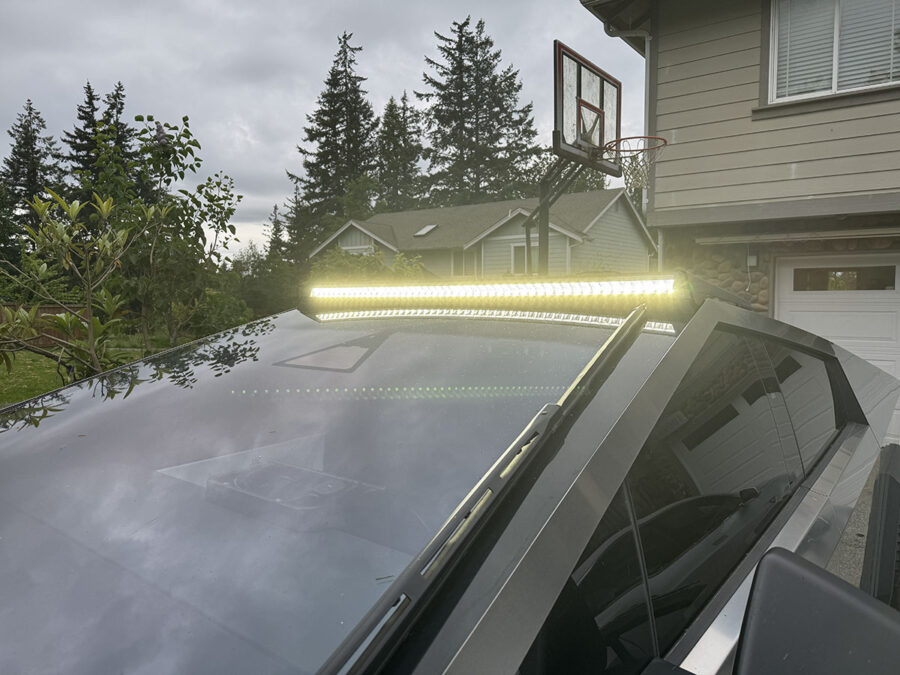
IMPORTANT: Installation involves wiring into the Cybertruck’s 48V system. If you’re not confident with electrical connections, consider hiring a licensed professional.
🛠️ Tools & Materials Needed:
- Heat gun
- Wire cutters/stripper
- Socket wrench set
- Screwdriver
- Zip ties (Optional)
- XKMAX Light Bar kit (includes wiring harness, heat-shrink connectors, mounting hardware, brackets, and controller)
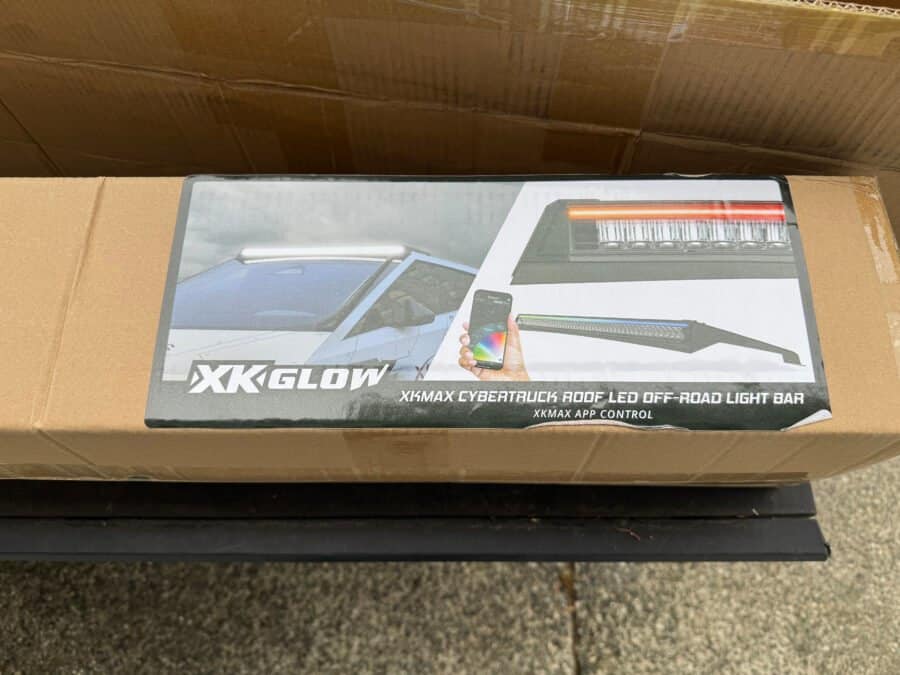
🔌 Step-by-Step Installation Instructions
1. Test the Light Bar (Pre-install)
- Before mounting, connect the light bar to the 48V power power feed source to confirm it works.
2. Access the Roof Power Feed
- Flip up the two roof panels closest to the windshield.
- On the passenger side, locate the 48V power wires (red = positive, black = ground). You will NOT use the green wire.
- Carefully remove electrical tape to expose ~½” of bare wire on both the red and black wires.
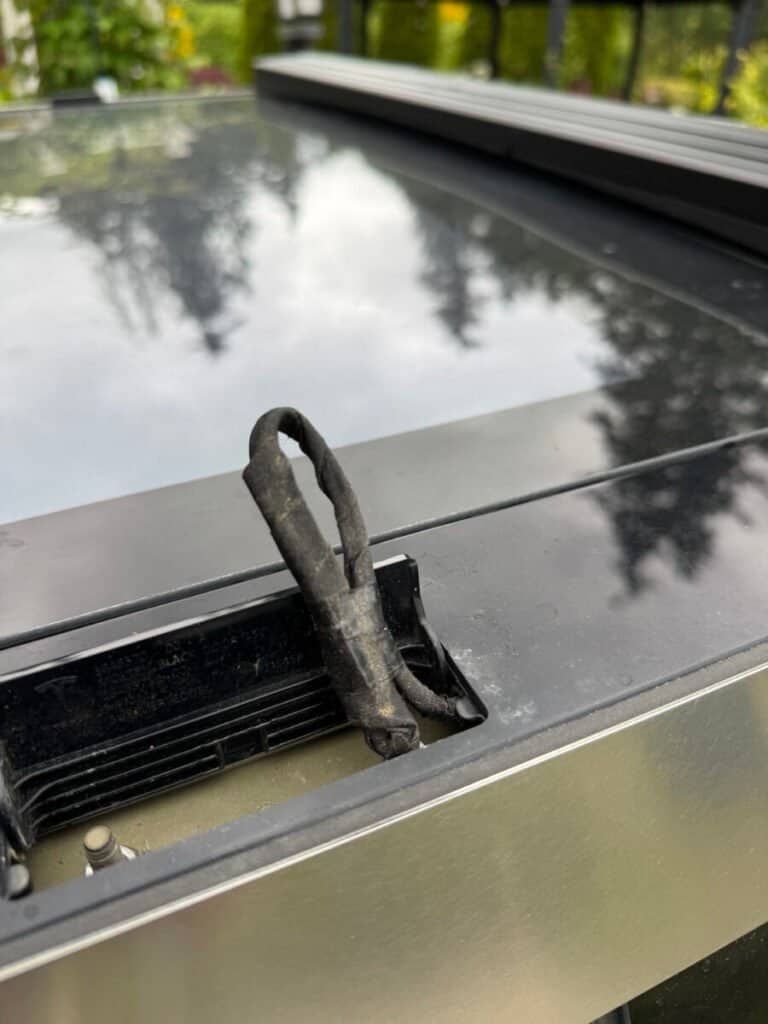
3. Connect Power Wires
- Locate the yellow plug with pigtail harness from your kit.
- Use the included heat-shrink solder connectors:
- Slide the connector over the pigtail wire, then insert the matching Cybertruck wire into the other end.
- Red → Red (positive)
- Black → Black (ground)
- Ensure wires meet at the solder ring, then apply heat until solder melts and seals the connection.
4. Mount the Light Bar
- Gently place the light bar on the roof with wires toward the passenger side.
- Plug the light bar into your new harness.
5. Turn On Power Feed
- On the Cybertruck screen:
- Navigate to Outlets and Mods > Power Feed, Roof
- Toggle to ON
6. Attach Mounting Brackets
- Slide 2 M5 lock nuts into each end of the light bar track (total of 4).
- Loosely secure the brackets using the provided M5 flat-head bolts.
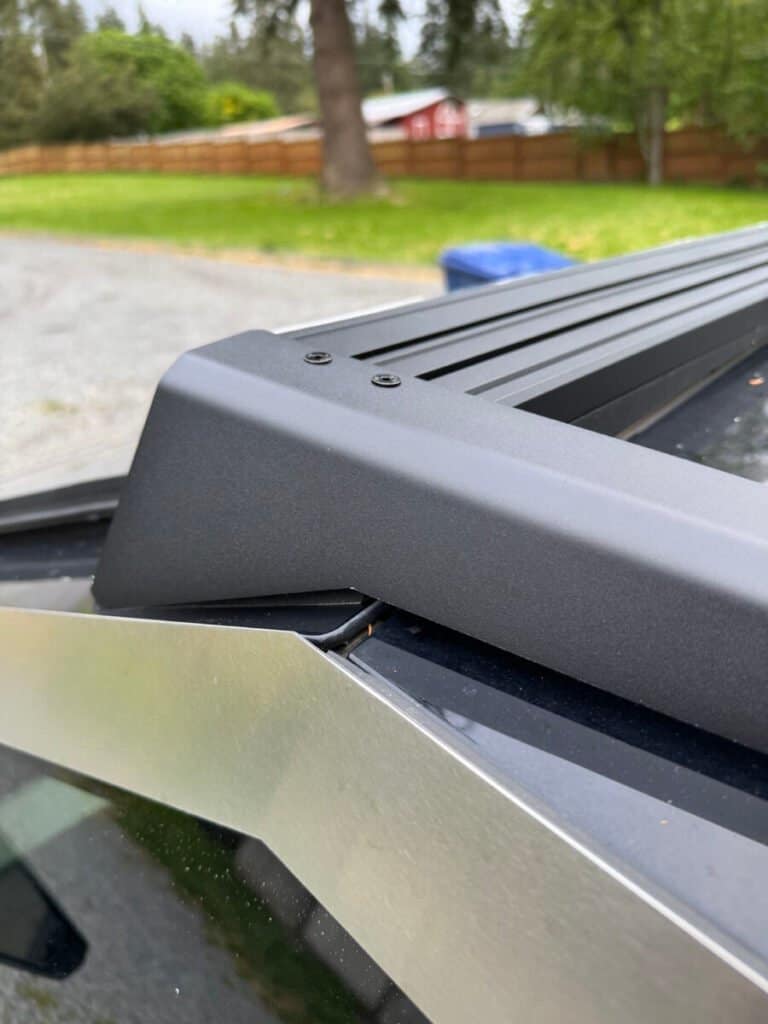
7. Secure to the Cybertruck Roof
- Remove the two nuts under the small roof plates you opened earlier.
- Thread on the provided 30mm extended nuts and tighten.
- Align the bracket holes with the extended nuts, then loosely install M6 bolts.
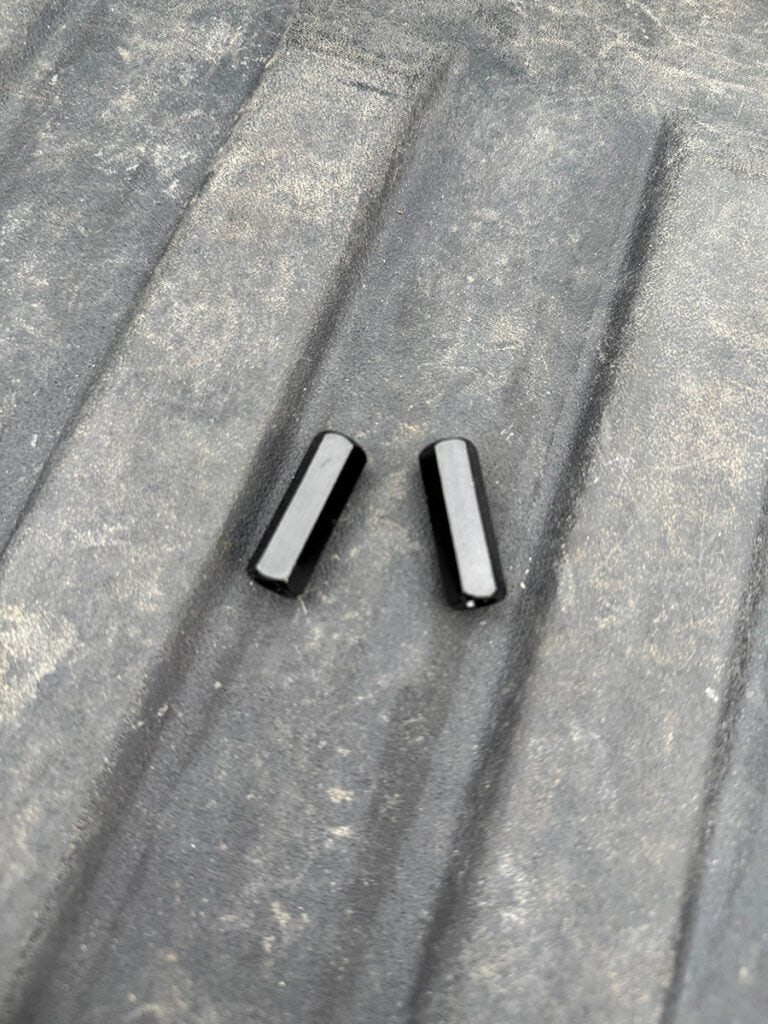
8. Final Alignment & Tightening
- Check that the light bar is centered and level.
- Fully tighten all M5 and M6 bolts.
9. Mount the Controller
- Use the provided 3M tape to attach the XKMAX controller inside the passenger side bracket.
- Use zip ties to tidy up the wiring.
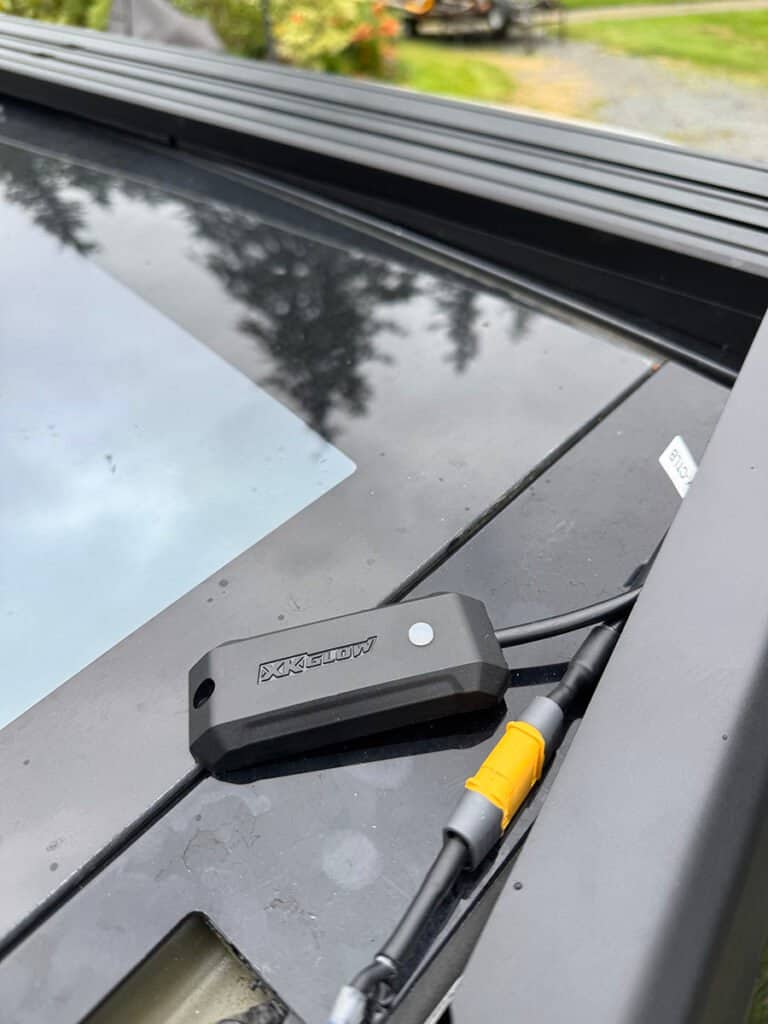
10. Setup the App & Customize
- Download the XKMAX app from your app store (QR code on packaging).
- Pair your light bar via Bluetooth.
- Choose between:
- DRL Mode (default white running lights)
- Full Light Bar Mode
Tip: Change the default mode in the app under Config > Default Mode
🌟 Product Review: XK Glow XKMAX Light Bar for Tesla Cybertruck
⭐️⭐️⭐️⭐️½ (4.5/5)
🔦 Performance:
- The 48V, 300W light bar is bright, sharp, and highly visible—perfect for night driving, trails, or just turning heads.
- The default DRL mode offers a clean look, while the full light bar mode provides impressive brightness.
📲 Smart Features:
- The Bluetooth-connected XKMAX app allows seamless switching between modes and customization.
- Easy pairing process and intuitive app interface.
🧰 Installation:
- Overall, installation is straightforward for DIYers familiar with vehicle wiring.
- The included heat-shrink solder connectors are high quality and ensure solid, weather-resistant connections.
- Mounting hardware is robust and well thought out for the Cybertruck’s unique design.
🧼 Aesthetics & Fit:
- The light bar is sleek and low-profile, blending well with the Cybertruck’s aggressive roofline.
- The rubber underside ensures a good fit with minimal roof contact noise or scratches.
⚠️ Things to Know:
- Installation requires access to 48V wiring, as long as you’re comfortable with connecting automotive wires you should be fine. If in doubt, reach out to a professional.
- As of this review, professional installation is recommended by the manufacturer.
I’ll be updating this article with additional tips and photos later, just wanted to make sure I got something posted sooner than later to help anyone considering purchasing this lightbar or looking for additional installation information beyond the Cybertruck XKGlow installation instructions provided by the manufacturer which currently seem to have a broken link from their product listing on their website.

