How to Mount Quick Fists on a MOLLE Panel Using MOLLE Nuts
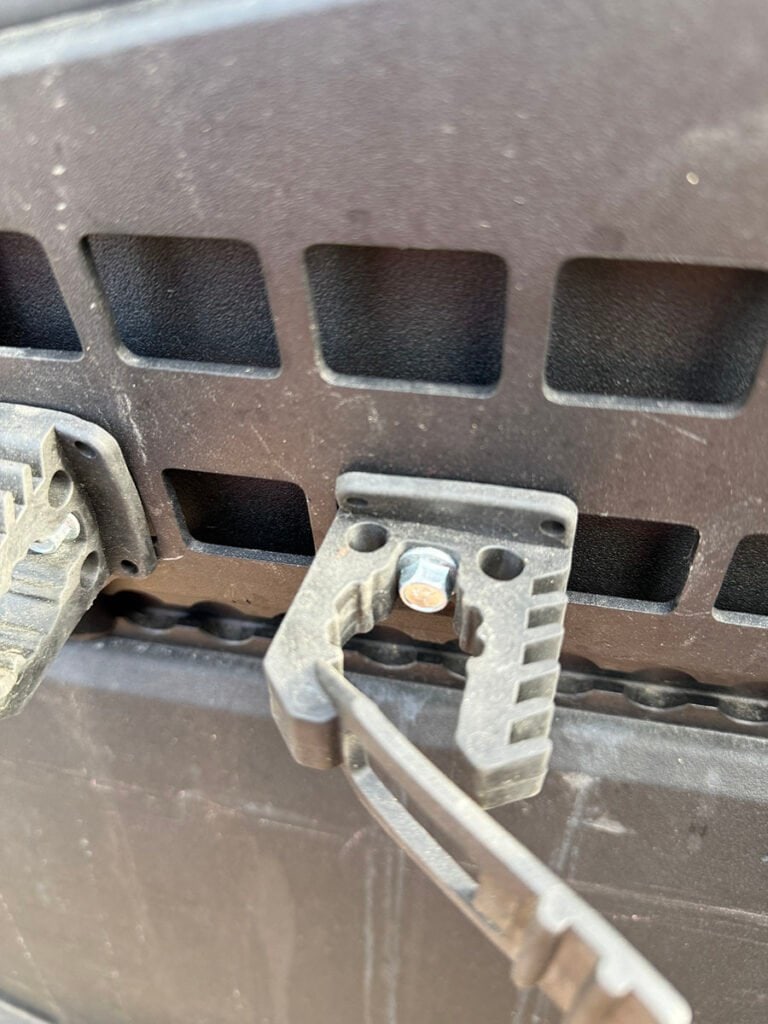
Installing gear on a MOLLE panel can be quick, clean, and secure with the right technique. One of the best ways to mount Quick Fist clamps is by using MOLLE nuts. Below, I’ll walk you through exactly how to do it, along with some extra tips and options if you want even more flexibility for your setup. Materials Needed Step-by-Step Instructions 1. Run the Bolt Through the Quick Fist Start by running a bolt of the correct length through the mounting hole of the Quick Fist. ➡️ Tip: Make sure it’s long enough to pass through both the Quick Fist and the MOLLE panel and still catch the MOLLE nut securely. 2. Thread the MOLLE Nut Onto the Bolt Loosely thread a MOLLE nut onto the end of the bolt — but don’t tighten it yet. You’ll need it to remain loose to fit it through the panel opening. 3. Insert Through the MOLLE Panel Position the MOLLE nut so it fits through the slot on your MOLLE panel. The nut should slip into the panel opening with some minor wiggling if needed. 4. Tighten Everything Down Once the MOLLE nut is in place behind the panel and everything is aligned, tighten the bolt. As you do, the MOLLE nut will “wedge” and lock into place, securing your Quick Fist clamp tightly. Why Use MOLLE Nuts? MOLLE nuts create a strong “wedge” fitment that holds your accessories securely without needing backing plates or complicated hardware. They also make it easy to reposition your mounts later without having to remove your whole MOLLE panel. Different MOLLE Nut Options I’ve used several types of MOLLE nuts across different panels: Where to Buy Final Thoughts Mounting Quick Fists to your MOLLE panel with MOLLE nuts is a simple and reliable upgrade that keeps your gear secure and easily accessible. Whether you’re setting up recovery gear, tools, or other essentials, this method makes it fast, clean, and modular. If you’re setting up a build or considering a full MOLLE storage system, this is a technique you’ll definitely want in your toolbox!
How to Mount Quick Fists on a MOLLE Panel Using MOLLE Nuts Read More »
