How Do You Turn a Tesla Off?
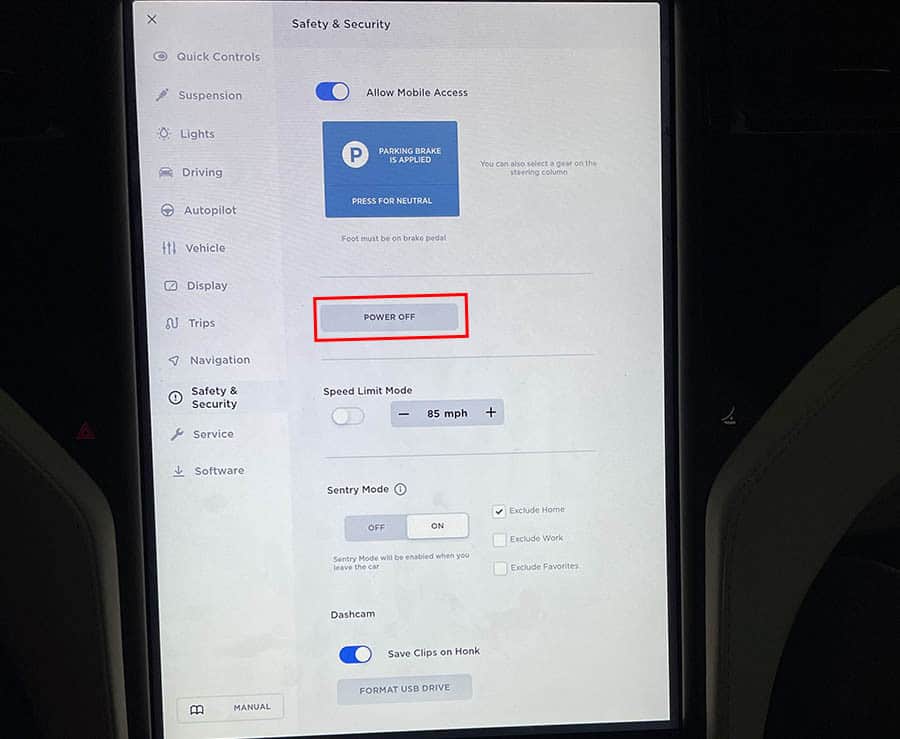
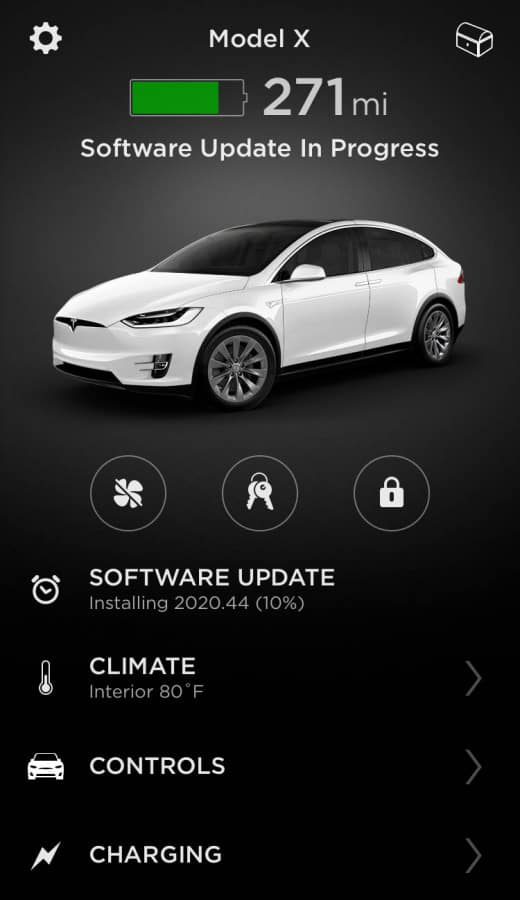
As of 2020, Tesla had produced more than a million electric cars, making it the world’s leading electric vehicle manufacturer. However, this isn’t quite shocking because Tesla vehicles record an outstanding performance, not forgetting their high technology interior. But the tech focus can be a little confusing for new drivers, so how do you turn a Tesla off? To turn a Tesla off, you should enable the walkaway lock. The walkaway feature allows you to park the car, exit it, and walk away and it will automatically lock the doors. You can also power off the car through the power-off button in the Safety and Security tab of the touchscreen. Operating a Tesla is unique, and you may need to thoroughly study the car because it’s not your ordinary everyday car. To learn how to turn your Tesla off, read on! How To Turn a Tesla Off – But Should You? The first time after driving a Tesla, you may be wondering how to turn it off once your first drive. Typically, you can simply get out of the vehicle. The vehicle will go into sleep mode and is the preferred method for “turning off” your Tesla. If you do want to shut the entire vehicle manually, press the power button located under the Safety and Security tab. Click it and confirm. The power-off button shuts down the majority of the systems faster. You can also turn your Tesla electric car off by parking the car and exiting it after closing the door. Activate the walk-away lock feature by tapping on touch controls, selecting locks, and then turning on the walkaway door lock. When the doors lock, the lights on the car’s exterior will flash once, and then the mirrors fold. But for this to happen, your vehicle needs to have the premium package, and the fold mirrors need to be on. The walk-away lock feature is unique and not popular with many car brands, but as I said before, this is a Tesla electric car, not your ordinary car. This walk-away lock feature also seems to cause anxiety to most new Tesla owners because how do I just leave my car on and walk away stress-free? Well, with time, they adjust and get used to it. The car will turn itself off when the Fob key (or key card or your phone with the keyless feature enabled through the phone) moves a specific distance away from the vehicle when the driver’s out of the seat. It’ll also turn itself on when the driver walks back to the car, allowing the door handles to pop out in the process. Interestingly, Tesla can shut down a car as well. Although the company rarely uses this feature, they can remotely disable a vehicle. The YouTube video has a tutorial that helps you to understand how to turn off your Tesla: How Do You Turn a Tesla On? To turn a Tesla on, press the brake pedal and the screen(s) will boot up if they haven’t already. After this, you can release the brake pedal and start driving. If you’re operating a Model 3 or Model Y, place the key card on the console and gear it. If you want to use the phone key, which is just using your Apple or Android phone as a key to avoid carrying the actual key card around, you need to download the Tesla mobile app. Furthermore, the app allows you to monitor and control your car from your phone. The YouTube video below gives a more in-depth look at how to turn your Tesla on: Remember that it might take up to 48 hours to gain access to the official Tesla app. When I picked up our 2020 Model X, the app VIN already assigned to my account with the vehicle updated in the app before I left the dealership. After downloading the app, activate the phone. Then, follow the steps below to activate the phone key: On the bottom left of the screen, tap on the car icon. On the left menu, tap on locks. Press the + key, which is on the right side of the key text. Tap ‘Add phone key.’ On your phone, open the Tesla Mobile app. Tap on the Phone Key to set your phone as a key. Go to your car and ensure the key card is in your hand. Select start on your phone and wait until it searches your car. Place your key card in the center console. If you’re confused, this tutorial from the Frugal Tesla Guy channel will show you exactly how to do this: To give anyone else access to your Tesla app, you can log into your account and under your vehicle go to Car Access and Add Driver. Benefits of Having the Tesla App You can use your phone to get back in the car if you are locked out. You could use your app to start the car if you lost your key. The GPS location feature will help you locate where you parked your car. You can schedule a service appointment and review your service history. At the bottom of the Tesla app, you can request roadside assistance. You can receive status on your car charge. You can hide all your personal data from your touchscreen to restrict access to your car. Here’s a YouTube video on all the cool features your Tesla app has: Why Your Tesla Will Not Turn Off If your electric car doesn’t turn off, there’s a possible chance that one of the doors isn’t closing correctly. Check the touchscreen or your Tesla mobile app to ensure that all doors are locked properly. If all the doors are locked, check the ‘auto lock’ setting and the ‘keyless entry’ setting. Perhaps, toggle them to make sure that they have an effect on keeping the car on. Precautions To Take Before Leaving Your Car Model 3 and Model Y Owners: Don’t open the door from
How Do You Turn a Tesla Off? Read More »

