4 Cars That Compete With a Tesla Model 3 (2021)

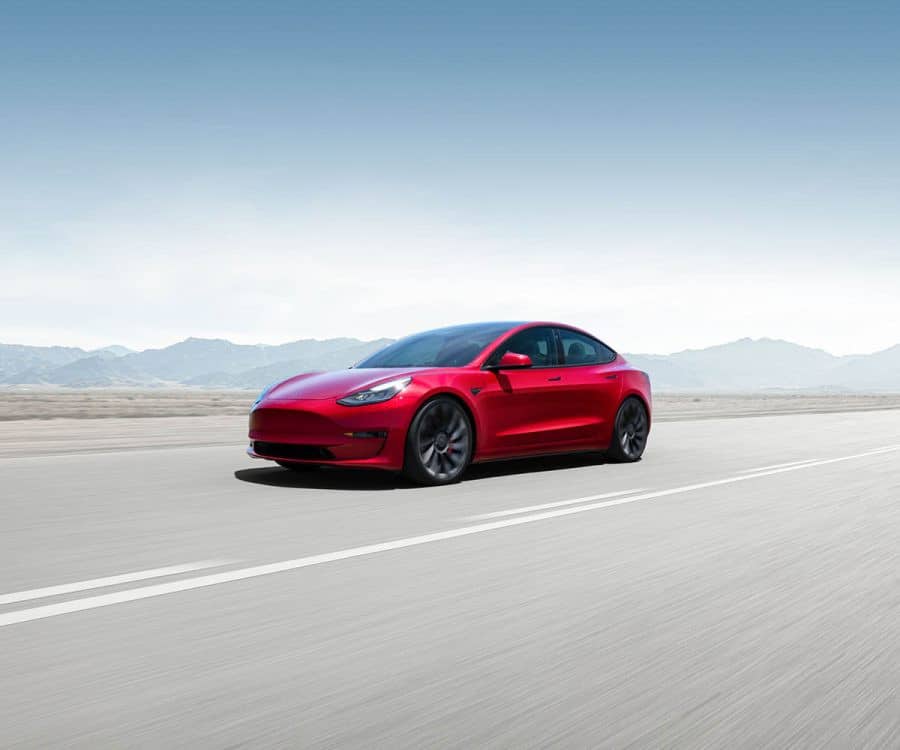
As the demand for environmentally-friendly vehicles grows, many car companies are introducing their own electric options. Tesla has become a household name with its prominence in the electric car industry. The Model 3 is a particularly popular choice for those looking for an affordable car with great performance. Cars that compete with a Tesla Model 3 include the Nissan Leaf and Chevrolet Bolt, giving you fully electric and stylish hatchbacks, while the Hyundai Kona Electric and the Kia Niro EV offer SUV options. These affordable choices offer similar features and performance to that of a Tesla Model 3. In the rest of this article, we will see the best features of the Tesla Model 3 and where you can find them in the electric car market. We will also explore each of these recommended competitors’ profiles to help you decide which alternative electric vehicle is right for you. What Is the Tesla Model 3? The Tesla Model 3 is one of the top choices for people shopping for an outstanding and affordable electric vehicle. It can go from zero to 60mph in 3.1 seconds, which is one of the fastest accelerations we will see in our reviews today. It has a stylish design that makes it an appealing car on both the inside and out. The Model 3 has an impressive range, with an estimated 353 miles of driving possible on a fully charged battery. When it comes to supercharging on the go, you will be able to charge up 175 miles to your battery in about 15 minutes. This ability makes charging breaks short and sweet, getting you back on the road quickly. The Model 3 blends technology and safety features to give its driver the best in cutting-edge smart driving tools. These tools include cameras and sensors to enhance the perception of the car’s environment at key moments. These can alert you to movement in your blindspots and possible hazards to you and your vehicle. There are three options available for the Model 3. The most basic model has a starting price of $37,990. From there, you can choose more advanced models with more extensive features. The price tag will increase with each model as well. If you are looking for a comparable vehicle that isn’t made by Tesla, there are still many options in the electric vehicle market. Let’s take a look at our top four competitors to the Tesla Model 3. Chevrolet Bolt EV Chevrolet’s electric hatchback is a great option if you are looking for a small car that still offers you space. This electric vehicle’s design allows for quick acceleration, a feature that was lacking in initial hybrid and electric options. It can go from zero to 60mph in 6.5 seconds. The Bolt also features regenerative braking, a braking system that allows you to gradually slow down without ever touching the brake pedal. Instead, you use the gear shift. Activate the “L Mode” and simply lift your foot off the acceleration pedal. This will signal your car to slow down. This regenerative braking system helps prevent unnecessary wear and tear on the brake pads that would cause you to replace them sooner over time. It also charges the battery when you lift off the acceleration, allowing you to drive for longer. For the Bolt, its estimated range is 259 miles when its battery is fully charged. For your home charging station, you will be able to charge this vehicle in nine hours. If you need to quickly charge along the highway, you can expect to charge 90 miles of driving in 30 minutes of charging. Inside the vehicle, you have a touchscreen display with plenty of features to assist the driver. The starting price for this vehicle is $37,495. Of course, if you are looking for an advanced model with more features, the price tag will rise accordingly. Nissan Leaf This recommendation from Nissan is another great option when it comes to a fully electric hatchback at an affordable price. The Leaf comes in five different builds that allow you to choose the electric vehicle perfect for your needs. You can choose an option with the right battery size and horsepower capacity for you and your driving preferences. For the most basic option, the Nissan Leaf starts at $31,670. This vehicle will go from zero to 60 mph in 7.4 seconds. You can expect to fully charge your Leaf in 7 hours when charging it at your home station. With your fully charged battery, you will get an estimated range of 226 miles. Its sleek exterior makes this hatchback a very attractive option. Hyundai Kona Electric This SUV model from Hyundai gives you the space and elevation you want from an SUV but as a fully electric vehicle. It features a front-wheel drive and can go from zero to 60 mph in 6.4 seconds, meaning you can accelerate quickly in this fully electric SUV. It also has regenerative braking. On a fully charged battery, you will be able to drive 258 miles before needing to recharge. Inside the vehicle, you will have a touchscreen (the size will depend on the model of Kona you choose) loaded with features. These features increase as you go up in the models and their corresponding price points. There are currently three options for the Kona Electric, but the most basic starts at $37,390. If you are looking for more advanced features, you will need to choose one of the more expensive models. Keep in mind that even though the Kona Electric is an SUV, it is still a more compact version of a sport utility vehicle. It might not be as spacious as the largest non-electric SUVs on the market, but it certainly offers more room than some of the other options in this list. Kia Niro EV This crossover SUV from Kia is a great choice when it comes to a spacious electric option. It is available in two varieties: the EX or the EX Premium.
4 Cars That Compete With a Tesla Model 3 (2021) Read More »