
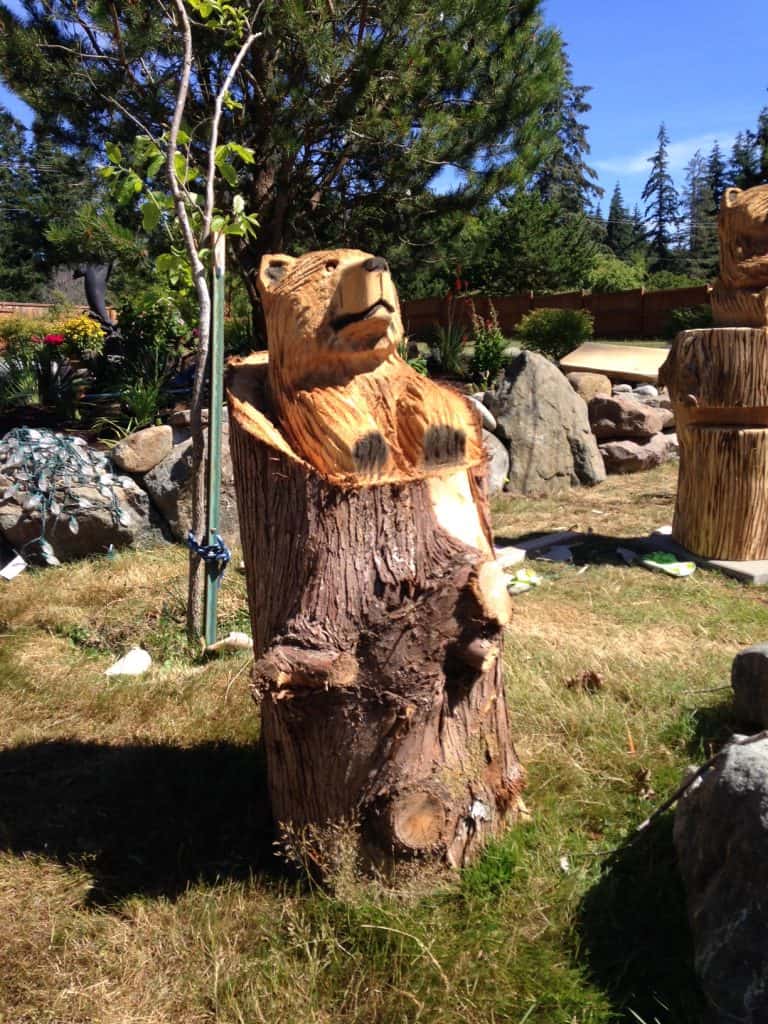
This article showcases some before and after photos of bear bench carving from a Loggerodeo auction. I’m trying to dig up the actual artist’s name for this piece and will update this article when I find it.
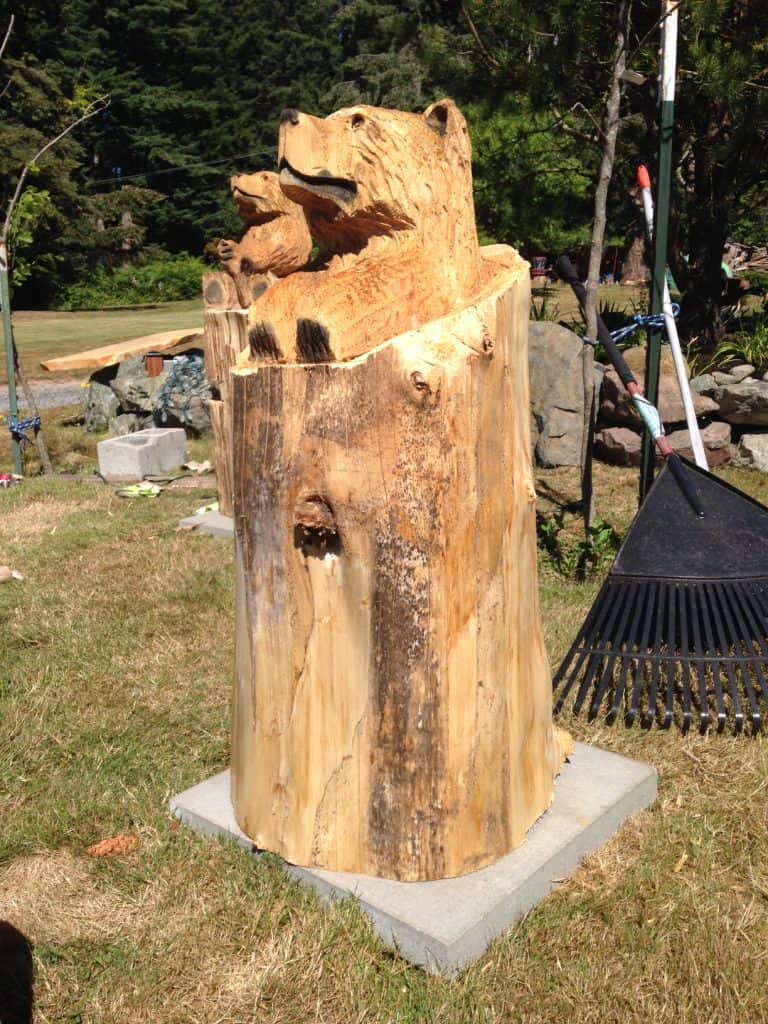
Here’s the first place winner for both the People’s Choice and Main Event contests at the 2018 Sedro Woolley Loggerodeo. It used multiple pieces of log for this completed piece.

Stumbling Upon a Loggerodeo
My wife first came across a Loggerodeo when we were down at Ocean Shores, WA a couple years. We were down at the beach area when she happened to come across a Loggerodeo just a couple blocks away that also had an auction that was wrapping up. She heard another one would take place in a few months in Sedro Woolley, WA for the 4th of July weekend.
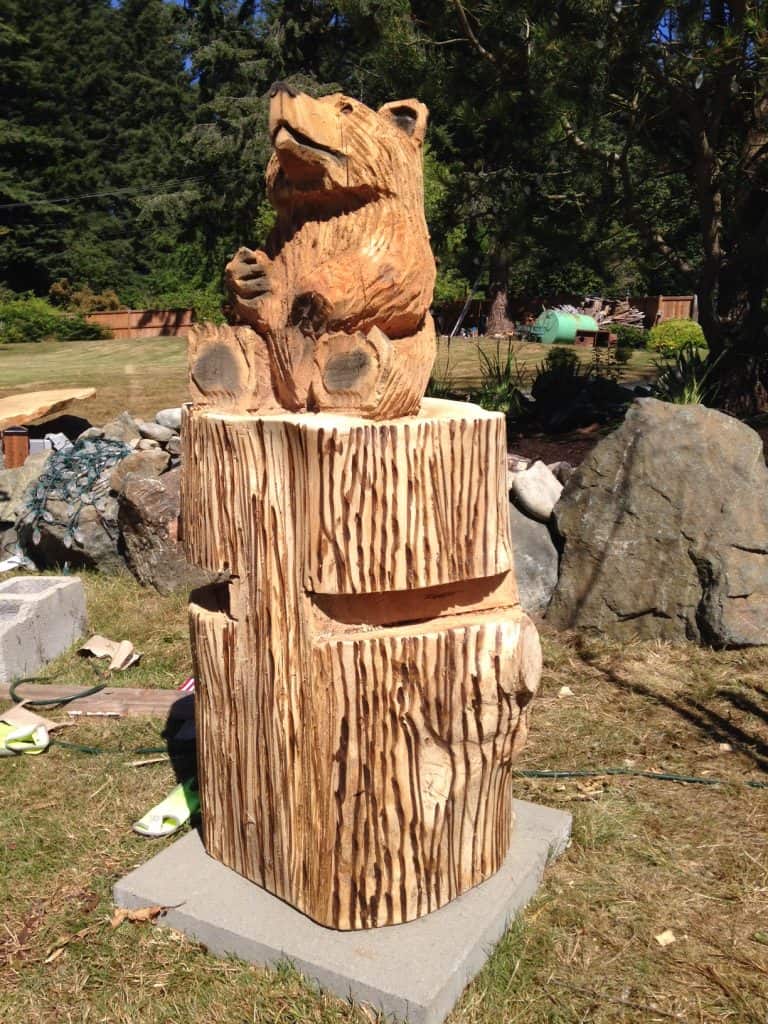
The Loggerodeo is a competition amongst some amazing artists who carve with chainsaws.
Sedro Woolley, Washington Loggerodeo
She won a few items at auction including this bear bench. A bench of some sort was on top of her list and she was outbid on a few others. The pieces that are put up for auction are carved with a time frame. While these artists will bring other pieces of their work for sale that are finished in a polyurethane stain, some great deals can be found if you’re willing to put in some work yourself.
Bench Finished and Stained
A quick look at the finished bench. In process photos below.

Tools I Used
(Links to Amazon)
For power tools I mostly use Dewalt, a friend of mine recommended them to me and it’s certainly easier to keep the same battery system for your tools. Ryobi, Makita, Milwaukee, as well as others also have great tool lineups.
Dewalt Palm Sander – An orbital sander may work better, but I went with a palm sander to replace an old orbital that broke on me a while back and used it for this project. I’ve always gone with corded sanders since it can take several hours for certain projects, although cordless ones are also available.
Dewalt Oscillating Tool – With the sanding attachment, the oscillating tool was able to get into tighter areas the palm sand (or an orbital sander) could not reach.
Dewalt Angle Grinder – I used my grinder with a 1/4″ disc to create the faux bark lines (see further down).
Our bench bear carving looked like this when we purchased it, so it was a bit raw. Bark around the trunk area and a few rough edges left for sanding.
After removing the bark from the trunk. After some chiseling and peeling, it was all removed. It was a fairly simple process.
Many of the final pieces that were for sale had lines cut-in to resemble bark. Angle grinders and rotary tools such as Dremels were some of the tools of choice for the participants to use for applying their finishing touches. For ours, I used an angle grinder to create random lines. I took video of this process as I used the grinder, but can’t seem to find the files. If I do, I’ll be sure to upload them here.
Lot’s More Sanding!
The picture above was essentially the last stage before a lot of sanding and a bit of wood filler was applied with quite a bit more sanding.
Staining – The Final Step
Once I was happy with how everything looked (after many hours of sanding), it was time to apply a layer of stain. All the artists we talked to said they used a polyurethane stain for their work. A single-coat polyurethane was the stain I chose. Here’s our bear bench carving after about 2 years.
Upcoming Re-Stain
At some point a fresh coat of stain will be due. Since these were made from a red cedar wood, I went with a red cedar stain. The family wasn’t as impressed with the color choice. I’ll let them choose when it’s time to re-stain.
Here’s how the original stain held up after nearly 2 years. As you can see, it has certainly had some weathering. We have a couple other pieces we purchased that the carver stained that have held up much better. I’ll have to look for a higher quality stain for the next go around.


Loggerodeo Chainsaw Carving
Here’s a video from a local newspaper covering the 2015 Sedro Woolley Loggerodeo.
If you want details on upcoming Loggerodeo’s in Sedro Woolley, WA, check out their site at https://www.loggerodeo.org/.