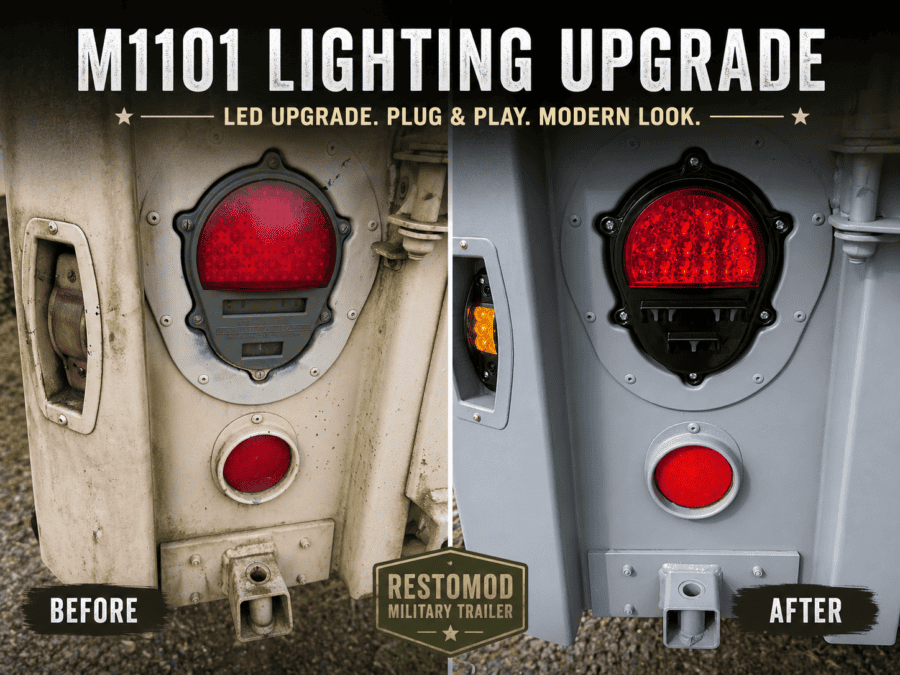
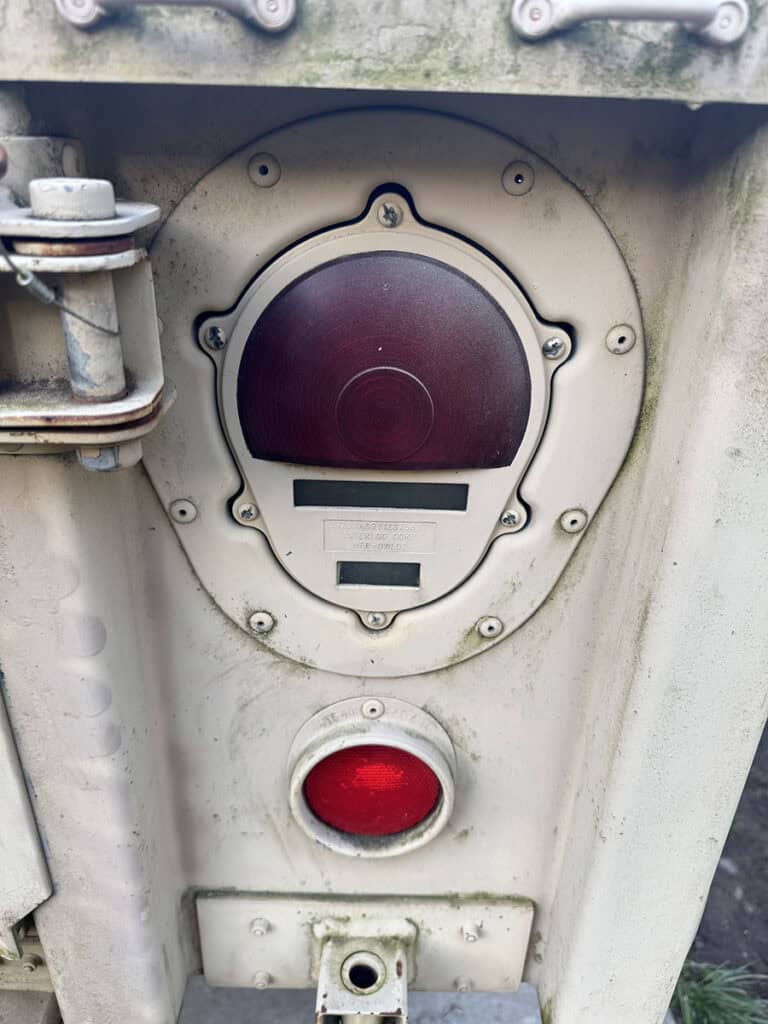
When I first picked up my M1101, the lighting had definitely seen better days. The lenses were faded, the housings were weathered, and the taillights didn’t even match—one side had been upgraded to LEDs at some point, while the other was still running old-school incandescent bulbs.
Simple Upgrade, Big Impact
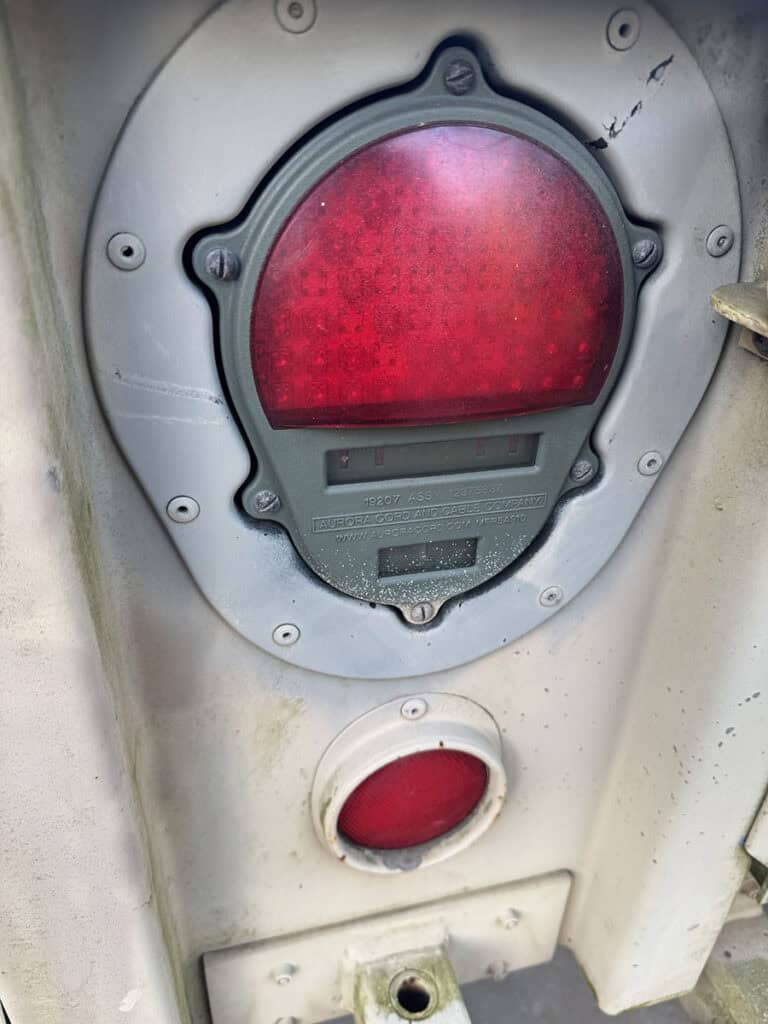
Rather than trying to piece things together, I decided to replace everything with matching LED side markers and taillights from Hecasa. The install was mostly plug-and-play (after drilling out rivets):
- Connected using the original Packard-style connectors
- Reused the factory grounding ring terminals
- No wiring modifications required
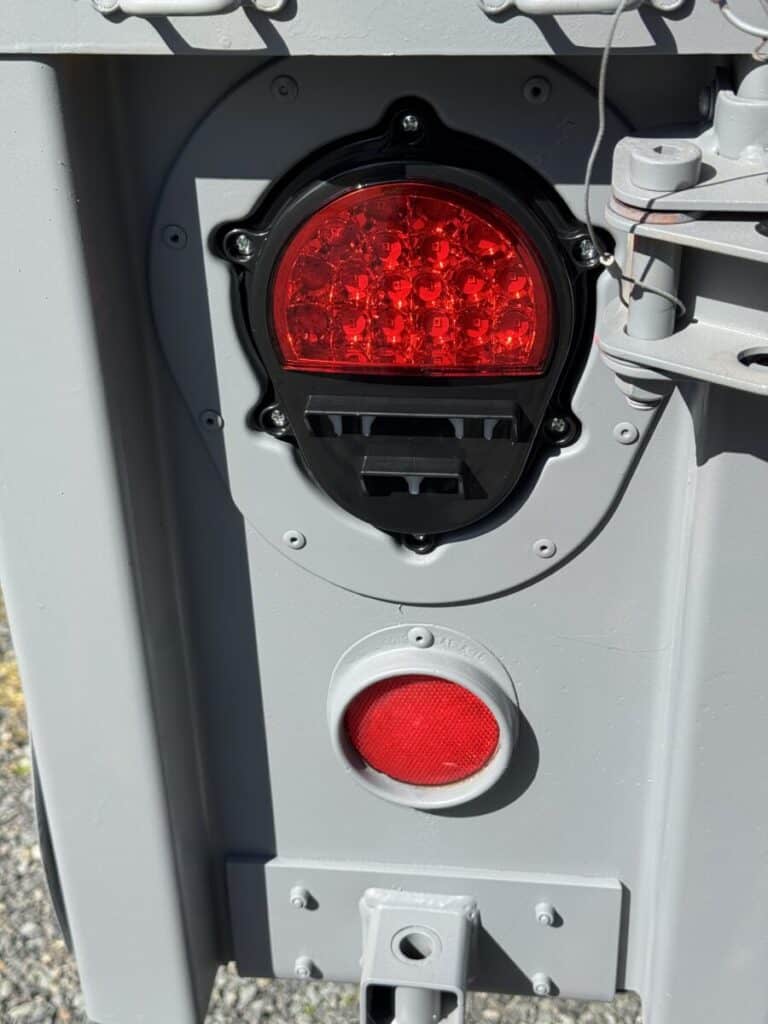
Hecasa Humvee/M1101/M1102 Replacement LED Taillights
The Hecasa LED taillights (Amazon affiliate link) are listed as 12v, which is what I needed for my trailer since I converted it to 12v. However, reviews were mixed how well they work on the native 24v system of the HUMVEE. One Humvee owner mentioned issues afterwards with the lights failing.

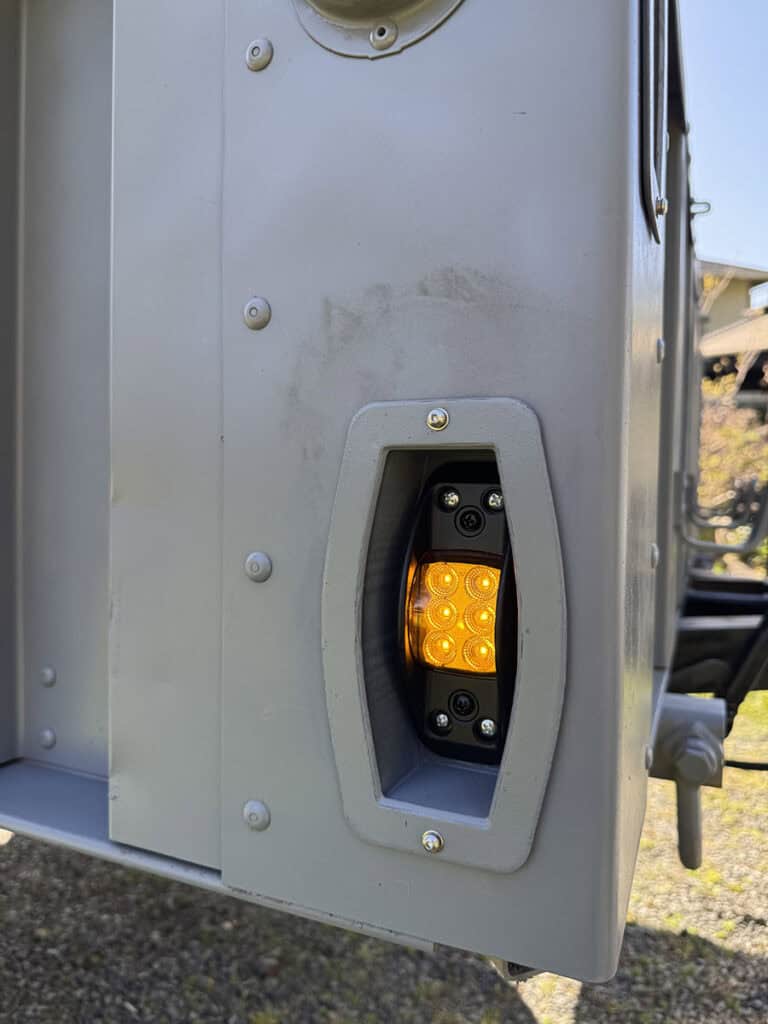
Hecasa Side Marker Lamps
Here’s my installed Hecasa MMWV, 2 1/2 Ton and 5 Ton Military Trucks 12V Turn Signal Parking Lamp with Amber Lens (Amazon affiliate link). As previously mentioned, drilling out rivets were required before I could install. Once they were drilled out, I used the included bolt/nut/washer hardware that was included with the lights. No more rivets! More on that next…
One Extra Step: Side Marker Mounting Upgrade
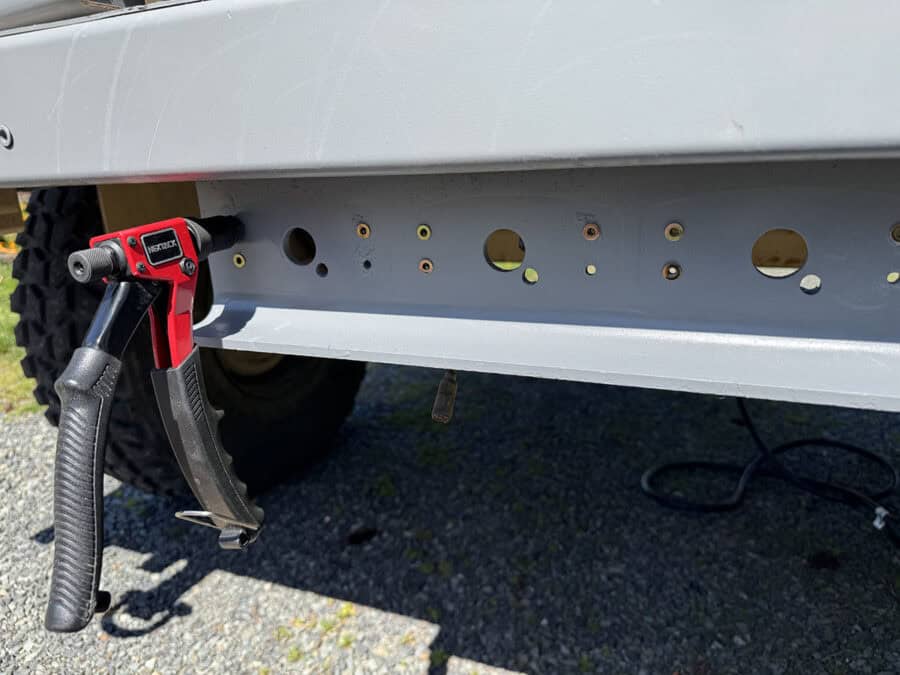
One thing worth calling out—the side marker lights aren’t quite as simple as the taillights. From the factory, they’re riveted into plastic buckets, and those buckets are riveted into the trailer body.
To remove them, I had to drill out the rivets. Rather than reinstalling them the same way, I wanted something more serviceable for the future. I ended up installing rivet nuts in place of the original rivets, which allowed me to:
- Bolt the lights back in using M4 hardware
- Easily remove and reinstall them down the road
- Avoid drilling out rivets again for future maintenance
I’ll go deeper into that setup in my 3D Printed M1101 Side Marker Bucket post.
The Hecasa Rear Marker Replacements
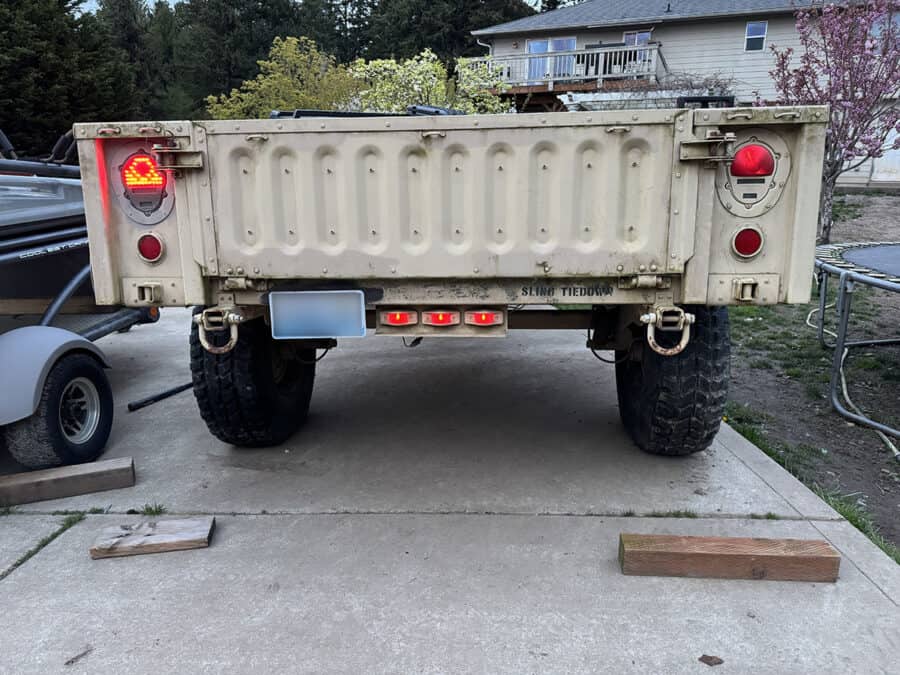
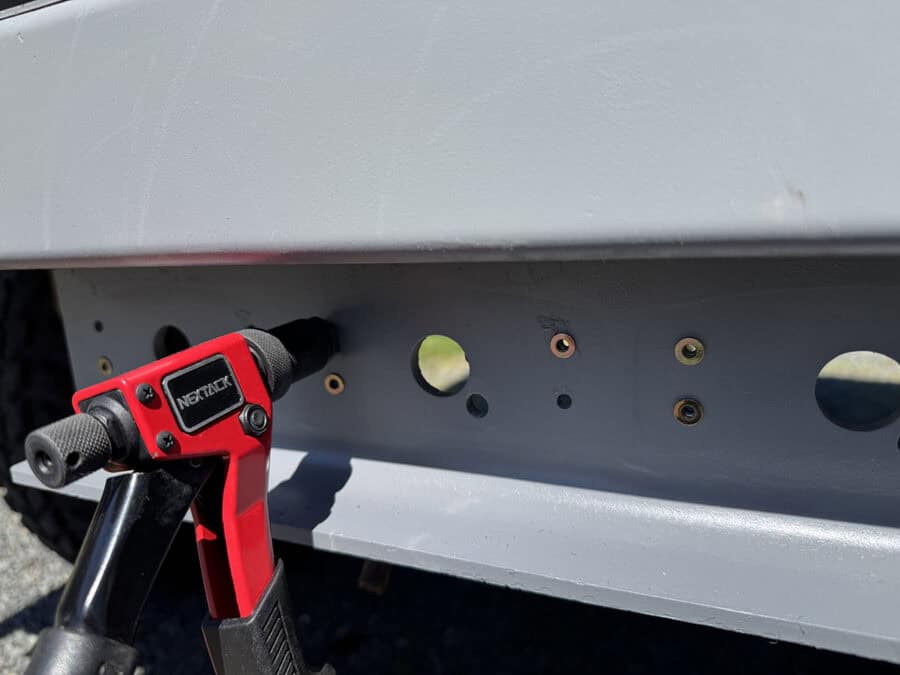
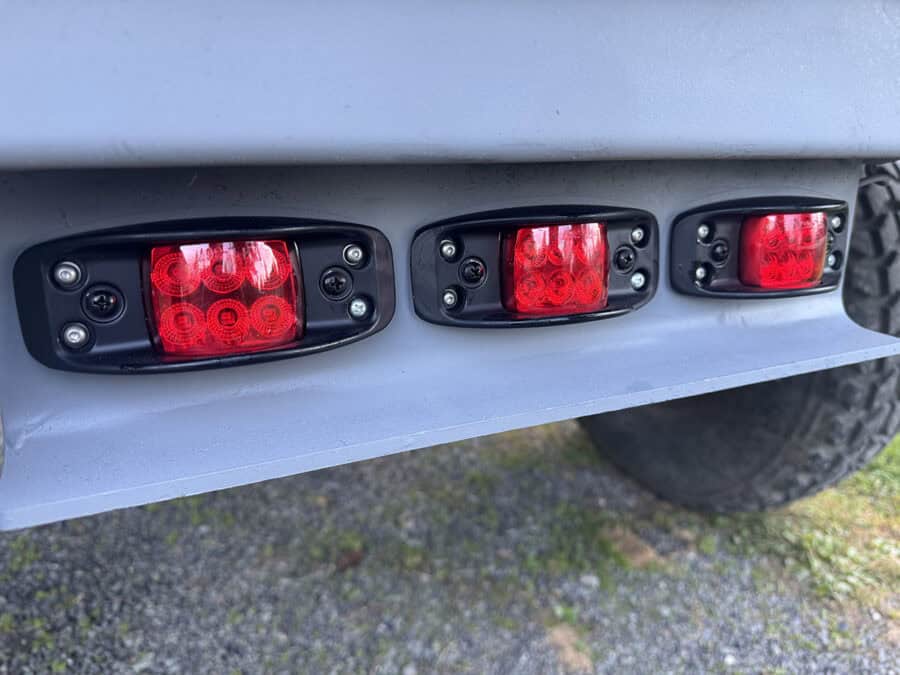
At the very back of the M1101 trailer are 3 LED marker lights that are mounted to fairly thick angle iron steel. These don’t use plastic housings like the other side marker lights, but they are still riveted in. Once again, I opted to go with M4 rivet nuts for easier removal (if ever needed).
Note: I only installed 3 rivet nuts for each of these rear marker lights. The Hecasa lights have a grounding bolt that will attach a grounding wiring with a nut and washer that go on the back side. For the M4 rivet nuts, I did have to drill out a slightly larger hole. M3 Rivet Nuts would have fit, but the M3 hardware looked to small to me.
I’ve only found the Hecasa side marker lights available in pairs, so I did end up with a spare for the rear.
HECASA 2Pcs Rear LED Side Marker Lights Compatible with HMMWV, 2 1/2 Ton and 5 Ton Military Trucks and M1101/M1102 Military Trailer 12V Turn Signal Parking Lamp Plastic Rear Red Lens (Amazon affiliate link).
The Result
This upgrade completely changed the look of the trailer. The new LEDs are brighter, cleaner, and give off a much more modern feel. Combined with the fresh paint job, the trailer now leans hard into that restomod aesthetic—it honestly looks like a brand-new build with military roots.
If you’re still running old or mismatched lights on your M1101/M1102, this is an upgrade you can do that delivers an immediate visual payoff. As far as the quality of the lights, I will post updates on any issues related to reliability and how well they hold up against the elements.