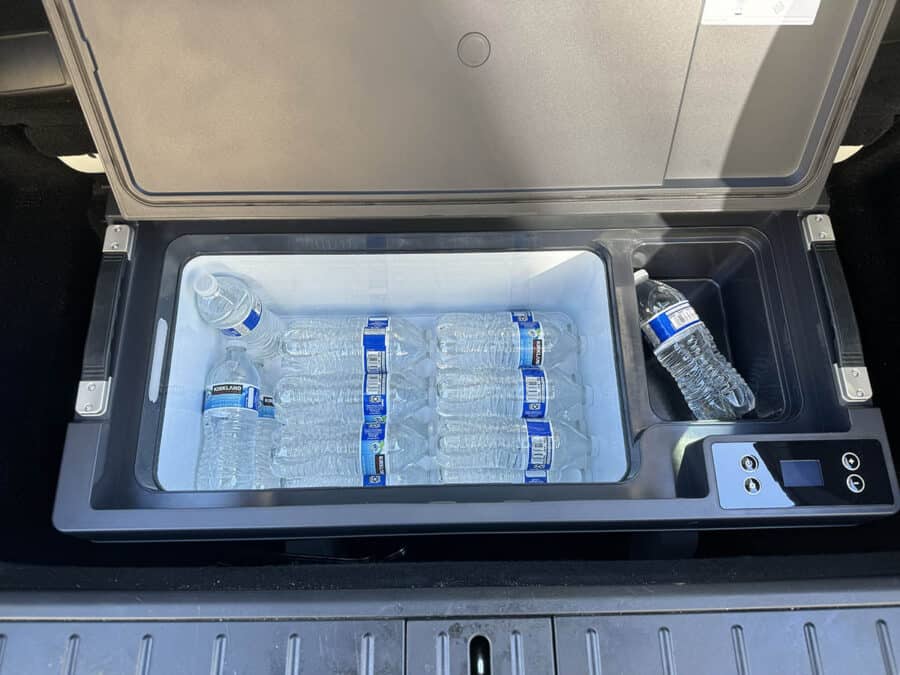
Back in 2023 a friend of mine shared with me a crowdfunding project for a Tesla freezer/fridge electric cooler from TesCooler. I went ahead and ordered it, knowing the version for the Model X would be the last to get manufactured. It was originally estimated to be delivered in December of 2023, but there were delays. I finally received our TesCooler from AcoPower in mid-April 2024.
TesCooler for the Tesla Model X
Meet the TesFridge – your ultimate road trip companion for making memories and keeping things cool, no matter where the journey takes you. Picture this: seamlessly fitting into your Tesla’s sub-trunk, it’s all about maximizing space while packing in up to 40 liters of goodness. But here’s the kicker: thanks to its top-notch cooling compressor, this bad boy can transform a lukewarm 50°F (10°C) to a chilly -4°F (-20°C) in just half an hour. It’s currently available for the Tesla Model 3, Model Y, and Model X – No Tesla Model S option as of this post.
TesCooler Specs
Here’s the specs directly from the manufacturer:
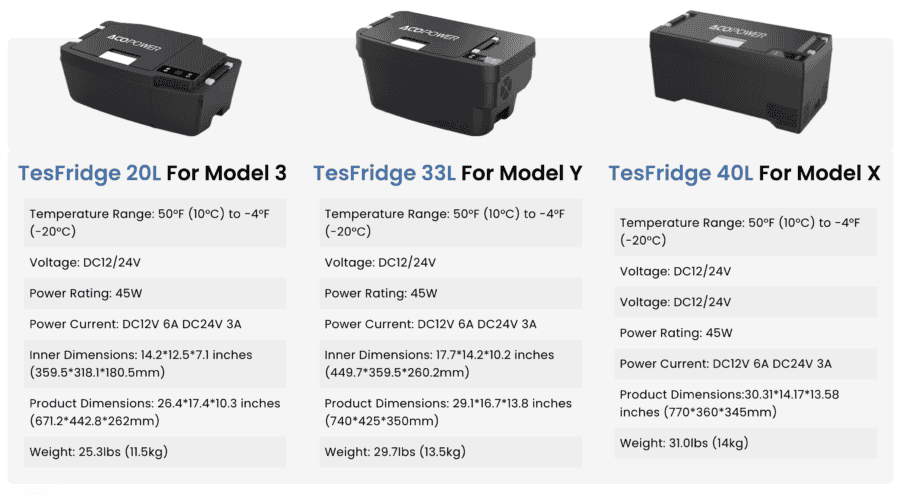
Optional Battery Power
I did not opt for it, but there is a portable battery you could also take if you plan to use your cooler away from your vehicle. The optional battery provides up to 10 hours of power, it’s like having your own personal fridge on the go. Ready to chill out and explore like never before?
Packaging
The packaging of the Tescooler was pretty solid, the only concern is the outer box did not have the same message about keeping it upright. Sure enough, FedEx delivered it with it up on it’s side.
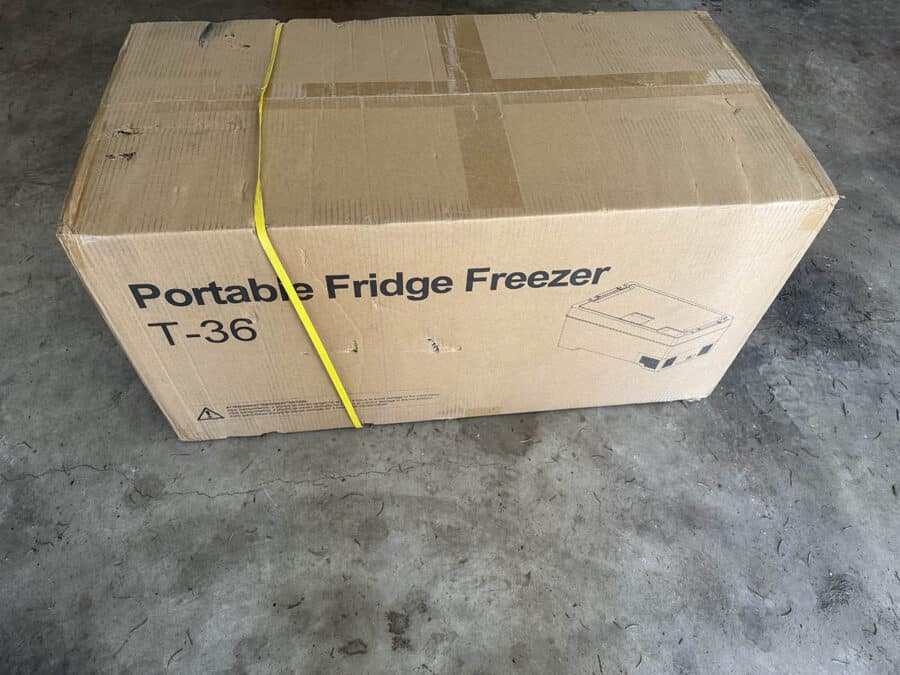
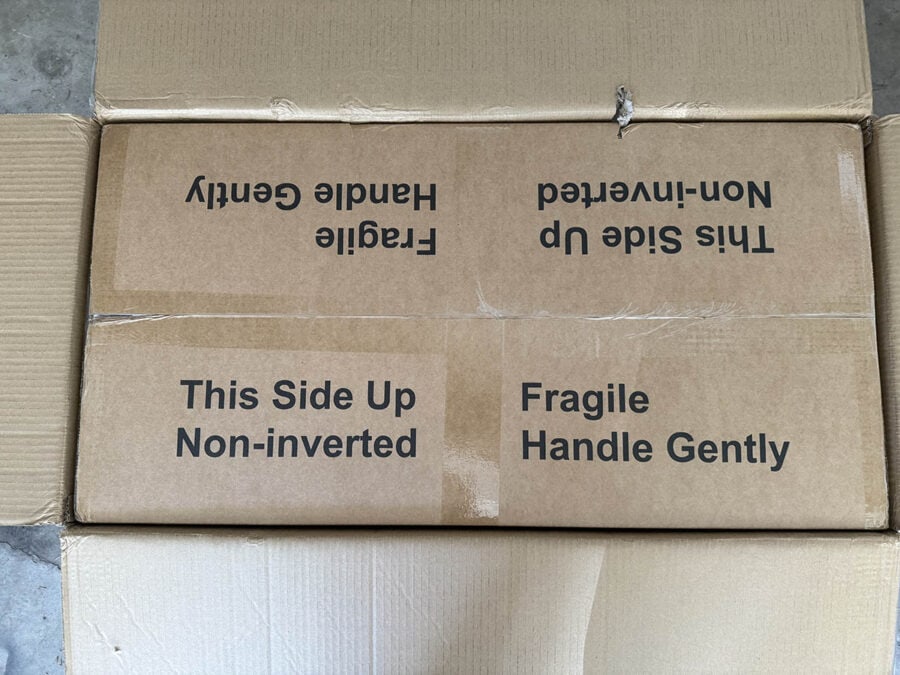
Unboxing the TesCooler T-36 (For Tesla Model X)
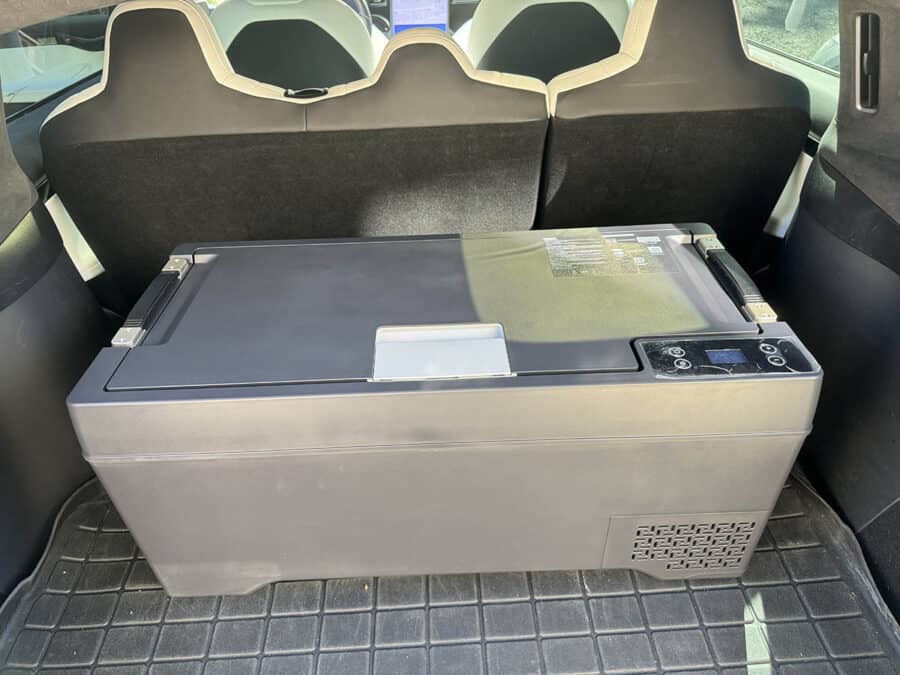
Here’s the TesCooler for our Tesla Model X unboxes, there’s some protective plastic over the power controls and some quick reference instructions on the lid.
Everything Included with the Tesla Electric Cooler
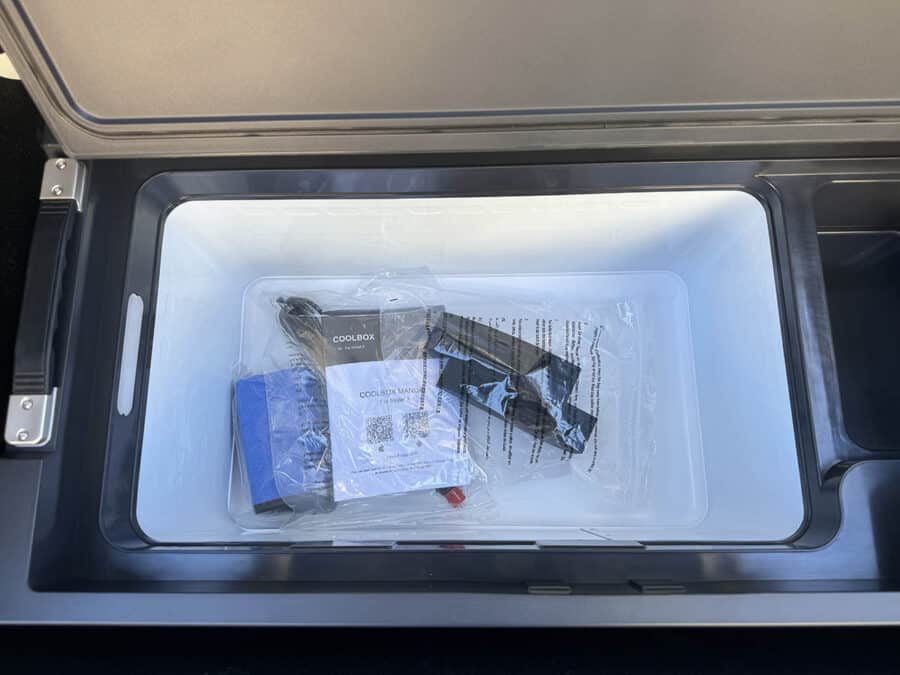
Open the lid and you’ll find everything that comes with the cooler. There’s separate bags for the following:
- Foam spacers (install these first)
- Instructions
- Power cord
- Microfiber cleaning towel
Installing the Tesla Electric Cooler
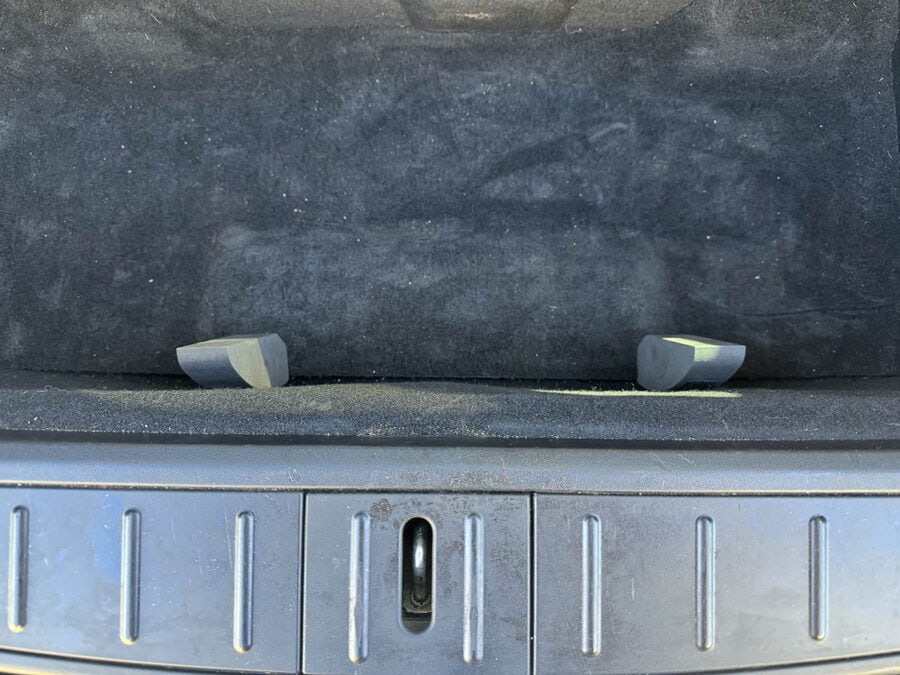
As mentioned above, you’ll want to install the foam spacers first. These provide a tighter fit for the cooler and will install in the sub trunk on the wall closest to the rear of the vehicle. They simply attach with velcro.
Connecting the 12v Power Cord
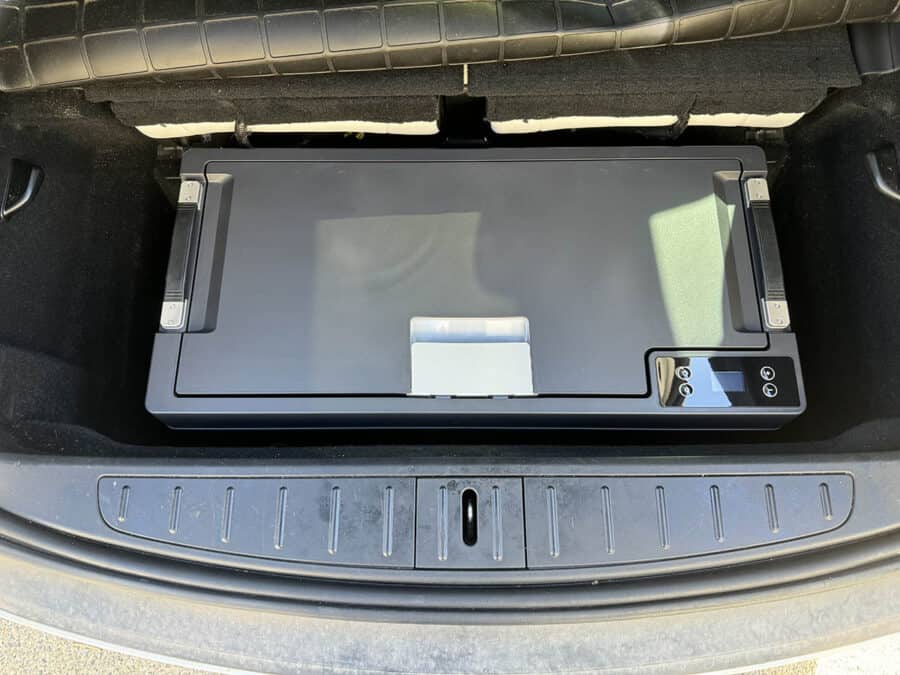
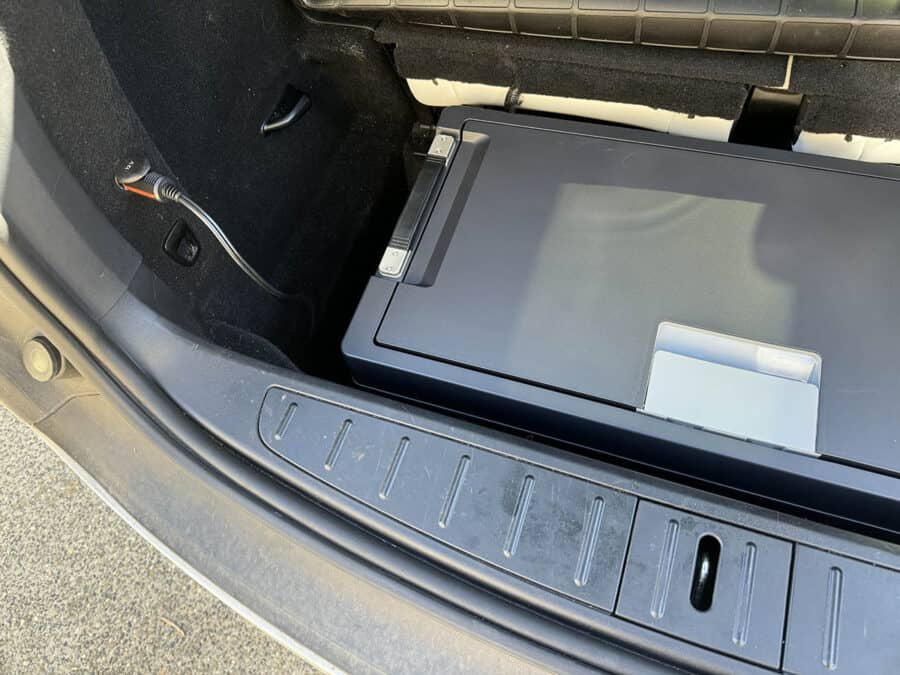
Before simply placing your cooler into the rear sub-trunk of your Tesla, connect the power cord. Some years of the Tesla Model X might have the 12v power supply in another location, but our 2020 has it located here on the left.
Installation Complete
That’s all it takes to install the TesCooler from ACOPower in your Tesla Model X. Once you’ve plugged in the cooler, you can short-press the power button to get it powered up.
TesCooler Review
I just installed our TesCooler, made sure everything powered up, but will have to take some time to actually use it. The cooler could have been made a bit wider to fit the full width of the sub-trunk, but this could allow for some small items to still be stored in the sub-trunk. I’ll check to see if the mobile connector bag fits, but expect more to come as we get a chance to actually use this cooler.

