
There’s something about a cabin in the woods that brings a sense of tranquility and nostalgia. But when it comes to practicality, sometimes a little DIY magic is needed to make your cabin space more functional and visually appealing. In this blog post, we’ll take you through an inspiring woodworking project to enclose an overhead storage area with a custom built diy overhead storage door using repurposed wood and a block and tackle pulley system.
The Challenge
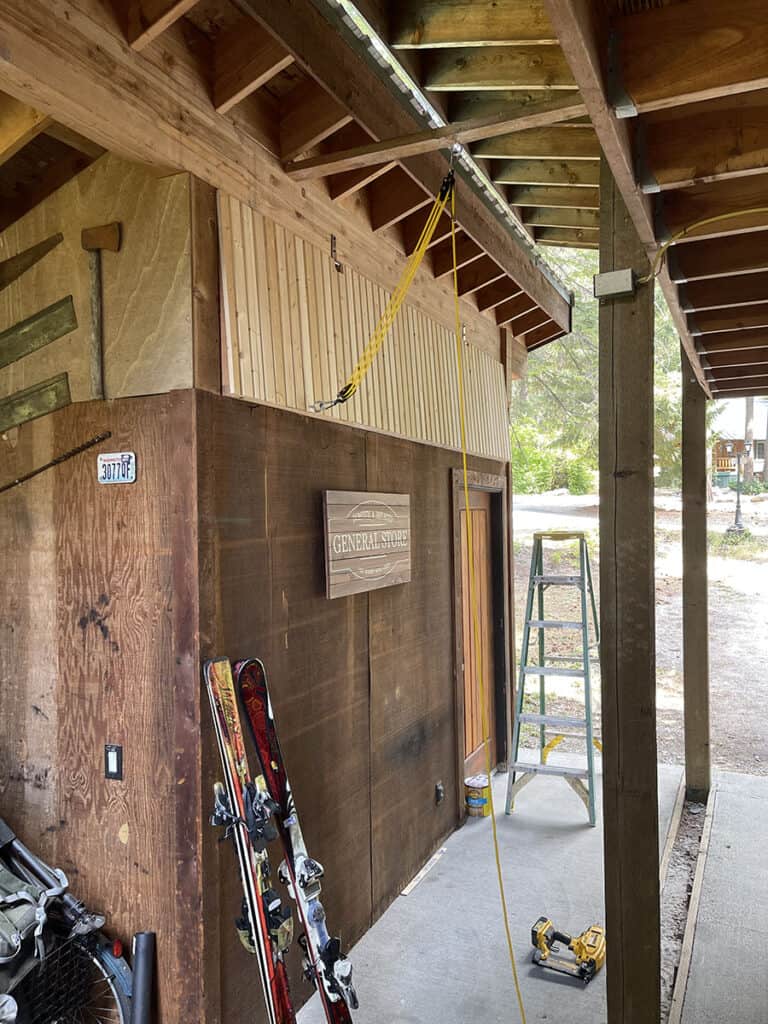
The previous owner who built our cabin had a fairly small shed with an overhead storage area. Unfortunately, this storage area was completely open and I wanted to come up with a solution to close it. We used this space to store some blow mold Christmas decorations, but it certainly looked a bit tacky. From the street, the decorations could be seen as well. It was time to transform this neglected space into something more practical and aesthetically pleasing.
The Materials
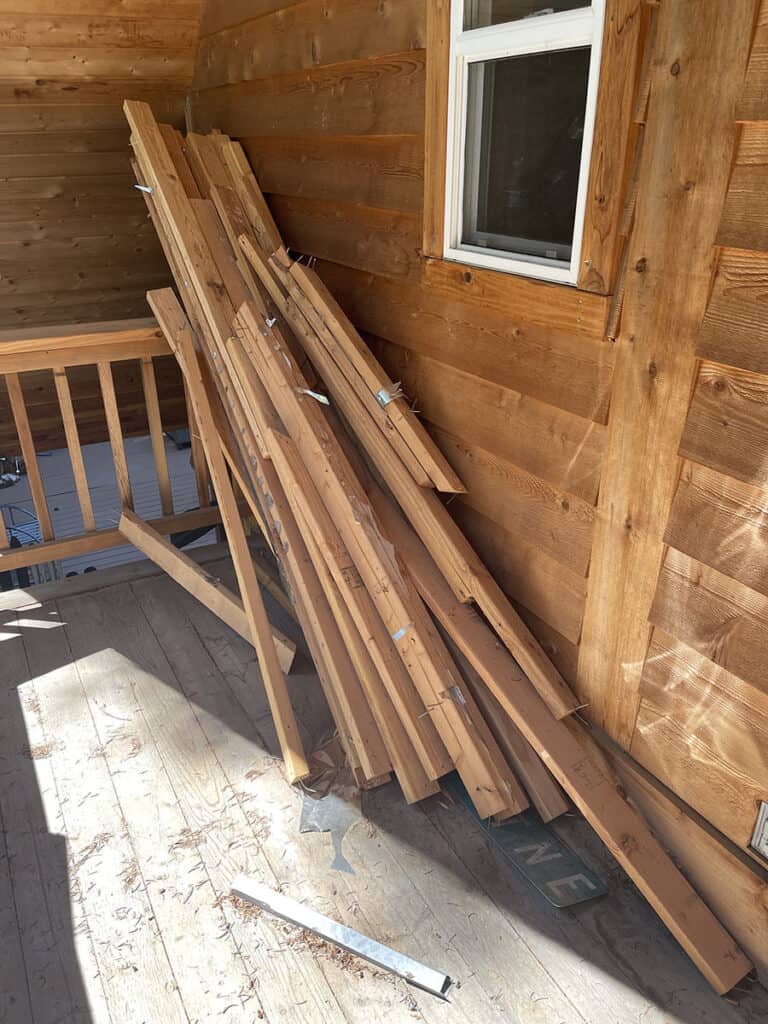
I had some damaged tongue and groove slats from a closet I removed to make room in the game loft for our racing arcade cabinets. Previously, I had already cut these slats down to remove the damaged area. With these slats laying around for a few months now, it seemed like the perfect usage to make the overhead door with these.
Repurposed Wood
Here’s the closet I removed…
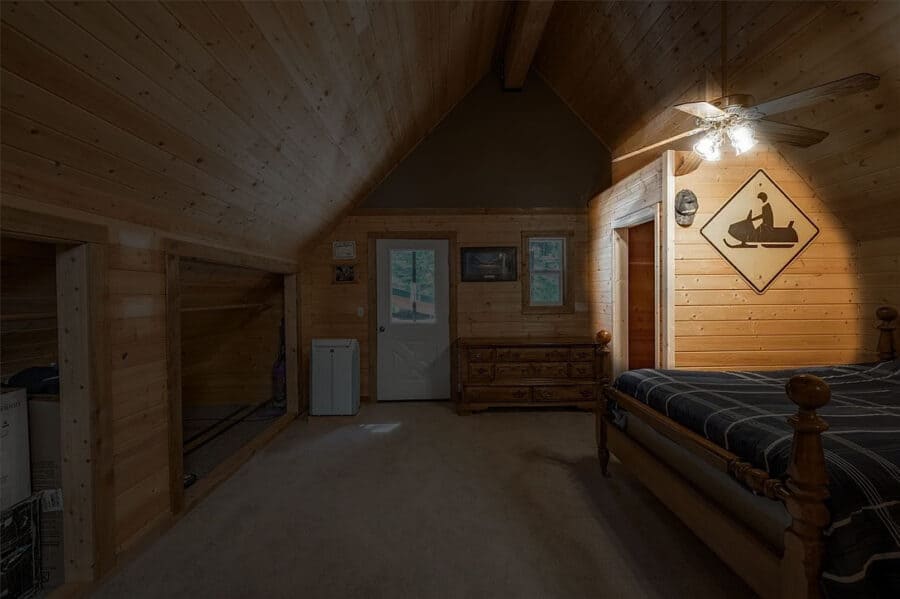
The tongue and groove is quite thin, as far as I know it’s nearly, if not completely impossible to remove without damaging it.
Lots of cutting down, running the slats through the table saw.
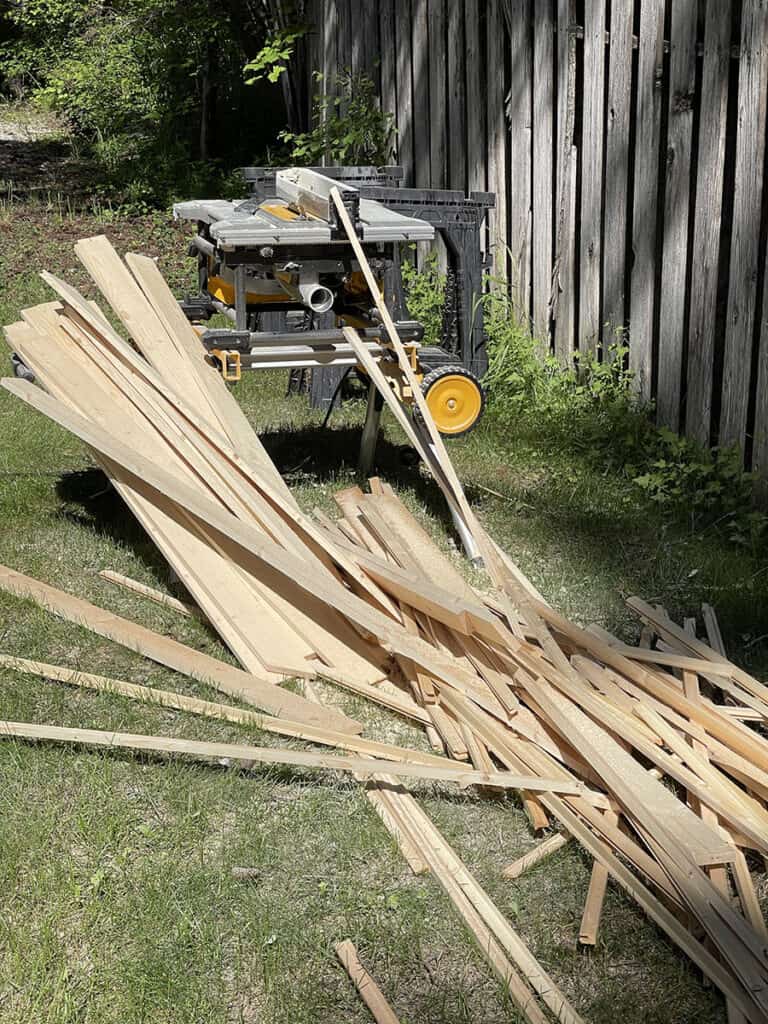
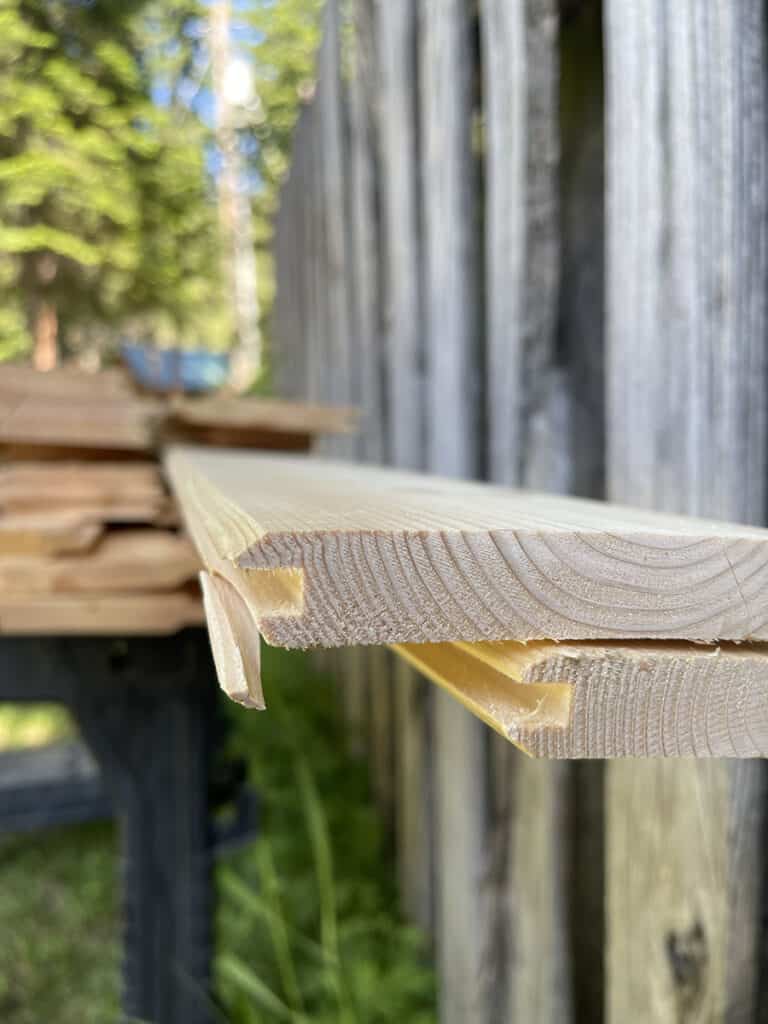
- Preparing the Wood: The first step was to cut down the slats to remove the damaged tongue and groove sections. The slats were probably about an inch narrower after these cuts and I saved the cut strips for kindling. I then ran the slats back through the table saw for a shiplap groove. This was then followed by a 45 degree bevel edge to match the main door of the shed.
- Assembling the Door: We used several 2×4’s from the original closet it framing, but some others as well. A basic framing of the 2×4’s is all that was required. We also made some mortise cuts for the hinges to make sure they fit flush underneath the slats that would later be installed.
- Installing the Block and Tackle Pulley System: To add a touch of vintage charm and functionality, a block and tackle pulley system was installed to make opening and closing the door a breeze. This system not only provides easy access to the overhead storage but also adds a unique and nostalgic element to the cabin. If we actually accessed this storage more often, I might consider hydraulic struts, linear actuators, or air cylinders. However, since that’s not the case, this simplistic approach will work just fine.
- Finishing Touches: I used some remaining slats (that weren’t cut for shiplap grooves) to trim out the door.
Staining the Overhead Door
I need to pick up some more stain, but I’ll use the same stain I used for the main door of the shed. It does have a decent amount of weight to it, so I’m not sure if I’ll take the door back down to stain or leave it in place. Stay tuned for that…
Conclusion
What started as an open and unsightly overhead storage area in the cabin’s shed was transformed into a functional and visually appealing space. This woodworking project showcased the power of repurposing materials and creative problem-solving. The use of a block and tackle pulley system added a touch of nostalgia, harking back to simpler times.
If you’re looking to enhance your cabin space and have some repurposed wood lying around, consider taking on a project like this one. Not only will it breathe new life into a neglected area, but it will also infuse your cabin with rustic charm and character. Happy woodworking, and may your cabin always be a haven of peace and creativity!