
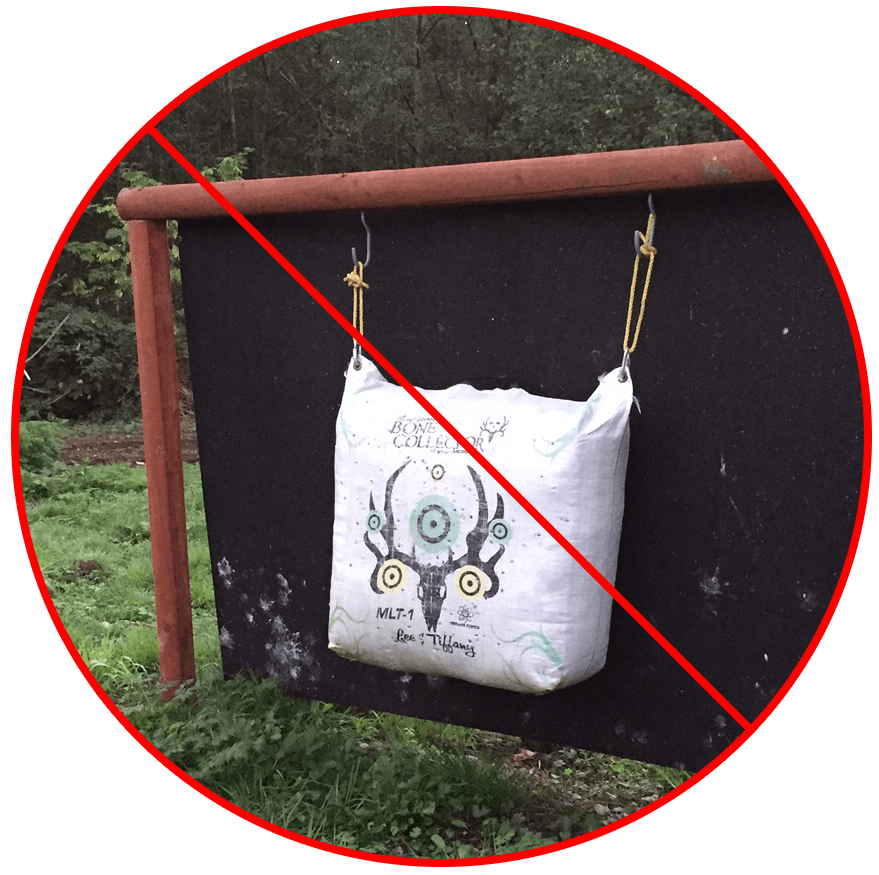
I built a previous archery backstop that didn’t survive, so it was time to a build a new one. For the first archery backstop I built I had some extra landscape timber lying around, so this is what I decided to use. I initially built it to where it could be moved as a portable stand, but after seeing heavy wind knock it down repeatedly I decided to put those posts in the ground with some concrete.
It lasted for nearly 5 years before the wind got the better of this one. I’ll add pics soon, but both posts managed to snap. With the weight of the rubber mat, plus heavy winds, it simply wasn’t strong enough.
Tools Used
- Cordless Impact Driver
- Level
- Miter Saw
- For Concrete Work:
- Hole/Post Digger
- Shovel
- Wheel Barrow
Materials I Used (Your Application May Vary)
- 4 bags of 40# concrete
- 8 ft pressure treated 4×4’s (x3)
- 6″ Timberlock Screws
- 3/4″ Thick Horse Stall Mat
DIY Archery Backstop Steps
Step 1 – Digging Your Holes
To start with, I dug 2 holes with the post digger to set my vertical posts in. I went 3 feet deep for each hole. The thought was to get extra depth to help prevent the posts from leaning in the future – I’ll have to see if this seems to work. I put a thin layer of crushed gravel at the bottom of each hole to avoid direct ground contact with the end of the 4×4’s.
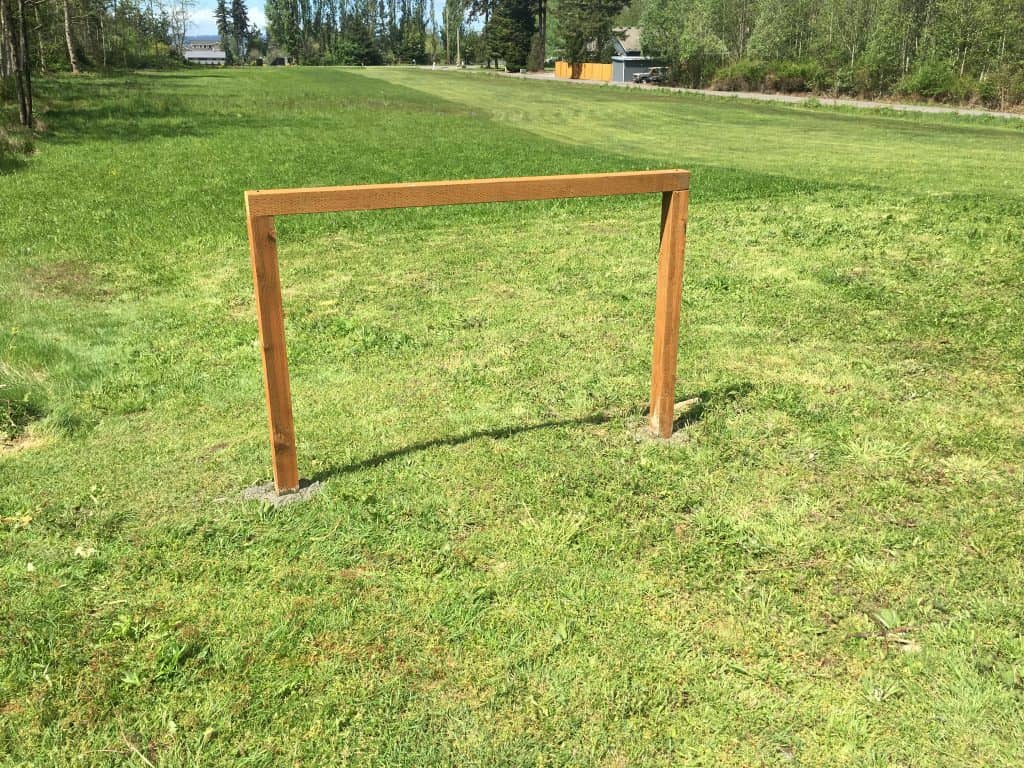
Temporary bracing in place. I need to give the concrete a few days to cure and I’ll hang the old rubber mat. After that, just need to install some mounting points to hang a bag.
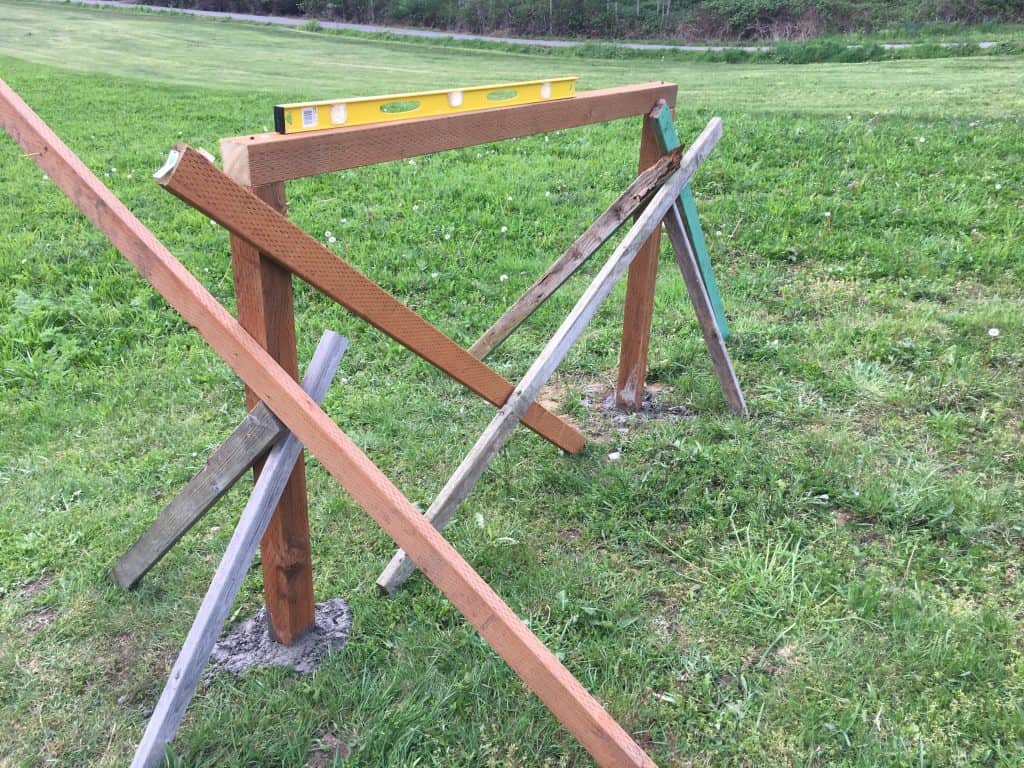
Step 2 – Leveling, Measuring and Bracing the Posts
I used some scrap 2×4’s (and 2×3’s) to brace the first 4×4 and measured how far off the ground I wanted the rubber horse stall mat to be. I cut this 4×4 down to size, leveled and braced it again, and ran another 4×4 horizontally with a level. This allowed me to mark where to cut for the height of the second post.
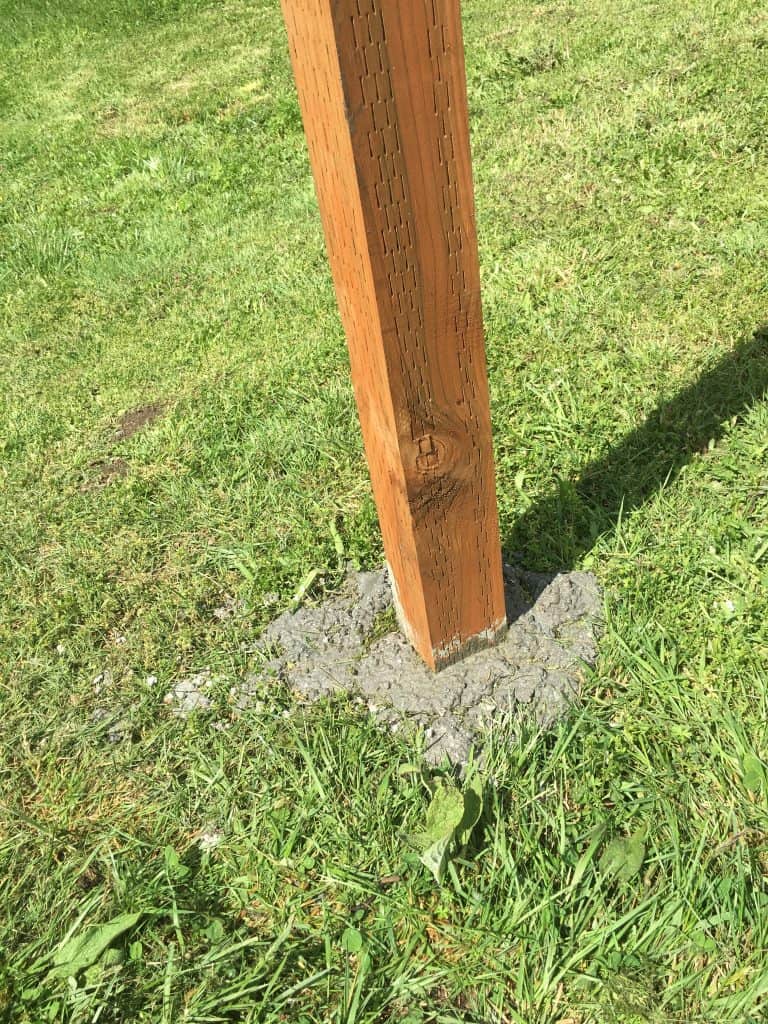
Step 3 – Adding the Concrete
Once everything was in position, I added concrete. I used a wheel barrow and shovel to get the concrete mixed and wheeled it down to the backyard. After pouring in the concrete, it was time to wait a few days to let the concrete cure.
Step 5 – Bolting on the Horse Stall Mat
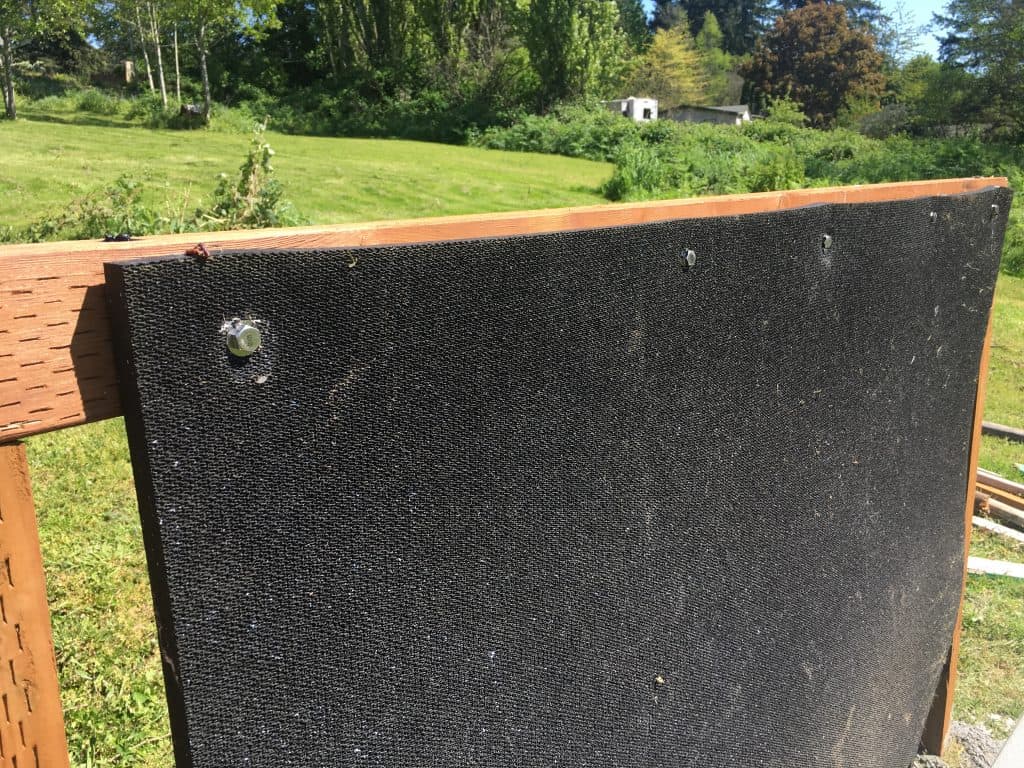
I waited 3 days for the concrete to cure before adding this on to avoid unnecessary weight and strain that could risk the posts setting as strong as they could. This thing is heavy! When I first bought this from a local farm supply store, I wasn’t sure why they brought it out on a forklift until we went to load it into our SUV. It will certainly help to have a helper to mount this.
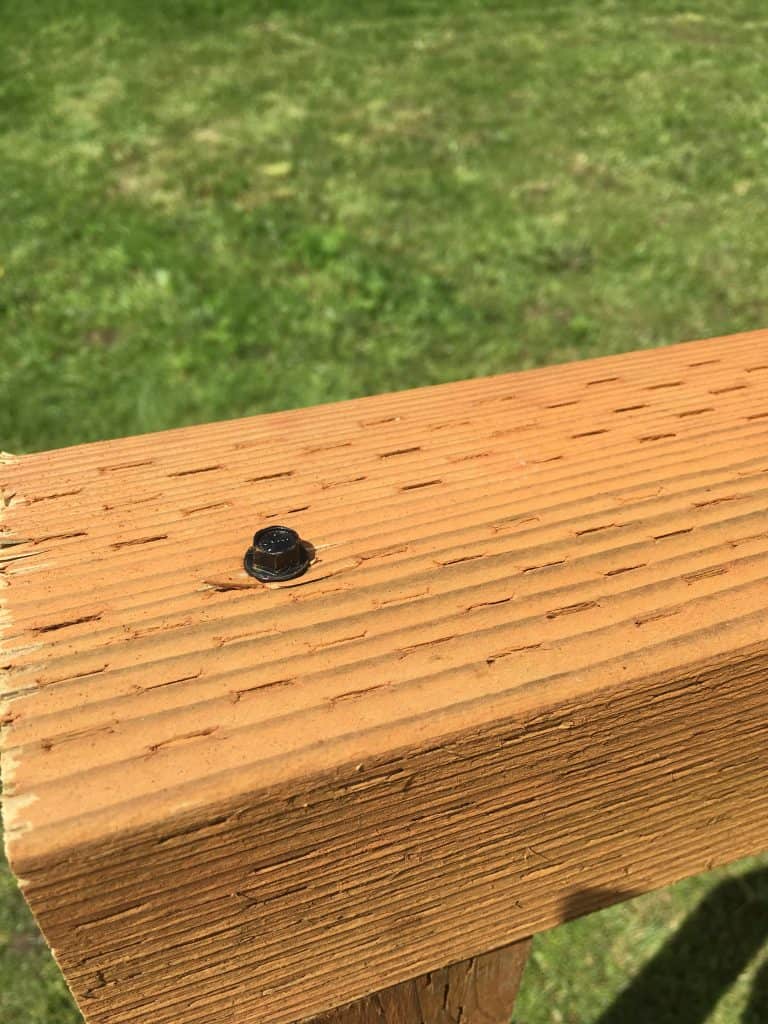
To mount it, I picked up some stainless lag screws and washers. From the previous backstop, I already had 3 holes for lag screws pre-drilled. I’m going to re-use those, but also add 2 more lag screws.
Step 6 – Mounts to Hang an Archery Bag
On the previous backstop, I used J-Hooks, I’ll re-use those for now. I may look at another solution later.

Step 7 – Time to Get Some Target Practice In!
This was from 40 yards out. It’s been several months since I’ve done any archery. I could say I’m a bit rusty, but truth be told I tend to have a few that get away a bit and probably won’t see much better results from a round.
More Archery Articles
Check out our post on how to choose the right archery target: https://fabville.com/how-to-choose-the-right-archery-target