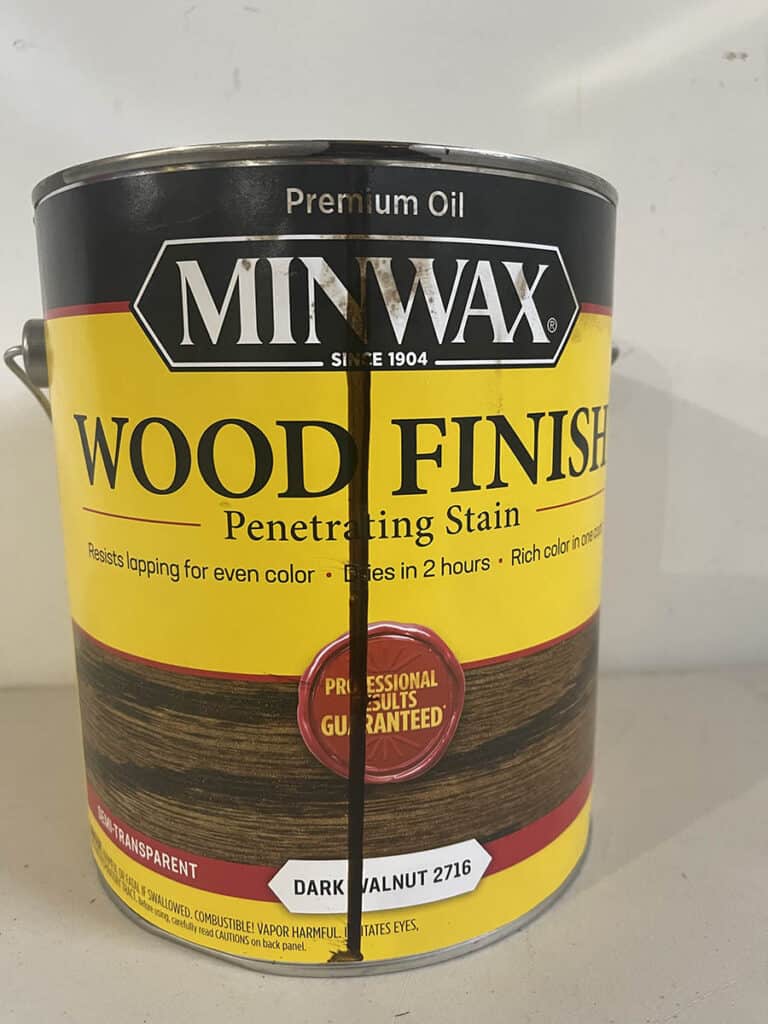
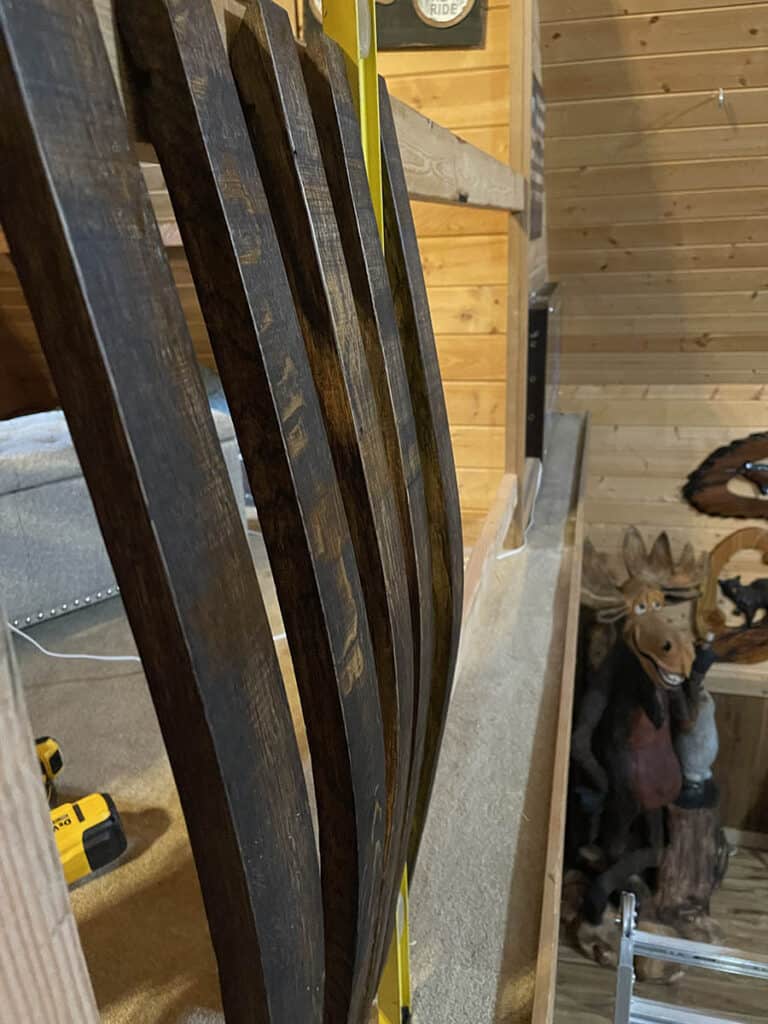
I recently had a wood staining project that didn’t go to plan. I was rushing to stain some oak barrel staves for a railing project one evening to have the wood ready to install by the weekend. After about 3 days the stain was still tacky, and wasn’t in a condition where I wanted to try transporting it, let alone install it.
Fixing Tacky Stain
I was able to find a couple possible fixes on the Minwax website. The first was to use mineral spirits. This was the option I chose to go with. Their site mentions that you can dampen a cloth with mineral spirits to wipe off the excess stain. Depending on how much excess stain in on your wood, it may require some heavier scrubbing, but this method worked well in my project.
Second option Minwax suggests is to apply another coat of stain, wait a couple minutes for it to soften the previous coat of stain, then take a cloth to wipe away the excess.
How Long Should Minwax Stain Take to Dry?
It should take 2 hours for Minwax stain to dry. At least that’s what it says on the label for the particular stain I bought.

Why Is My Wood Stain Still Tacky?
Humidity, temperature, and excess stain are the primary factors of stain not properly drying.
Troubleshooting Tacky Stains: A Guide to Fixing Over-Applied Minwax Stain
Minwax stains are popular choices for enhancing the natural beauty of wood surfaces, but sometimes, even the most experienced DIY enthusiasts find themselves in a sticky situation. If you’ve applied too much Minwax stain and your project is still tacky after several days, don’t panic. In this guide, we’ll walk you through the steps to troubleshoot and remedy the situation.
- Assess the Situation: Before taking any action, assess the extent of the tackiness. Sometimes, a light tackiness may resolve itself as the stain continues to cure. If the tackiness is persistent and bothersome, proceed with the following steps.
- Ventilation is Key: Ensure proper ventilation in the area where the stained item is drying. Adequate airflow helps the stain cure faster. Open windows and doors, and use fans to promote air circulation. Increased ventilation can make a noticeable difference in the drying time.
- Temperature and Humidity Control: Minwax stains cure best in moderate temperatures with low humidity. If possible, move the project to a warmer, drier environment. Avoid staining on excessively hot or humid days, as these conditions can extend drying times and increase tackiness.
- Remove Excess Stain: If you’ve applied too much stain, excess product on the surface may not dry properly. Carefully wipe away any excess stain using a clean, lint-free cloth. Be gentle to avoid smearing the stain, and focus on removing the excess without disturbing the stained wood beneath. Although temperature and humidity may have also been a factor, this is the point where I went wrong.
- Mineral Spirits: For stubborn tackiness, you can use mineral spirits to help dissolve and remove the excess stain. Dampen a clean cloth with the solvent, and gently wipe the stained surface. Test in an inconspicuous area first to ensure compatibility with the finish.
- Sand the Surface: If the tackiness persists, you may need to lightly sand the affected area. Use a fine-grit sandpaper (320 grit or higher) to avoid damaging the wood. Sanding helps remove the sticky layer and promotes better adhesion for subsequent coats.
- Reapply Stain (if necessary): Once the surface is clean and dry, you may need to reapply a thin, even coat of Minwax stain. Make sure to follow the recommended drying times between coats. Apply the stain sparingly, and wipe away any excess to prevent future tackiness.
- Finish with a Topcoat: Consider applying a clear protective topcoat, such as Minwax Polyurethane, to seal and protect the stained wood. Follow the manufacturer’s instructions for application and drying times.
Upcoming project reveal: Upcycling Oak Barrel Staves for Railing

Conclusion to Fixing Tacking Stain
Things don’t always go according to plan, and that’s no different for applying wood stain. Correcting a tacky Minwax stain can still be fixed. By addressing the issue promptly and following these steps, you can salvage your project and achieve the beautiful, durable finish you desire. Hopefully this article gets your project back on track if you’ve ran into a similar situation.

