This is another in-progress project that I have underway. This post will be updated as I continue the project.
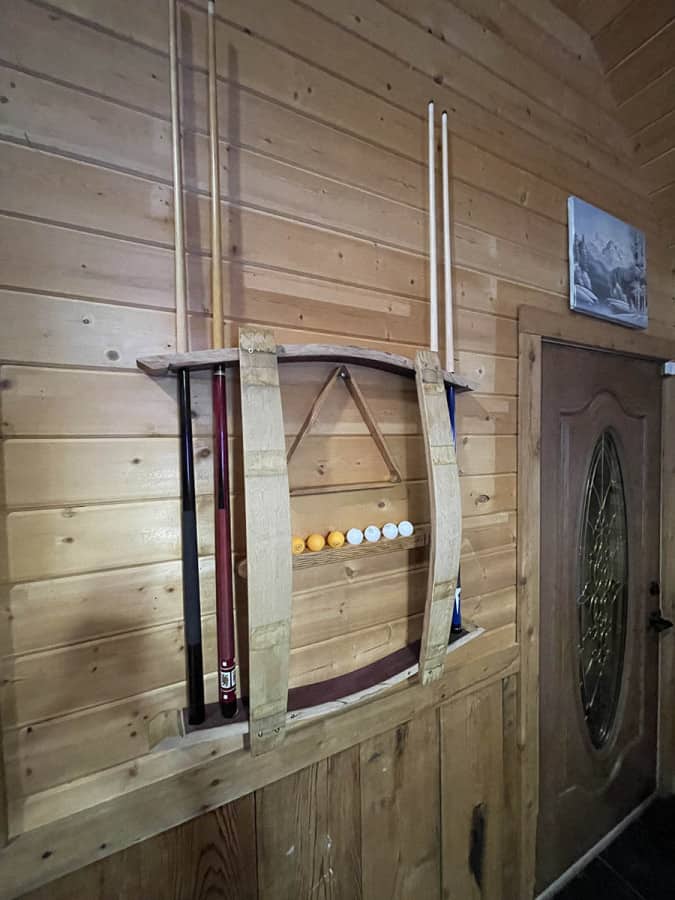
Here’s a dry fit of what I’m building:
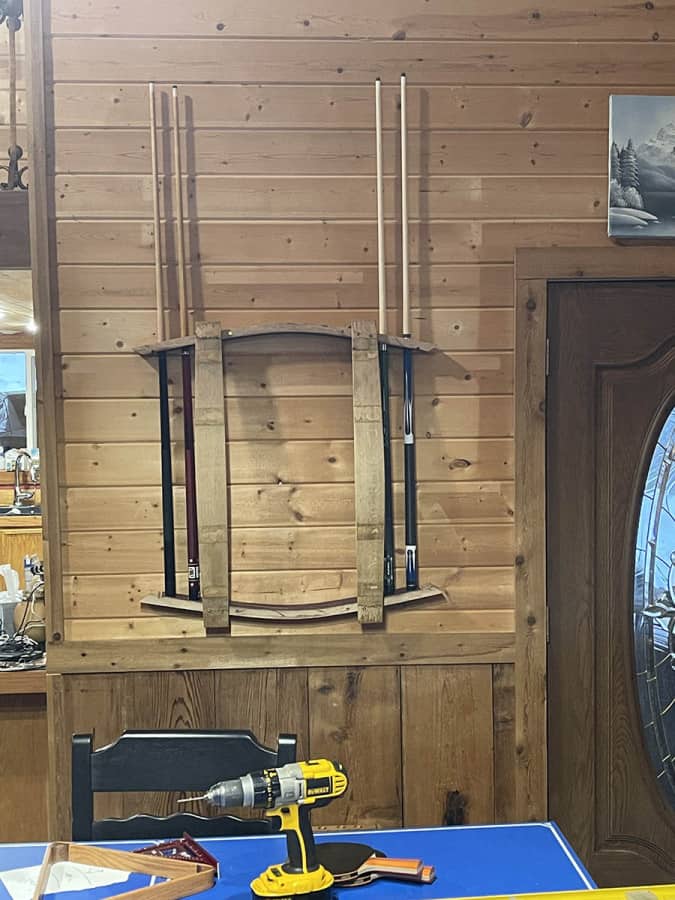
A temporary screw to hold the triangle that will most likely be replaced with a wood dowel setup. Also using the bottom mount of a pool cue rack for the ping pong balls.
Drilling the Ping Pong Paddle Holes
After measuring the placement for the ping pong paddles, it was time to use a Forstner bit in the drill press. The largest Forstner bit I had was 1-3/8″, this hole was just large enough for the paddles we have, but probably would have otherwise gone up to at 1-1/2″ for some extra clearance.

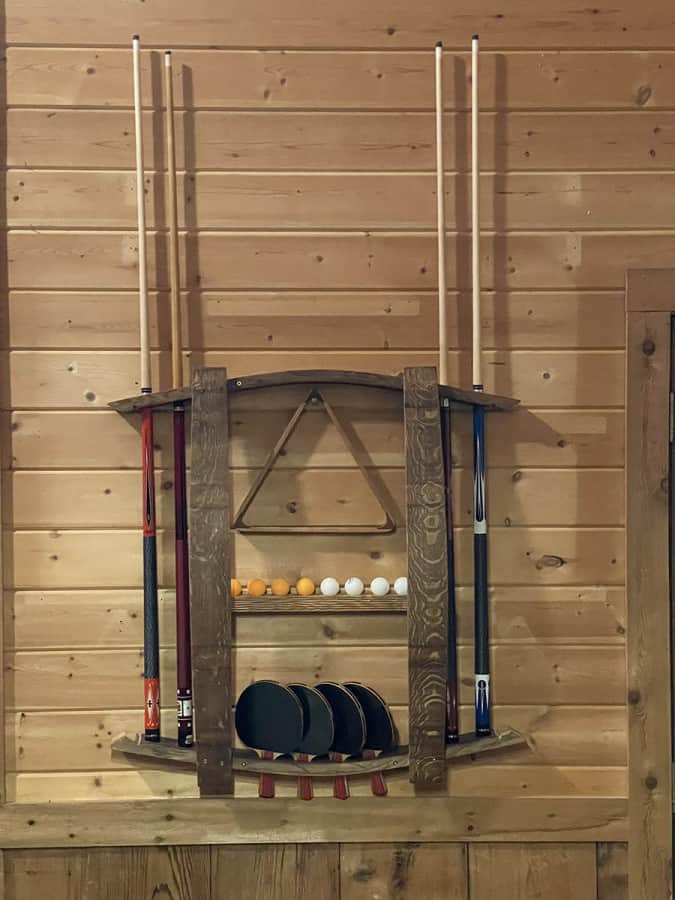
Initial Assembly
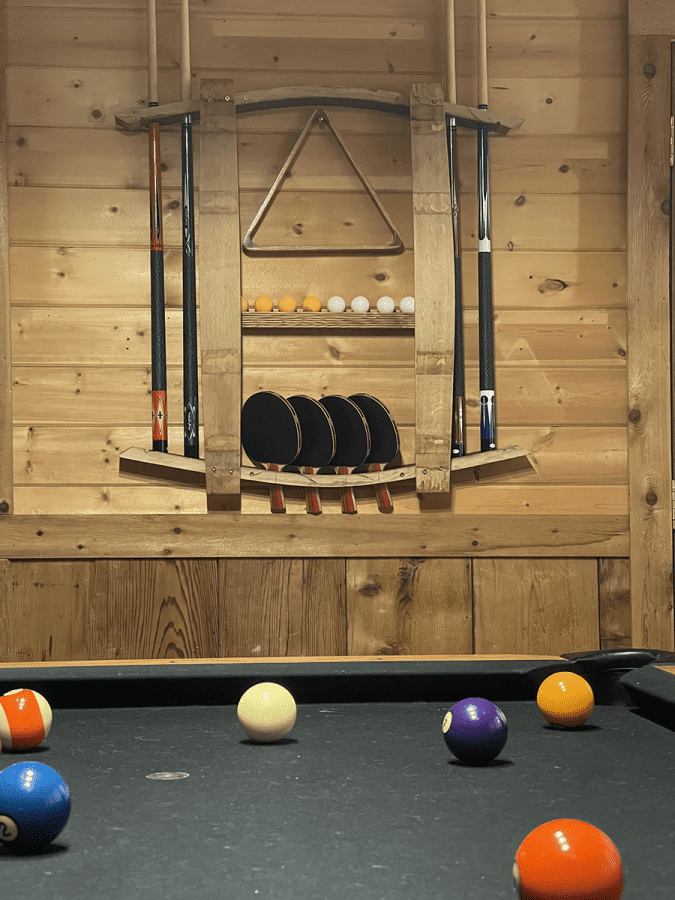
Applying a Stain
Here’s an initial coat of stain. I used a “dark walnut” varathane.
More to Come
I still need to add a “shelf” for pool cue chalk and conceal the screws. That’s all for now though!