Doing a home improvement project can often be difficult and daunting – especially pulling brad nails out of wood. It’s an annoying task, but fortunately there are some great tips and tricks that can help you make the process much easier. In this blog post, we’ll discuss how to remove brad nails so you can complete your project quickly and open up new possibilities for future projects in your home!
Gather the necessary tools, such as a pair of pliers, hammer and flat-head screwdriver
Before you begin the process of removing brad nails from your project, it is important to ensure that you have all the necessary tools. Gathering items such as a hammer and flat-head screwdriver can be beneficial for getting the job done efficiently. Knowing what resources to have on hand can make the removal of brad nails easier and less time consuming. Additionally, having the proper tools at your disposal will also reduce any potential damage to your material or surrounding area during this process.
Identify the brad nails in your project and mark them for easy removal
Working with wood projects often involves the use of a number of different nails, but brad nails provide an especially secure hold. Knowing how to identify and mark these nails can make your life easier when it comes time to remove them; luckily, it’s not as difficult as you might think! With just a few simple steps, you can quickly identify brad nails in your projects – and make sure that their removal by using the appropriate tools is easy and straightforward. Start the job on the right foot by accurately marking your project’s brad nails for easy removal!
Put the flat-head screwdriver under the head of the nail and pry it up slightly
Removing brad nails doesn’t have to be a difficult or time consuming task. With the right tools and steps, you can easily accomplish this household repair in no time. To start, take a small flat head screwdriver and slide it just under the head of the nail, slowly prying the nail up slightly. This will allow enough space for you to fit your other tools securely around the nail, such as needle nose pliers or a claw hammer to easily remove it with minimum effort. With these simple instructions in mind, you’ll have that brad nail out before you know it – saving time and headaches!
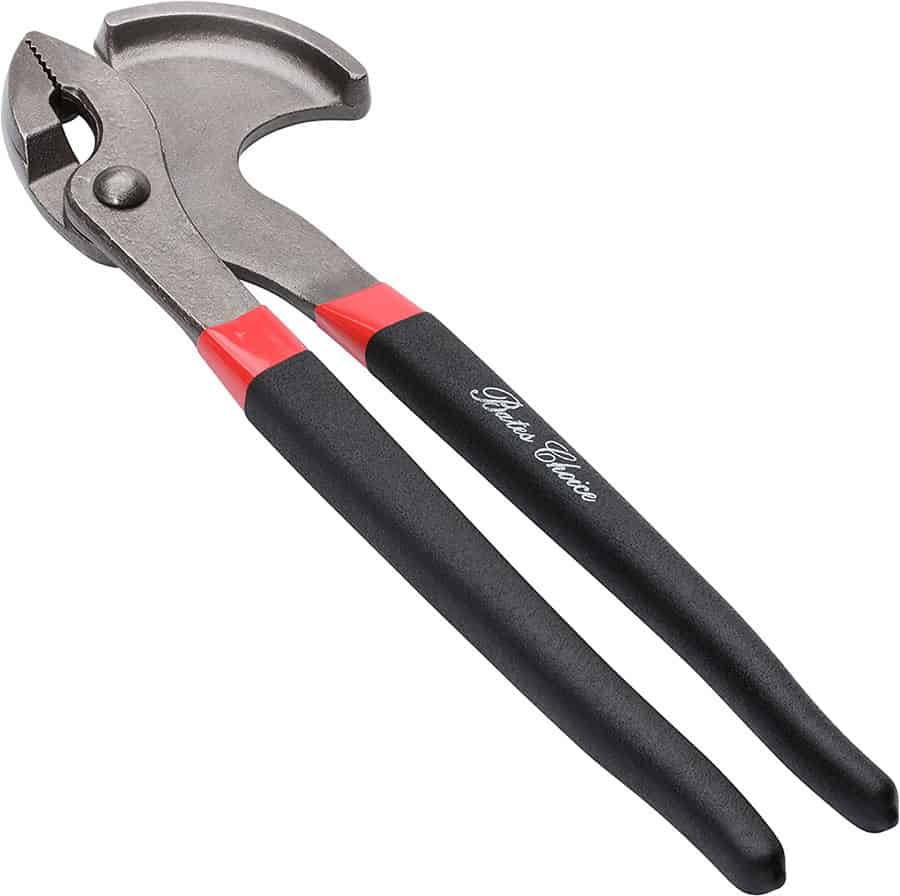
Grab hold of the nail at its base with the pliers and pull it out slowly while wiggling it side to side
The best way to remove a brad nail is by grasping it firmly at its base and using slight pressure and motions to wiggle it out of the surface. Pulling slowly helps reduce any damage that can be caused by sudden movements such as stripping the wood fibers or splitting them apart. Over time, this can cause severe damages to your surfaces, so repeating this movement and taking caution not to pull too hard is critical. With consistent practice and patience, these nails will come out without damaging your furniture or wooden surfaces.
Removing brad nails doesn’t have to be intimidating or time consuming. By following the steps outlined above, you can easily accomplish the task and finish your project with ease! Taking the time to properly prepare your tools and identify each brad nail is essential for a successful removal process. Additionally, it may help to practice tapping the nail lightly with a hammer, as well as prying them up slightly with a flat-head screwdriver, before tackling your project. With some patience and proper technique, you will soon be on your way to completing your DIY project like an experienced pro.