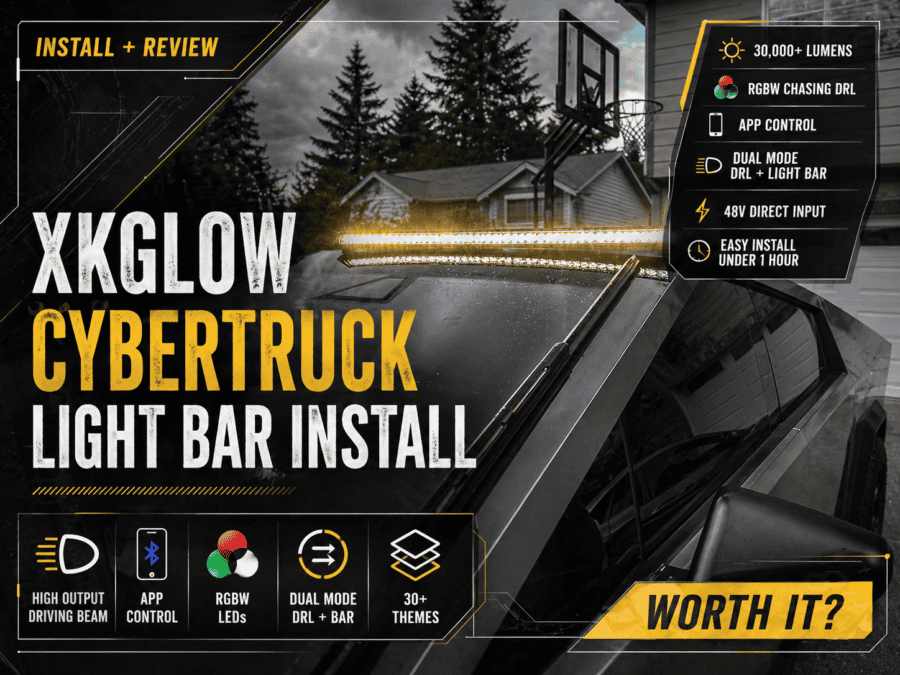
Is the XKGlow XKMAX Light Bar Worth It for Tesla Cybertruck?
If you’re searching for a XKGlow Cybertruck light bar review or trying to figure out how to install one on your Tesla Cybertruck, you’re in the right place.
I recently installed the XKGlow XKMAX Roof Light Bar (MX-CTLB) on my Cybertruck, and in this guide I’ll walk you through:
- Full step-by-step installation
- Real-world performance review
- App features, brightness, and usability
- Whether it’s actually worth the price
⚠️ Before You Start (Important)
IMPORTANT: Installation involves wiring into the Cybertruck’s 48V system. If you’re not confident with electrical connections, consider hiring a licensed professional.
🛠️ Tools & Materials Needed:
- Heat gun
- Wire cutters/stripper
- Socket wrench set
- Screwdriver
- Zip ties (Optional)
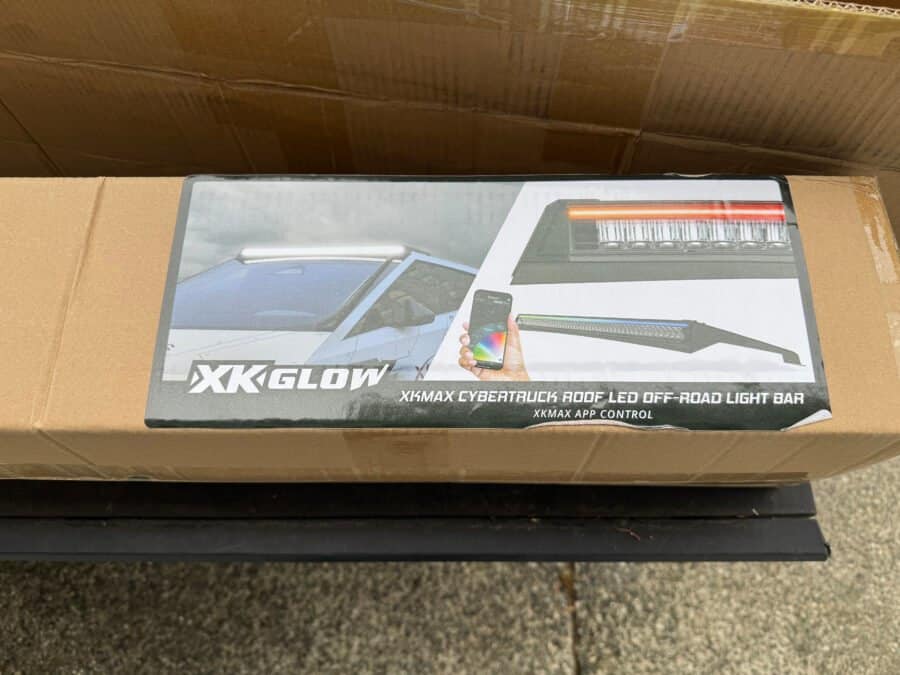
- XKMAX Light Bar kit (includes wiring harness, heat-shrink connectors, mounting hardware, brackets, and controller)
🔌 How to Install the XKGlow Cybertruck Light Bar
1. Test the Light Bar First (Pre-install)
- Before mounting anything, connect the light bar to a 48V source to confirm everything powers on correctly.
2. Access the Roof Power Feed
- Open the two roof panels near the windshield Locate the wiring on the passenger side
- Red = Positive
- Black = Ground
- Ignore the green wire
- Carefully strip about ½ inch of insulation
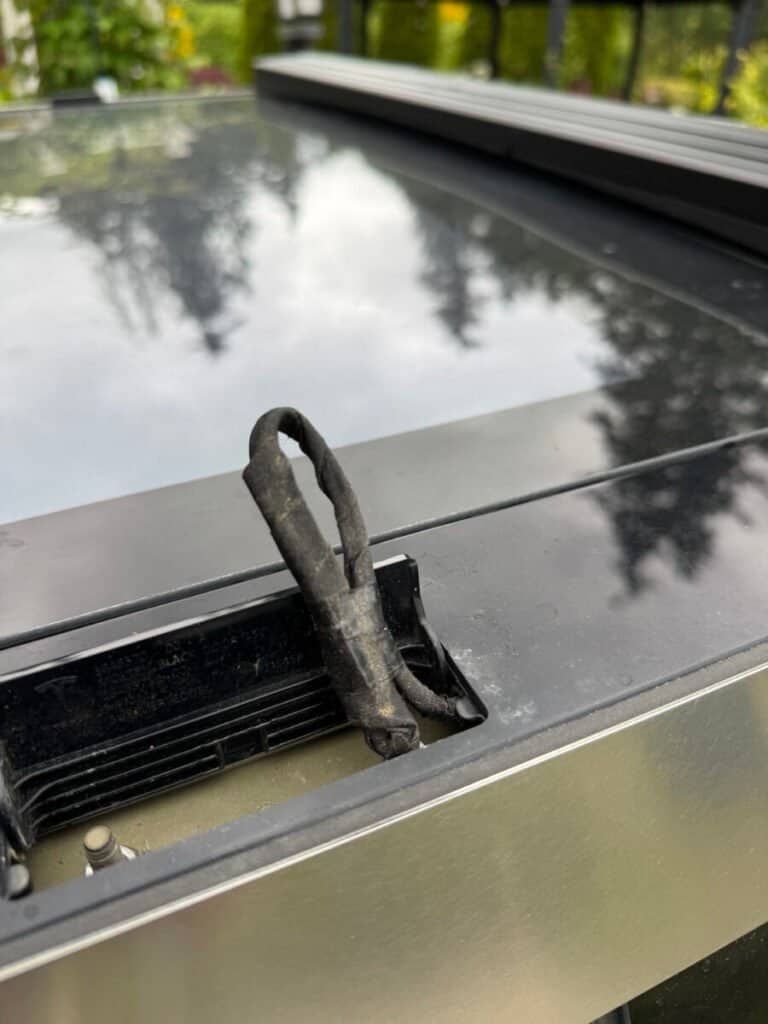
3. Connect the Wiring Harness
Using the included heat-shrink solder connectors:
- Connect Red → Red
- Connect Black → Black
Apply heat until the solder melts and the connector fully seals.
👉 This creates a strong, weather-resistant connection.
4. Position the Light Bar
- Set the light bar onto the roof
- Route wiring toward the passenger side
- Plug into your newly installed harness
5. Enable Roof Power (Cybertruck UI)
- On your Cybertruck screen:
- Controls → Outlets & Mods → Roof Power Feed → ON
6. Install Mounting Hardware
- Slide M5 lock nuts into the light bar track
- Attach brackets loosely with M5 bolts
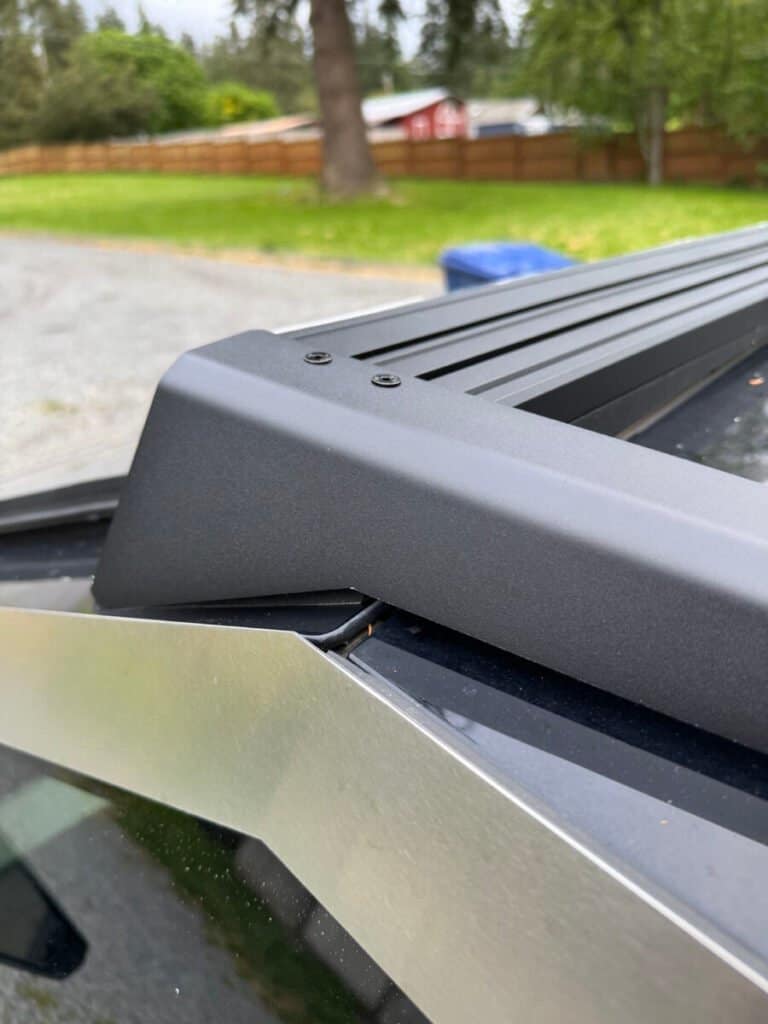
7. Secure to the Cybertruck Roof (this is the most tedius step)
Even with the shortened allen head wrench provided, it is extremely tight to try and get inside of the XKGlow bracket to tighten the bolts, especially the ones towards the front of the truck. In my opinion, it would have been better if they had holes drilled out on top of the bracket to fit the allen head wrench through.
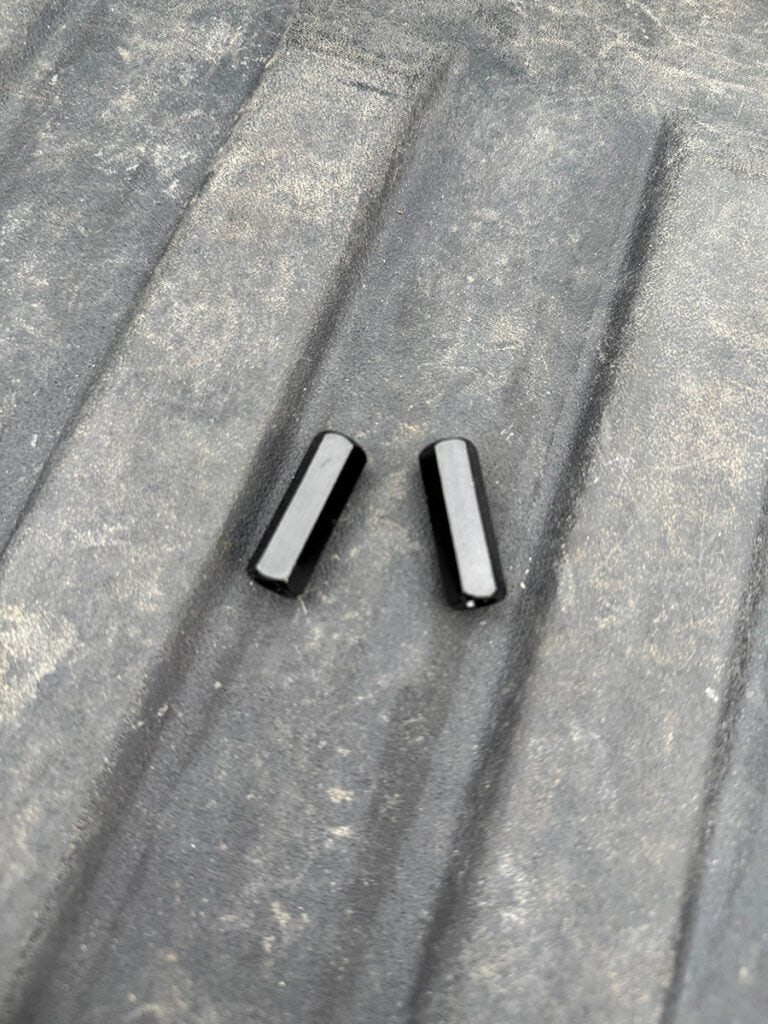
- Remove factory nuts under the roof panels
- Install included extended 30mm nuts
- Attach brackets using M6 bolts
8. Align & Tighten
- Center the light bar
- Ensure it’s level
- Tighten all hardware
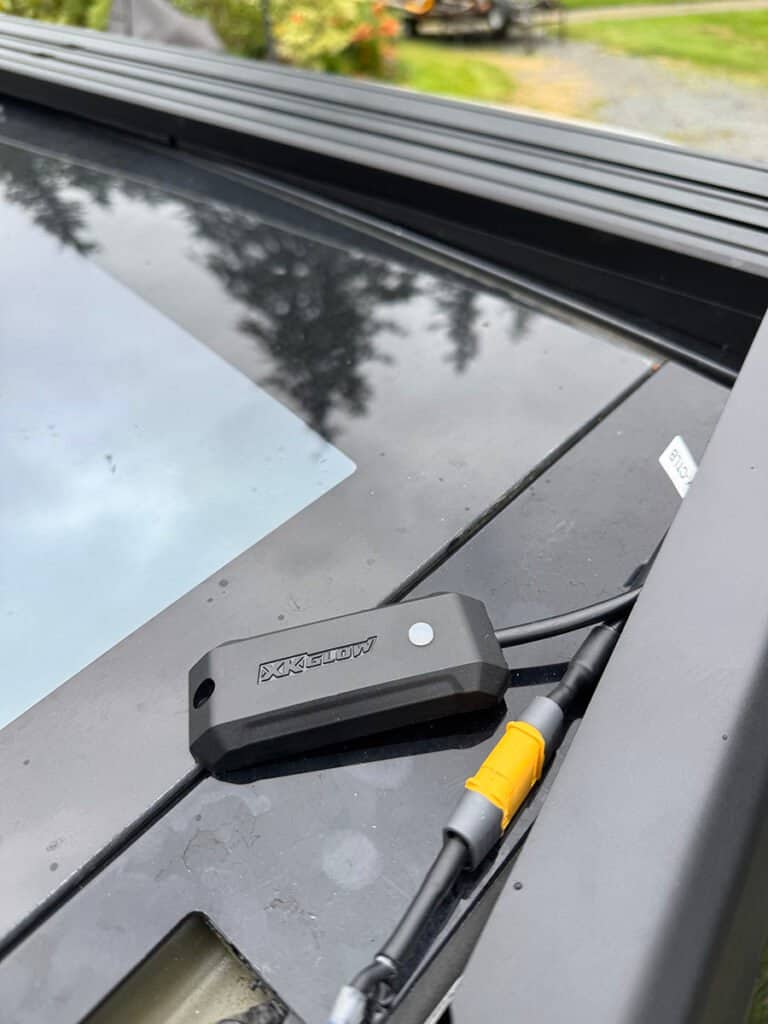
9. Mount the Controller
- Use the provided 3M tape to attach the XKMAX controller inside the passenger side bracket.
- Use zip ties to tidy up the wiring.
10. Setup the App & Customize
- Download the XKMAX app from your app store (QR code on packaging).
- Pair your light bar via Bluetooth.
- Choose between:
- DRL Mode (default white running lights)
- Full Light Bar Mode (Note this mode is not street legal)
Tip: Change the default mode in the app under Config > Default Mode
🌟 Product Review: XK Glow XKMAX Light Bar for Tesla Cybertruck
⭐️⭐️⭐️⭐️½ (4.5/5)
🔦 Performance (Brightness & Output)
This thing is seriously bright.
- 300W output
- Estimated ~30,000 lumens
- Wide, usable beam pattern
Perfect for:
- Night driving
- Off-road trails
- Low visibility conditions
📲 App & Smart Features
The XKGlow app is surprisingly solid:
- Fast Bluetooth pairing
- Easy mode switching
- RGBW customization
- Chasing DRL effects
It’s not just a light bar—it’s a fully customizable lighting system.
🧰 Installation Experience
If you’ve done basic wiring before, this is very manageable.
What stood out:
- High-quality connectors
- Well-designed mounting hardware
- Clean integration with Cybertruck roof system
Biggest challenge:
- Working with the 48V wiring
🧼 Fit, Finish & Design
This is where the XKGlow light bar really shines.
- Low-profile design
- Matches Cybertruck angles well
- Doesn’t look aftermarket or out of place
- Rubber base prevents vibration/noise
⚠️ Things to Know Before Buying
- You must tap into the 48V system
- Professional install may be recommended
- Manufacturer install docs currently have issues (broken links at time of writing)
🤔 Is the XKGlow Cybertruck Light Bar Worth It?
✅ Yes — if you want:
- A high-output light bar with real performance
- Clean OEM-like fitment
- App-controlled customization
- DRL + full light functionality
❌ Maybe not if:
- You don’t want to deal with wiring
- You’re looking for a plug-and-play solution
Final Thoughts
The XKGlow Cybertruck Light Bar is one of the better-designed aftermarket lighting upgrades available right now.
It combines:
- Strong performance
- Clean aesthetics
- Smart features
…and actually feels like it was built for the Cybertruck.
I’ll continue updating this post over time with:
- Long-term durability
- Any rattles or issues
- Real-world usage feedback
Biggest Complaints
As mentioned on step 7, it’s very tight trying to fit the shortened allenhead wrench inside of the mounting bracket to secure the light bar to the vehicle. Additional design considerations should have been implemented.
Offroad performance: This is a one I’m trying to find my own solution for. I’ve used the off-road light bar on forest roads. Around 30-35mph I’ve noticed the light “bounce”. The bracket mounting location is too far back from the light. You can push up on the bracket and see there’s flex. This causing the bracket to move just enough to where you’ll see the light bounce in front of you on uneven surfaces. I may use reinforcement brackets attached to my cross bar to see if that does the trick. If it’s still not rigid enough, a modification of the XKGlow bracket might be in the future for me. Tesla has moved from the adhesive mounting of the OEM lightbar to a bracket system that connects underneath the applique. A reinforcement bracket welded into the XKGlow should tighten things up, but pre-runner style reinforcement bars would be much faster to fabricate and install.
Cybertruck XKGlow installation instructions provided by the manufacturer which currently seem to have a broken link from their product listing on their website.